
>>

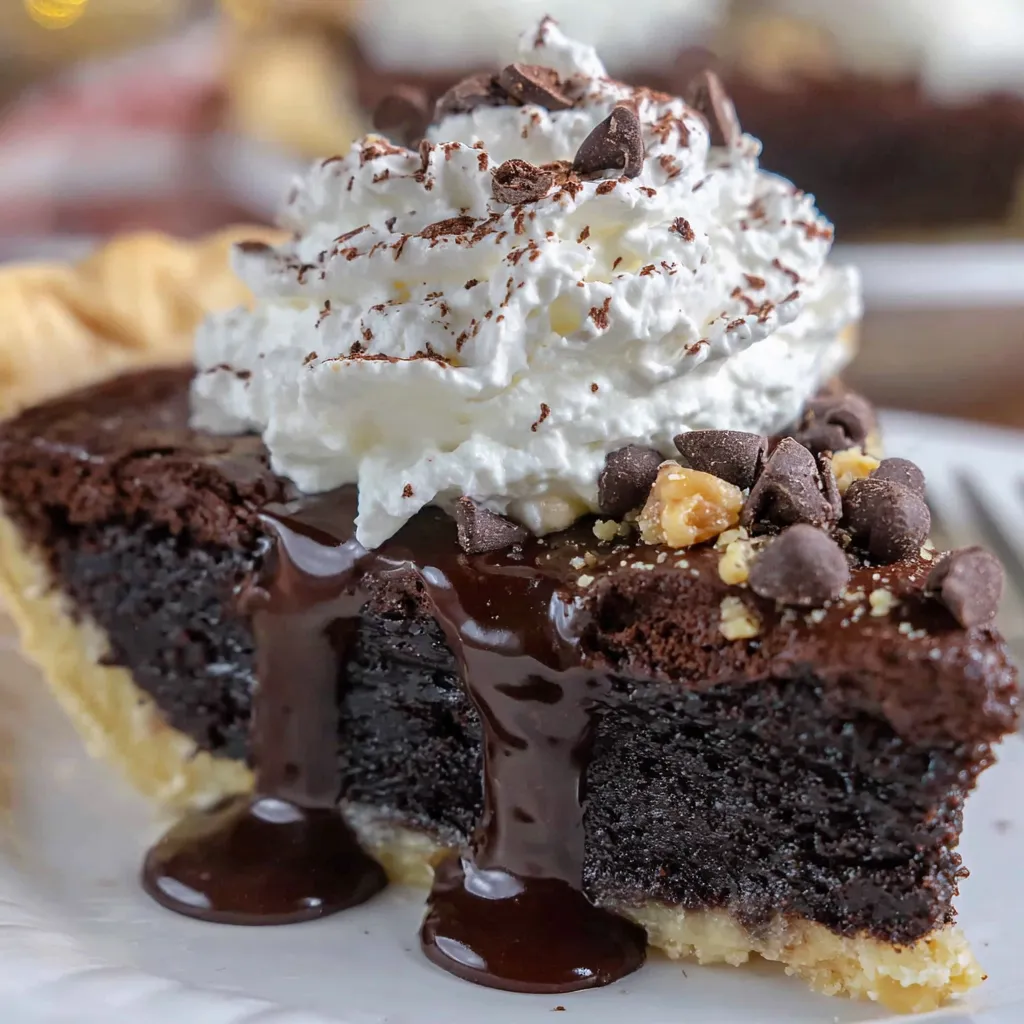
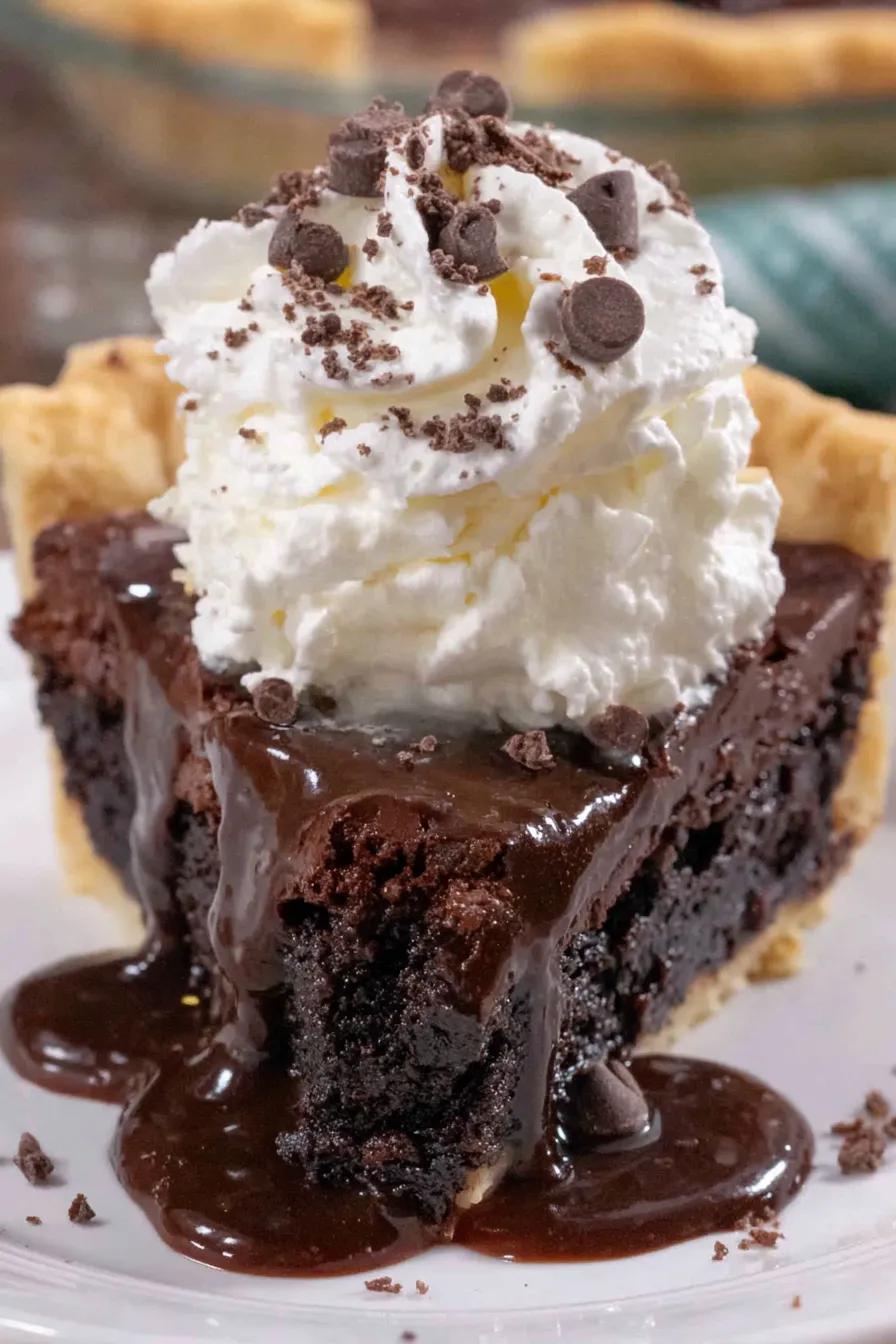
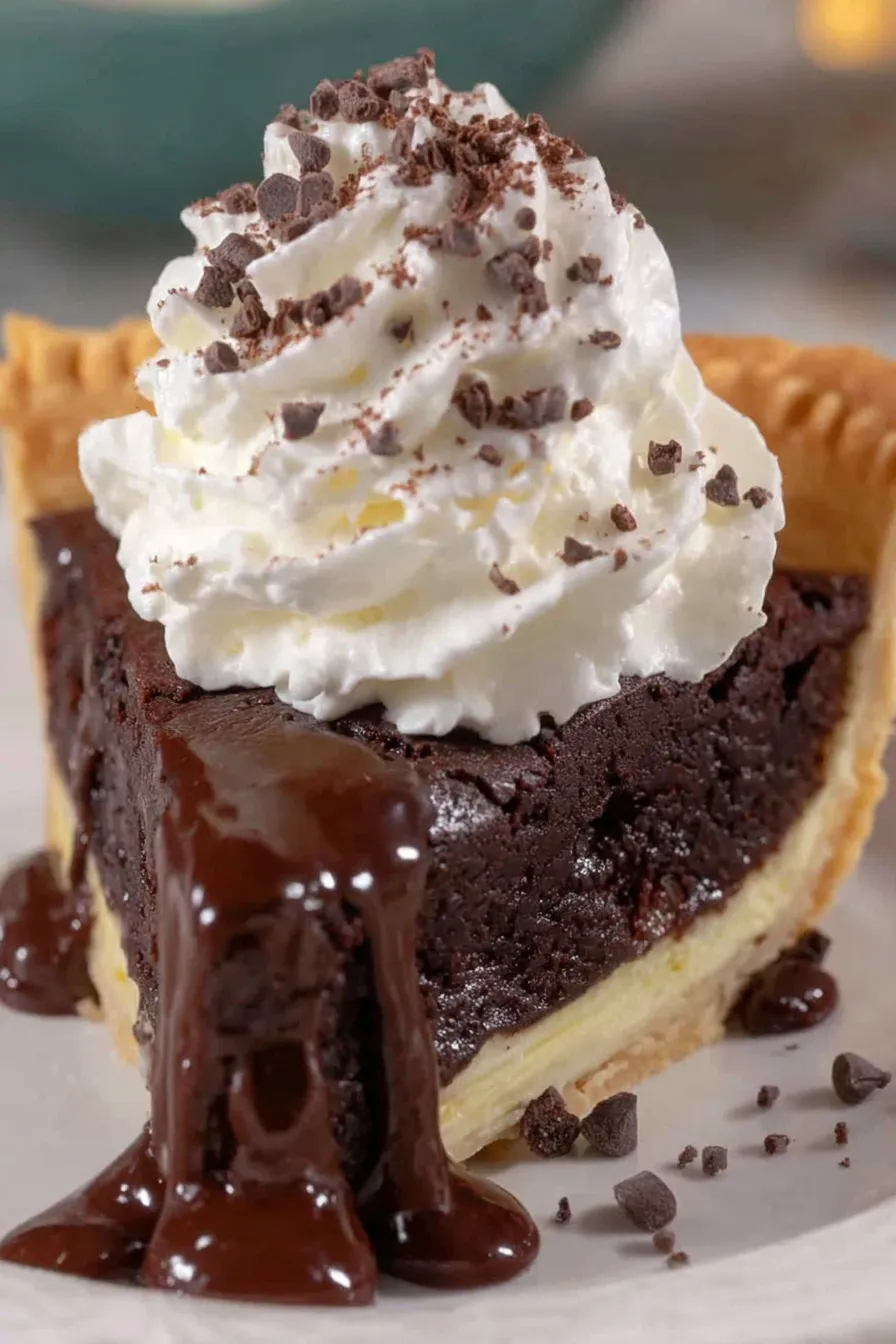
A fudgy, crackly-topped brownie baked right in a frozen 9-inch pie shell — rich, easy, and perfect with ice cream or whipped cream.
This brownie pie has been a quick celebration staple for my family ever since I first tried baking brownies inside a ready-made pie shell on a rainy Saturday afternoon. I wanted the deep chocolate flavor and fudgy interior of a classic brownie but without the fuss of lining a pan, greasing, or wrestling with parchment. Using a frozen 9-inch unbaked pie crust turned out to be the happiest shortcut: the crust crisps up and gives each slice a buttery edge that contrasts perfectly with the glossy, crackly brownie surface. We discovered it after I needed a last-minute dessert for an impromptu dinner party — the pie looked showy on the table and vanished within minutes.
The texture is what keeps me making this time and again. The center can be fudgy or more set depending on how long you finish it uncovered, while the top dries into a shiny, slightly crackled layer that people always comment on. The walnut pieces add a gentle crunch if you like nuts, and the chocolate chips stud the batter with melty pockets of extra chocolate. Serve it warm with a scoop of vanilla ice cream and a drizzle of chocolate sauce for the ultimate crowd-pleasing finale, or let it chill for a firmer, sliceable dessert that travels well to potlucks and picnics.
In our home this pie turned into a marker of small celebrations: birthdays when we didn’t want a full layer cake, rainy days that needed cheering up, and evenings when everyone wanted warm chocolate straight from the oven. My kids learned to say "brownie pie" after one bite — for them it's the perfect hybrid of two favorites.
One of my favorite parts is watching people decide whether to eat it warm or chilled — it’s delicious either way. The first time I served this at a potluck someone told me it tasted like "a brownie and pie had a very happy baby," which I now repeat whenever I make it.
Store leftover slices in an airtight container in the refrigerator for up to 5 days. For best texture, place a piece of parchment between slices to prevent sticking. To reheat, warm a slice for 10–15 seconds in the microwave for a soft, melty bite or heat in a 325°F oven for 8–10 minutes to refresh the crust. For long-term storage, freeze whole or cut slices on a baking sheet until firm, then wrap tightly and place in a freezer bag; thaw in the refrigerator overnight before serving.
If you prefer a sweeter result, swap semisweet chocolate chips for milk chocolate chips in the same 1/2 cup amount. For a deeper, less sweet flavor use dark chocolate chips. Omit walnuts or replace with pecans or toasted hazelnuts (same quantity). To make it gluten-free, use a store-bought gluten-free 9-inch pie crust and a 1:1 gluten-free flour blend in place of the all-purpose flour — texture will be slightly different but still delightful.
Serve warm with a generous scoop of vanilla ice cream and a drizzle of warm chocolate sauce for a classic contrast of temperatures. For a more sophisticated plate, top slices with lightly sweetened whipped cream and a sprinkle of flaky sea salt. This pie also pairs nicely with espresso or a fortified wine for an adult dessert course. Garnish with toasted walnut halves or a dusting of powdered sugar for presentation.
In autumn add 1/2 teaspoon ground cinnamon and a pinch of nutmeg to the dry ingredients for a warm spice note. For winter holidays stir 1/4 cup crushed peppermint candies into the batter after baking (for texture) or sprinkle on top with whipped cream. In summer, serve chilled with fresh berries and a dollop of lemon-scented whipped cream to brighten the richness.
Make the pie a day ahead and refrigerate to allow it to fully set for cleaner slices — this is perfect when hosting since you can focus on other dishes the day of. If transporting, put the chilled pie in a sturdy container and keep it cool in an insulated bag. For individual portions, bake in a disposable 9-inch shell or use mini tart shells and reduce baking time by half for easy grab-and-go desserts.
I once brought this pie to a family reunion where many people had strong opinions about brownies versus pie. By the end of the meal everyone agreed that this hybrid belonged in both categories. Friends who said they didn’t like nuts were converted when I served it without walnuts and with a scoop of salted caramel ice cream — small changes can win over skeptics. It’s now my go-to when I need a dessert that feels homemade but is easy to execute.
Make this recipe your own by adjusting bake time for texture, experimenting with chocolate types, or topping it with your favorite ice cream. It’s a forgiving, crowd-pleasing dessert that rewards small tweaks and personal touches.
Allow the sugar and warm butter to sit for 5 minutes before whisking; this helps create the shiny, crackled top.
Tent the pie with sprayed foil rather than pressing foil onto the batter to protect the glossy surface.
For cleaner slices chill the pie in the refrigerator for at least 2 hours before cutting.
This nourishing brownie pie recipe is sure to be a staple in your kitchen. Enjoy every moist, high protein slice — it is perfect for breakfast or as a wholesome snack any time.
Yes — the pie can be made a day ahead and kept refrigerated; chill for cleaner slices.
For a fudgier center remove the pie from the oven sooner (around the 20–25 minute mark after removing foil).
This Brownie Pie recipe makes perfectly juicy, tender, and flavorful steak every time! Serve with potatoes and a side salad for an unforgettable dinner in under 30 minutes.
Preheat the oven to 350°F and place a rack in the lower third. Ensure the oven is fully heated before baking to promote even cooking.
In a large bowl combine 3/4 cup granulated sugar with 8 tablespoons melted warm butter. Stir briefly and let sit 5 minutes so heat begins to dissolve the sugar for a glossy top, then whisk vigorously for 30 seconds.
Whisk in 1 large egg, 1 egg yolk, 1 tablespoon water, and 1 1/2 teaspoons vanilla extract for about 30 seconds until smooth. Remove excess batter from the whisk before proceeding.
Sprinkle 1/2 cup cocoa, 1/2 cup powdered sugar, 1/2 cup flour, and 1/4 teaspoon salt over the wet mix. Fold with a spatula until glossy and combined, then stir in 1/2 cup chocolate chips and 1/4 cup walnuts if desired.
Pour batter into the frozen 9-inch pie crust and smooth. Lightly spray a piece of foil and tent it over the pie without pressing onto the batter.
Bake covered on the lower third for 25 minutes. Remove foil carefully and bake another 20–30 minutes depending on desired set. For fudgy center remove earlier; for firmer slices bake longer.
Place on a wire rack to cool. Serve slightly warm with ice cream or at room temperature. Refrigerate for firmer slices if serving later.
Last Step: Please leave a rating and comment letting us know how you liked this recipe! This helps our business to thrive and continue providing free, high-quality recipes for you.
Leave a comment & rating below or tag
@culinya on social media!

Ultra-fudgy brownies crowned with gooey mini marshmallows and a quick-set chocolate icing. Crowd-pleasing, nostalgic, and irresistibly rich in every bite.

Buttery shortbread crust meets a silky brown sugar pecan topping in these easy pecan pie bars. Just 10 minutes of prep for bakery-level bliss.

A flawlessly smooth pumpkin cheesecake with warm spice, buttery graham crust, and no cracks. Finish with caramel and rum-kissed whipped cream.
Leave a comment & rating below or tag @culinya on social media!
Enjoyed this recipe? Share it with friends and family, and don't forget to leave a review!
This recipe looks amazing! Can't wait to try it.
Comments are stored locally in your browser. Server comments are displayed alongside your local comments.

Join to receive our email series which contains a round-up of some of our quick and easy family favorite recipes.
