
>>

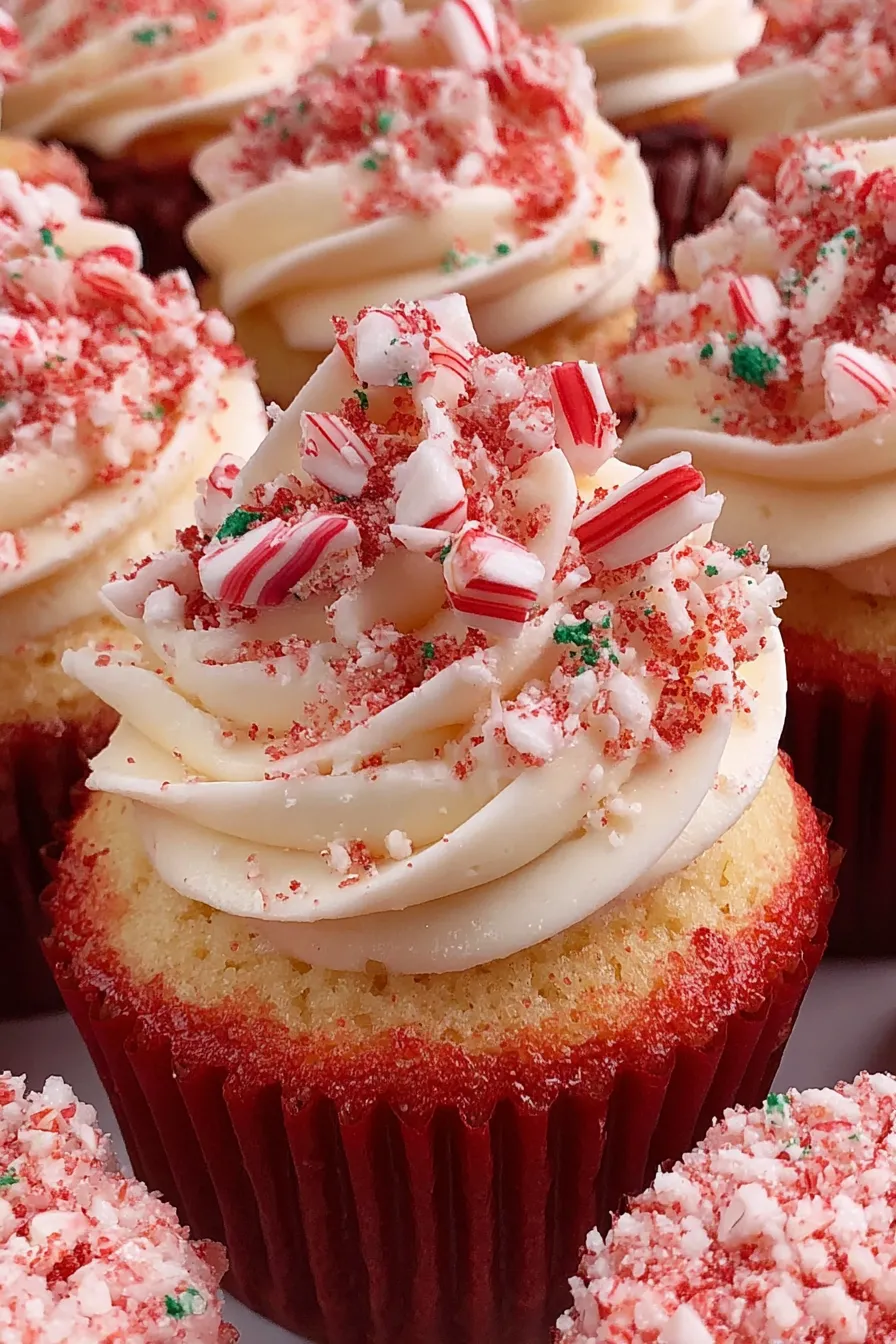
Swirled red-and-white cupcakes flavored with bright peppermint buttercream — festive, easy to make, and perfect for holiday gatherings.
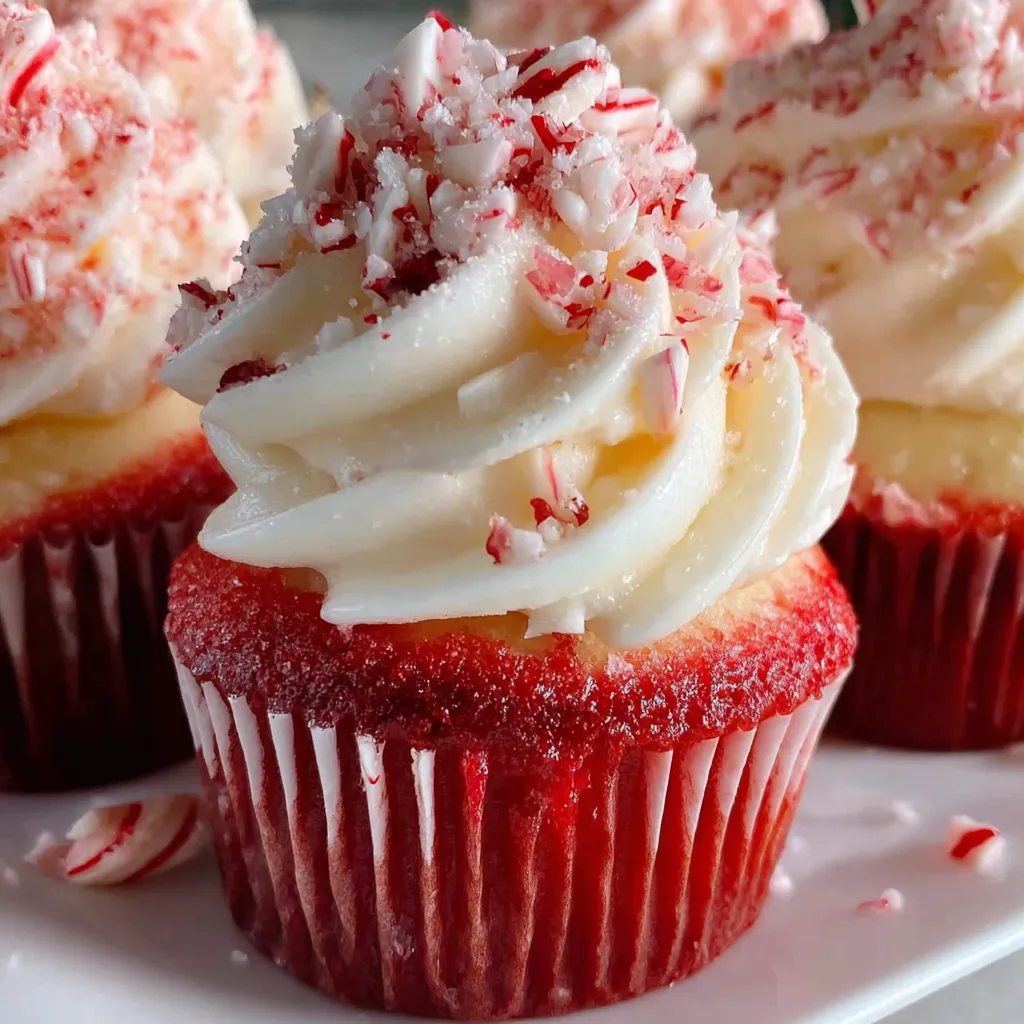
This batch of Candy Cane Peppermint Cupcakes is my favorite December baking ritual. I first developed this version the year my youngest declared that every holiday treat needed to both look and taste like Christmas. The striped cake inside and the cool peppermint buttercream on top deliver that unmistakable holiday crunch with each bite. These cupcakes balance a tender, vanilla crumb with a refreshing peppermint lift; they are sweet without being cloying and have a light, airy frosting that pipes beautifully when the butter is properly whipped. I often make them for school parties and neighbors, and people always ask for the recipe.
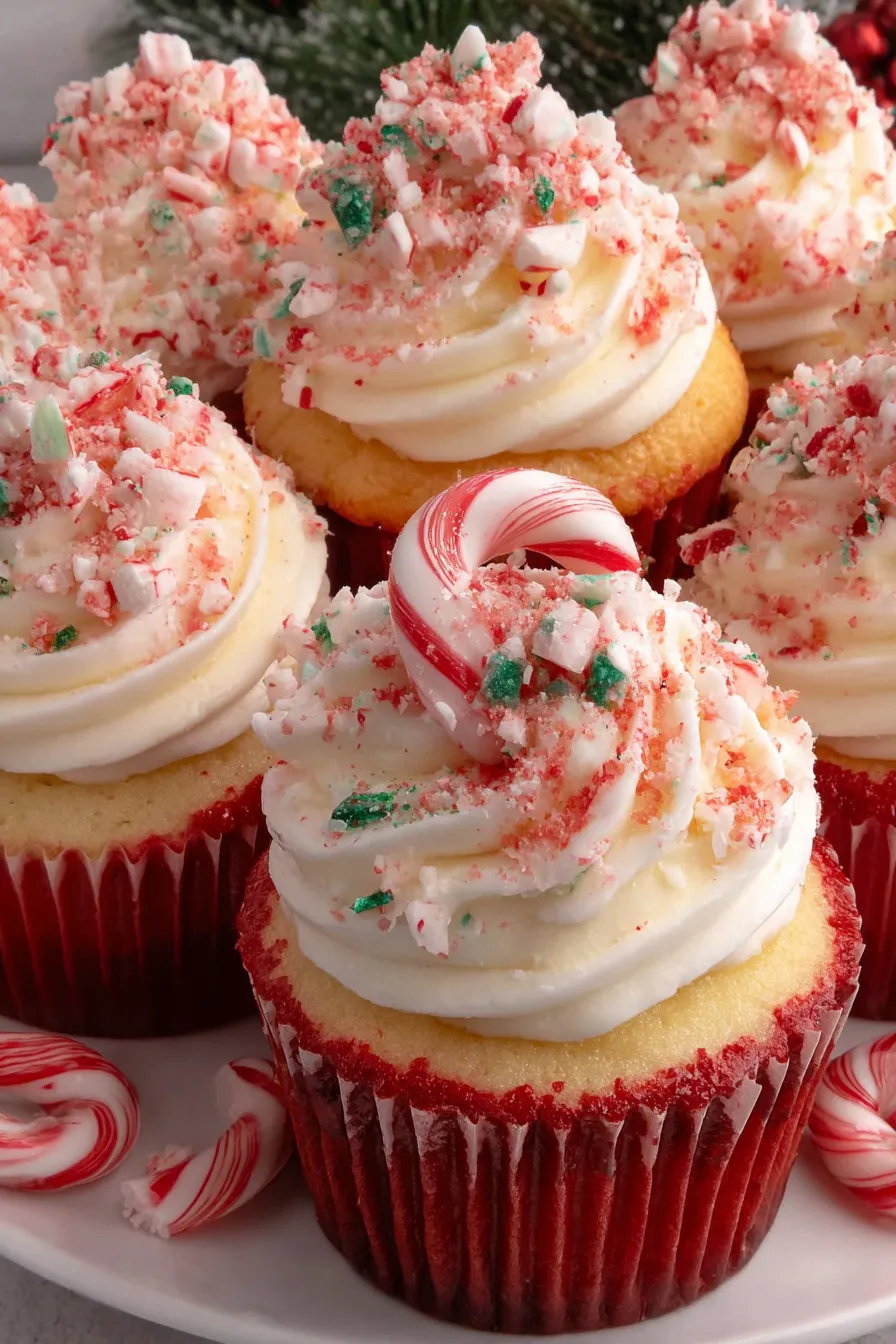
I discovered the technique for painting the piping bag to achieve a candy-cane stripe effect after a few messy attempts at marbled frosting. Painting two thin lines of gel color inside the bag gives you a playful outer stripe without changing the flavor or consistency of the buttercream. I also learned to use half the batter tinted and half left white, spooned into the liners alternately, to create a soft red-and-white swirl when baked. The process is forgiving, friendly to home bakers, and yields 18 festive cupcakes that travel well and store nicely for several days.
I still remember serving these the first year I made them: neighbors lingered on the porch, trading stories while breaking candy canes over steaming mugs of cocoa. The peppermint perfume fills the kitchen during assembly, and watching the frosting ribbon out in a perfect spiral never gets old. My family’s feedback was unanimous: giftable, nostalgic, and a little grown-up with that cool peppermint finish.
My favorite part of this process is how the kitchen smells while the cupcakes cool — peppermint and vanilla together feel celebratory in a way that immediately signals holiday time. Once, while making these for a neighborhood cookie exchange, a child tasted one and declared them 'officially Christmas.' That little endorsement made the extra effort entirely worthwhile.
Store cupcakes in a single layer in an airtight container to protect the frosting. At room temperature they remain pleasant for up to 24 hours in a cool room; refrigerate for longer shelf life up to 4 days. If refrigerated, allow 30 to 60 minutes at room temperature before serving for the buttercream to soften. For longer storage, freeze unfrosted cakes tightly wrapped and place in a freezer-safe bag; thaw overnight in the refrigerator and bring to room temperature before frosting and serving.
You can make dairy-free buttercream by using a high-quality vegan baking stick in place of butter and a non-dairy cream such as full-fat coconut milk for thinning; texture will be slightly different but still pipeable if chilled briefly. Swap the white cake mix for a gluten-free white mix labeled 1-to-1; expect a slightly coarser crumb. For a milder mint note, substitute peppermint extract with natural mint extract or use crushed peppermint candies folded into the frosting for added texture.
Serve these with hot chocolate, mulled cider or a simple pot of black tea. Garnish with a tiny sprig of rosemary for an elegant holiday flourish or place two mini candy canes as a frame for the swirl. For a dessert table, display on a tiered stand with matching paper liners and coordinate the frosting height by using a consistent piping technique for a polished look.
The idea of peppermint paired with vanilla cake is a modern holiday adaptation of European candy traditions — peppermint has been a winter flavor classic for decades. Candy canes themselves evolved in the 17th and 18th centuries from simple sugar sticks; their red-and-white stripes and peppermint flavor have become visual shorthand for Christmas. These cupcakes borrow that imagery while keeping the flavors approachable and familiar for a wide audience.
For parties, bake the cupcakes a day ahead and store unfrosted in a sealed container; make the buttercream the morning of and pipe when guests arrive for the freshest look. If transporting to an event, use a cupcake carrier or set the pan in a shallow box filled with crumpled paper to keep cupcakes from shifting. You can also pipe a dollop of frosting into small tubs for on-site finishing if the venue is warm.
These cupcakes are a little tradition, a crowd-pleaser, and a simple way to brighten a winter gathering. Whether gifted on a cookie plate or lined up on the dessert table, they carry the scent and spirit of the season — and the recipe is adaptable enough that you’ll want to keep it in your holiday repertoire for years to come.
Use gel food coloring for vibrant color without thinning the batter.
Sift the confectioners’ sugar to prevent lumps and ensure a silky buttercream.
Cool cupcakes completely before frosting to avoid melting the buttercream.
Chill the piping bag briefly if frosting becomes too soft while decorating.
This nourishing candy cane peppermint cupcakes recipe is sure to be a staple in your kitchen. Enjoy every moist, high protein slice — it is perfect for breakfast or as a wholesome snack any time.
This Candy Cane Peppermint Cupcakes recipe makes perfectly juicy, tender, and flavorful steak every time! Serve with potatoes and a side salad for an unforgettable dinner in under 30 minutes.
Position oven racks in the upper and lower thirds and preheat oven to 350°F. Line 18 cupcake cups across two 12-cup muffin tins with paper liners.
Prepare the white cake mix according to package directions, dividing batter evenly into two bowls once mixed.
Add red gel food coloring to one bowl and stir until you reach the desired shade. Use gel sparingly to avoid altering batter consistency.
Alternate spooning white and red batter into each liner until about half full (roughly 3–4 tablespoons per cup).
Bake for 18–20 minutes, rotating pans halfway through. Test with a toothpick — it should come out clean. Cool completely on a wire rack.
Beat softened butter and kosher salt until creamy. Gradually add sifted confectioners’ sugar, then add heavy cream, vanilla and peppermint. Beat until light and fluffy.
Paint two thin lines of red gel inside a piping bag fitted with a 1/2-inch round tip, fill with frosting, and pipe swirls onto cooled cupcakes.
Garnish with mini candy canes or coarse peppermint sugar. Store in an airtight container in the refrigerator for up to 4 days.
Last Step: Please leave a rating and comment letting us know how you liked this recipe! This helps our business to thrive and continue providing free, high-quality recipes for you.
Leave a comment & rating below or tag
@culinya on social media!

Ultra-fudgy brownies crowned with gooey mini marshmallows and a quick-set chocolate icing. Crowd-pleasing, nostalgic, and irresistibly rich in every bite.

Buttery shortbread crust meets a silky brown sugar pecan topping in these easy pecan pie bars. Just 10 minutes of prep for bakery-level bliss.

A flawlessly smooth pumpkin cheesecake with warm spice, buttery graham crust, and no cracks. Finish with caramel and rum-kissed whipped cream.
Leave a comment & rating below or tag @culinya on social media!
Enjoyed this recipe? Share it with friends and family, and don't forget to leave a review!
This recipe looks amazing! Can't wait to try it.
Comments are stored locally in your browser. Server comments are displayed alongside your local comments.

Join to receive our email series which contains a round-up of some of our quick and easy family favorite recipes.
