
Chocolate Puddles

Soft cocoa cookies that cradle a melting Hershey’s Kiss, then are gently drained to create glossy chocolate puddles — a playful holiday classic.

This little cookie has been a holiday and party favorite at my house for years. I first made these one December afternoon when I was trying to turn an ordinary cookie into something a bit whimsical for a neighborhood bake swap. The simple combination of cocoa-scented dough and a warm Hershey's Kiss that melts into the center creates a texture contrast I can't resist: a slightly cakey, tender edge with a decadent, glossy chocolate puddle in the middle. Every time I press the Kiss tip out and watch the chocolate bloom, everyone crowds the counter to see the transformation. Children love the theatrics; adults love how the flavors cut through a heavier holiday meal.
What makes these especially memorable is how approachable they are. The dough is forgiving — it chills into a shape that bakes into a soft cookie, and the powdered sugar exterior keeps them festive and slightly crisp on the outside while remaining tender inside. I often swap vanilla for peppermint extract during December to make them holiday-bright. The ritual of unwrapping the Kiss, pressing it into the warm cookie, then trimming the tip after it softens is oddly satisfying and keeps guests entertained while cooling. If you want a crowd-pleasing bite that's as much fun to make as it is to eat, these are a must on your cookie roster.
Why You'll Love This Recipe
- The dough comes together quickly and uses pantry staples like flour, cocoa, and cornstarch while delivering a rich chocolate flavor without being overly sweet.
- Ready to bake after a one-hour chill, the method fits perfectly into a weekend baking plan — active time is under 20 minutes; total time about 1 hour 30 minutes including chilling.
- Each portion is individually portioned with a cookie scoop and finished with a Hershey’s Kiss for easy, elegant presentation; great for gift tins and bake sales.
- Make-ahead friendly: the dough holds in the fridge for up to 48 hours and freezes well, so you can bake fresh cookies on demand.
- Flexible flavor: switch vanilla for peppermint extract or use dark chocolate kisses for a deeper, less sweet puddle — excellent for dietary tweaks.
- Kid-friendly and interactive: pressing the Kiss and removing the tip becomes a fun moment during gatherings, especially with children helping.
In my experience, the powdered sugar coating is more than decorative: it keeps edges from firming too much and gives a light crackle that contrasts the melted center. My sister once hosted a cookie exchange where these were the first to disappear; guests asked for the recipe and for tips on how to vary the flavor. Over the years I've learned to time the oven and cooling rack so the chocolate softens perfectly but doesn't run entirely off the cookie.
Ingredients
- All-purpose flour (1 3/4 cups): Use a reliable brand like King Arthur or Gold Medal for consistent texture. Spoon and level the cup for accurate measuring — this keeps the cookies tender rather than dense.
- Cocoa powder (1/2 cup): Unsweetened Dutch-process or natural cocoa both work; Dutch-process yields a slightly smoother, chocolatey flavor. I often use Hershey's Special Dark if I want a richer color.
- Baking soda (1 teaspoon) & baking powder (3/4 teaspoon): These leaveners give a gentle lift so cookies stay soft and slightly cakey. Check freshness for best results.
- Cornstarch (2 tablespoons): This is the secret to a tender, pillowy crumb — it softens the gluten for a melt-in-your-mouth texture.
- Salted butter (1/2 cup, softened): Use unsalted if you prefer controlling salt, then add 1/4 teaspoon salt. Room-temperature butter creams more easily for even texture; I use Land O Lakes for baking.
- Granulated sugar (1/2 cup) & light brown sugar (1/2 cup, packed): The mix of sugars balances chew and moisture. Brown sugar adds depth and keeps the interior soft.
- Eggs (2 large, room temperature): Room-temperature eggs incorporate better and create a smoother emulsion; leave them out 15-20 minutes before mixing.
- Vanilla extract (2 teaspoons) or peppermint extract (1 teaspoon): Vanilla is classic; peppermint is festive — use less peppermint because it's more concentrated.
- Powdered sugar (1/2 cup): For rolling the dough balls so cookies get a pretty dusted exterior that bakes into a light crust.
- Hershey’s Kisses (24): Regular milk chocolate Kisses are traditional and melt beautifully; if you want less sweetness, choose dark chocolate Kisses.
Instructions
Mix dry ingredients: In a medium bowl, whisk together the 1 3/4 cups all-purpose flour, 1/2 cup cocoa powder, 1 teaspoon baking soda, 3/4 teaspoon baking powder, and 2 tablespoons cornstarch until uniform. This ensures even leavening and prevents clumps of cocoa that can make pockets in baked cookies. Cream butter and sugars: In a second mixing bowl, cream together 1/2 cup softened salted butter, 1/2 cup granulated sugar, and 1/2 cup packed light brown sugar on medium speed for about 2 minutes until light and fluffy. Scrape the bowl once to avoid trapped butter and sugars; this step aerates the dough and helps the cookies spread evenly. Add eggs and flavor: Add the 2 large room-temperature eggs and 2 teaspoons vanilla extract (or 1 teaspoon peppermint extract) to the creamed mixture. Beat until just combined; overmixing after the eggs can develop gluten and toughen the final texture. Combine wet and dry: With the mixer on low, gradually add the dry flour mixture and beat just until incorporated. Stop as soon as you see no streaks of flour — the dough should be soft, slightly sticky, and homogeneous. Overworking will make cookies cakier than intended. Chill the dough: Cover the dough tightly with plastic wrap and chill in the refrigerator for 1 hour. Chilling firms the fats so the cookies bake into a rounded shape and helps the powdered sugar coating adhere. If you’re short on time, a 30-minute chill will still help but the cookies may spread more. Preheat and prepare pans: Preheat your oven to 350°F (177°C) and line baking sheets with parchment paper. Parchment prevents sticking and promotes even browning on the bottom. Portion and coat: Use a cookie scoop to form 1 1/2 tablespoon balls of dough. Roll each ball in the 1/2 cup powdered sugar until fully coated, then place about 2 inches apart on the prepared sheets. The powdered sugar gives a delicate crust and pretty finish. Bake and insert chocolate: Bake for 8 to 9 minutes. Remove from the oven and immediately press one unwrapped Hershey’s Kiss into the center of each cookie. The residual heat will soften the chocolate without melting it entirely through the base. Trim tip for puddles: After 2 minutes, when the Kiss has softened but not completely liquefied, lift and discard the pointed tip from each Kiss so the chocolate puddles into the cookie. This creates the signature glossy surface. Cool: Transfer cookies to a cooling rack and allow to cool completely. The chocolate will set into a shiny puddle at room temperature while the interior finishes firming up.
You Must Know
- These are best within 2 days at room temperature in an airtight container; they freeze well for up to 3 months when wrapped and stored in freezer-safe bags.
- High in simple carbohydrates and saturated fat due to butter and chocolate; enjoy as an occasional treat and store away from heat to prevent chocolate bloom.
- Chilling the dough is crucial for shape control; skipping the chill increases spread and may reduce the characteristic puddle effect.
- Use room-temperature eggs and softened butter to ensure even creaming and proper emulsion for consistent texture.
My favorite part is the moment of trimming the Kiss tip — it’s oddly ceremonial and always gets a round of “oohs” when the chocolate fans out into a glossy pool. These cookies have been the hit at work parties and kid bake-offs alike, and they adapt well to adult palettes when you swap in dark chocolate or a sprinkle of flaky sea salt on top right after pressing the Kiss in.
Storage Tips
Store cooled cookies in an airtight container at room temperature for up to 2 days; separate layers with parchment to avoid sticking. For longer storage, freeze in a single layer until firm, then transfer to a freezer bag for up to 3 months. Thaw at room temperature for 30–60 minutes before serving. If the chocolate looks dull from temperature swings, let cookies sit at room temperature — the gloss will return as they equilibrate.
Ingredient Substitutions
You can swap salted butter for unsalted plus 1/4 teaspoon fine salt if you prefer control over sodium. For a dairy-free version, use vegan butter and dairy-free chocolate kisses — texture will be slightly different but still enjoyable. Replace one egg with a flax egg for an egg-free variation, though structure will be softer. For deeper chocolate flavor without added sweetness, use 1/3 cup Dutch-process cocoa and 2 tablespoons natural cocoa; you may need to adjust sugar slightly to taste.
Serving Suggestions
Serve warm or at room temperature alongside coffee, hot cocoa, or a small scoop of vanilla ice cream for contrast. For holiday platters, arrange with sugared cranberries and rosemary sprigs. Garnish with a light dusting of cocoa or a few flakes of Maldon sea salt right after inserting the Kiss for a salty-sweet finish that pairs well with richer desserts.
Cultural Background
These treats riff on classic chocolate crinkle and thumbprint concepts — combining a soft cookie with a centered filling is a tradition seen across many baking cultures. Using individually wrapped chocolates as a finishing touch is a modern, Americanized twist that gained popularity with mass-produced chocolate candies in the 20th century, creating playful, single-serve confections ideal for sharing and gifting.

Seasonal Adaptations
In winter, swap vanilla for peppermint extract and use dark chocolate Kisses for a more grown-up flavor. For Valentine’s Day, roll dough in pink-colored powdered sugar or use strawberry-flavored kisses. In summer, chill dough longer so it won’t spread as much in a warm kitchen, and consider a milder chocolate or even caramel-filled candies for variation.
Meal Prep Tips
Make the dough up to 48 hours ahead and keep it tightly wrapped in the refrigerator. For on-demand baking, portion dough into 1 1/2 tablespoon balls and freeze on a sheet pan until solid, then store in a bag. Bake straight from frozen — add 1–2 minutes to bake time and press kisses in as soon as they come out. This makes fresh-baked cookies available for unexpected guests with minimal effort.
These chocolate puddles bring a bit of theater and a lot of flavor to any gathering. Whether you make them for holidays, school events, or a simple weekend treat, they are reliably adored and surprisingly adaptable — enjoy the process and have fun with the finishing touches.
Pro Tips
Spoon and level flour for accurate measuring to prevent dry, dense cookies.
Use room-temperature eggs and butter so the mixture emulsifies correctly and yields a tender crumb.
Chill the dough at least 1 hour to control spread and enhance flavor.
Roll in powdered sugar right before baking to maintain a delicate exterior.
Press the Kiss in immediately out of the oven and remove the tip after 2 minutes for best puddle formation.
This nourishing chocolate puddles recipe is sure to be a staple in your kitchen. Enjoy every moist, high protein slice — it is perfect for breakfast or as a wholesome snack any time.
FAQs about Recipes
Can I make the dough ahead of time?
Yes. Dough can be chilled for up to 48 hours; if frozen, bake from frozen and add 1–2 minutes to the bake time.
Should I serve these warm or cold?
Room temperature is best; the chocolate will firm but remain glossy. Avoid refrigerating after assembling or chocolate may bloom.
Tags
Chocolate Puddles
This Chocolate Puddles recipe makes perfectly juicy, tender, and flavorful steak every time! Serve with potatoes and a side salad for an unforgettable dinner in under 30 minutes.
Instructions
Whisk dry ingredients
In a medium bowl, whisk together the flour, cocoa powder, baking soda, baking powder, and cornstarch until evenly combined.
Cream butter and sugars
In a separate bowl, cream the softened butter with granulated and brown sugar on medium speed for about 2 minutes until light and fluffy.
Add eggs and extract
Beat in the room-temperature eggs and vanilla (or peppermint) until just combined to avoid overmixing.
Combine dry and wet
With the mixer on low, gradually add the dry ingredients and beat until just incorporated; stop when no streaks remain.
Chill dough
Cover the dough and chill for 1 hour to firm up the butter and control spreading during baking.
Preheat and portion
Preheat oven to 350°F. Use a 1 1/2 tablespoon scoop to portion dough, roll in powdered sugar, and place 2 inches apart on parchment-lined sheets.
Bake and finish with chocolate
Bake 8–9 minutes, remove from oven, press an unwrapped Kiss into the center, wait 2 minutes, then trim the tip so the chocolate puddles into the cookie.
Cool
Transfer cookies to a cooling rack and let cool completely so the chocolate sets into a glossy puddle.
Last Step: Please leave a rating and comment letting us know how you liked this recipe! This helps our business to thrive and continue providing free, high-quality recipes for you.
Nutrition
Did You Make This?
Leave a comment & rating below or tag
@culinya on social media!
Categories:
You might also like...
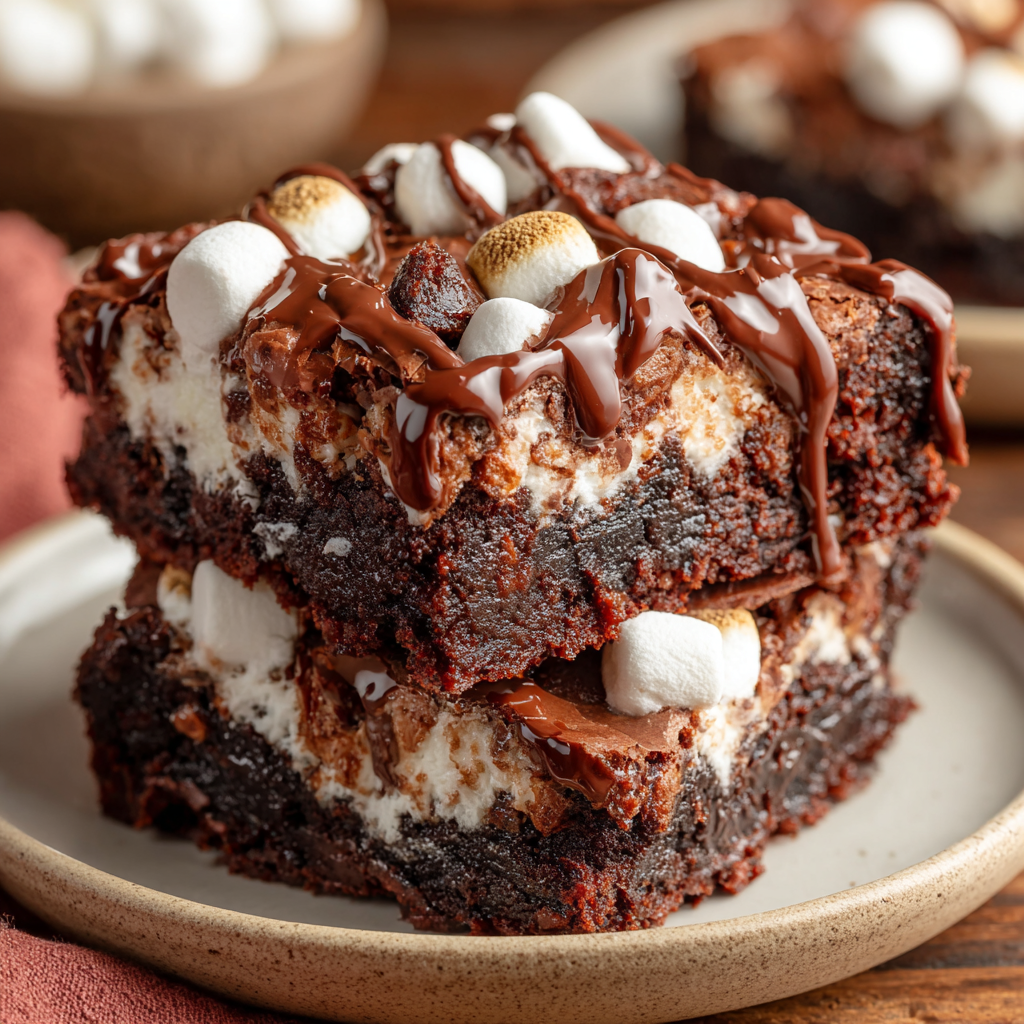
Fudgy Marshmallow Mud Brownies
Ultra-fudgy brownies crowned with gooey mini marshmallows and a quick-set chocolate icing. Crowd-pleasing, nostalgic, and irresistibly rich in every bite.
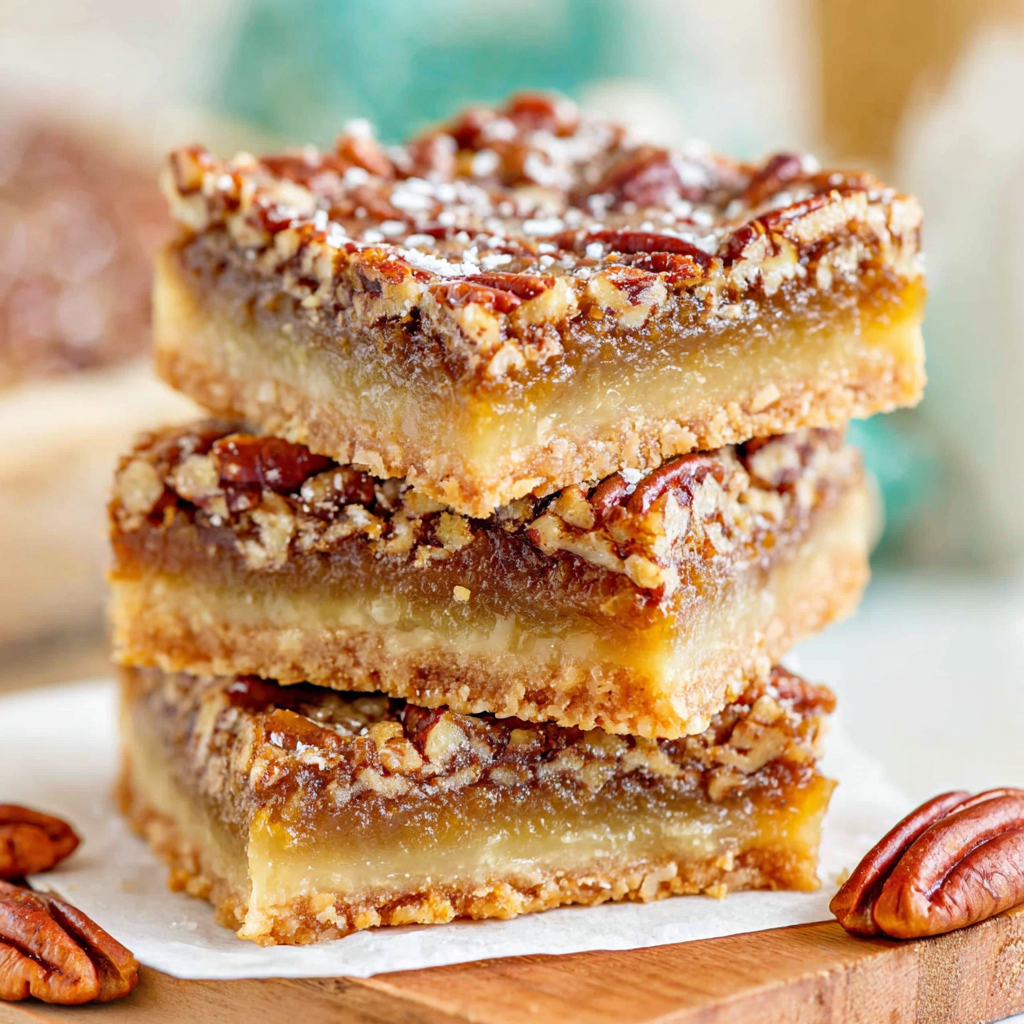
Buttery Pecan Pie Bars
Buttery shortbread crust meets a silky brown sugar pecan topping in these easy pecan pie bars. Just 10 minutes of prep for bakery-level bliss.
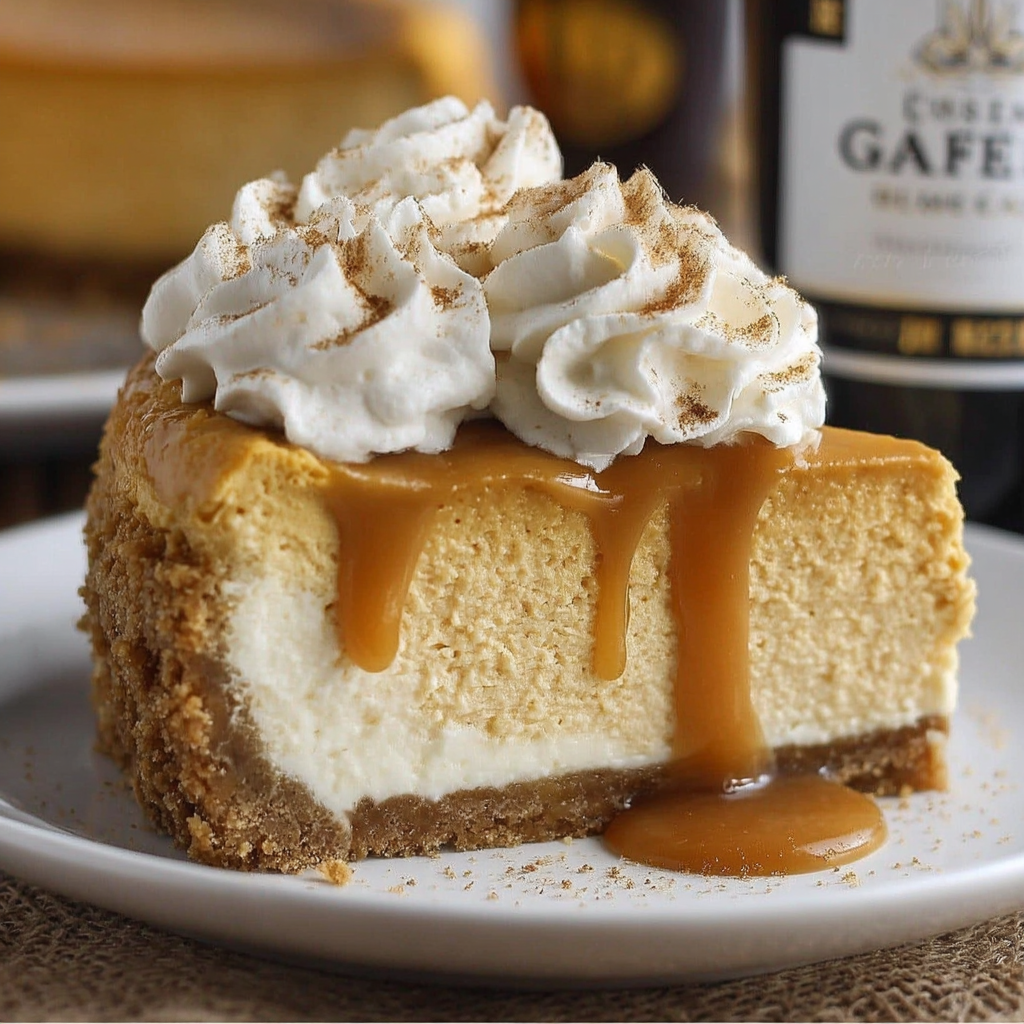
Silky No-Crack Pumpkin Cheesecake
A flawlessly smooth pumpkin cheesecake with warm spice, buttery graham crust, and no cracks. Finish with caramel and rum-kissed whipped cream.
Did You Make This?
Leave a comment & rating below or tag @culinya on social media!
Rate This Recipe
Share This Recipe
Enjoyed this recipe? Share it with friends and family, and don't forget to leave a review!
Comments (1)
This recipe looks amazing! Can't wait to try it.
Comments are stored locally in your browser. Server comments are displayed alongside your local comments.

Hi, I'm Sophia!
What's Popular
30-Minute Meals!
Join to receive our email series which contains a round-up of some of our quick and easy family favorite recipes.