
>>

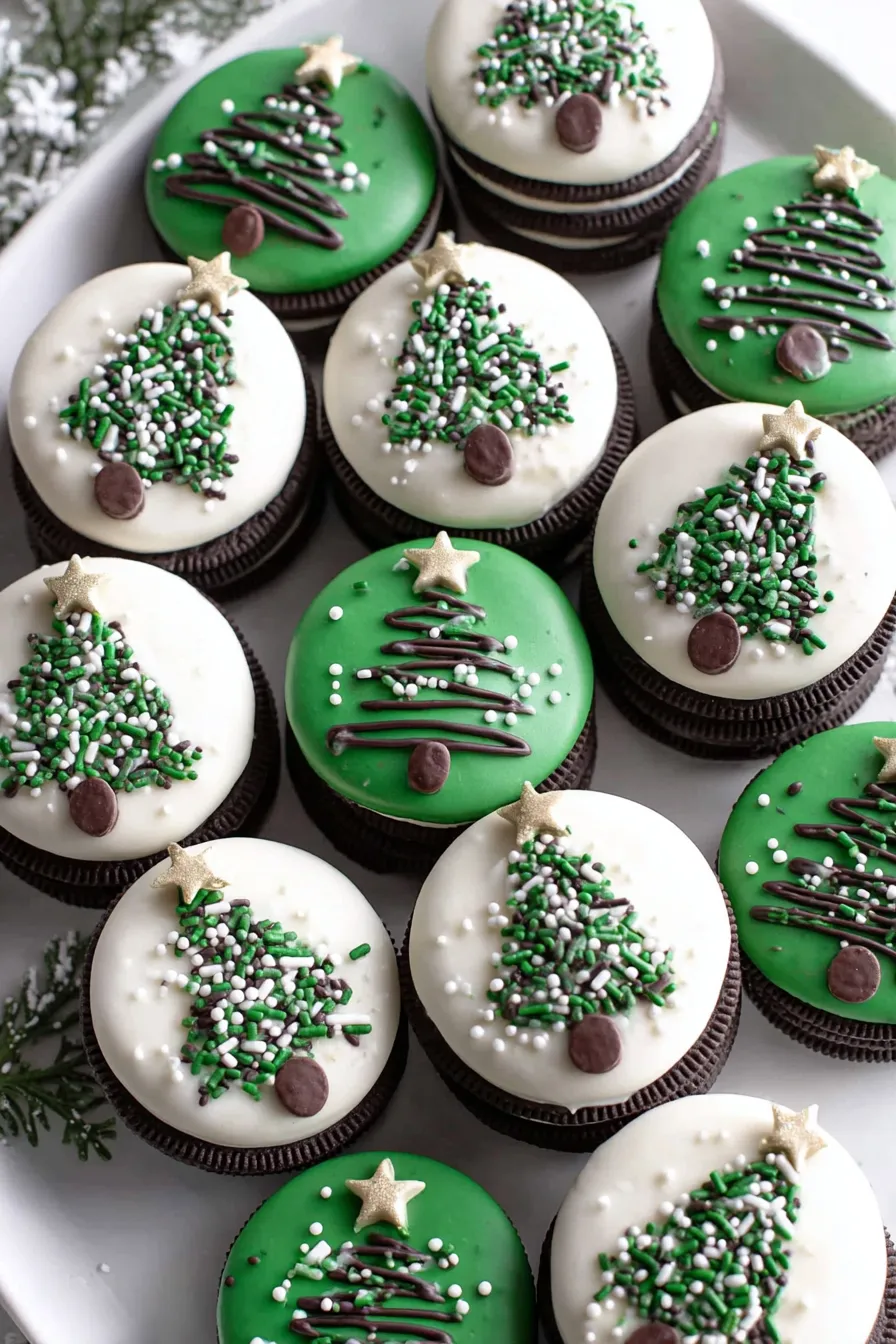
Turn everyday sandwich cookies into festive Christmas trees with melted chocolate, green swirls, and candy star toppers. A quick, kid-friendly holiday treat.

This Christmas Oreo Tree Cookies idea became a holiday staple in my kitchen the first winter I wanted a quick, joyful project to do with visiting nieces and nephews. I discovered the method while testing easy edible crafts for a cookie exchange and was surprised by how a few simple ingredients transformed into tiny edible decorations that look elaborate but require almost no skill. The contrast between crisp cookie, smooth white chocolate, and bright green decoration creates a playful texture and flavor combination that children and adults both love. I remember one tree-decorating afternoon when my youngest cousin insisted on making a forest of cookies and proudly carried a tray to the table like it was a trophy.
What makes these treats special is how accessible they are, from pantry staples to inexpensive decorations. They are sweet without being overly rich because the white chocolate acts as a canvas for the festive green tree shape. The cookie base gives a satisfying crunch and familiar Oreo flavor that everyone recognizes. If you are preparing for a holiday party, an afterschool craft, or a bake sale, these take very little advance planning and yield colorful results that travel well when set in shallow boxes. Over the years I have adapted the process to speed up assembly and to keep clean up minimal while maintaining a polished final look.
When I first served these at a neighborhood cookie swap everyone asked for instructions and the recipe quickly circulated. My family especially likes how kids can help with the piping and the final placement of candy stars. It became a go to when I need a visually festive tray with minimal fuss and maximum smiles.
My favorite aspect of these cookies is how they bring people together at the decorating station. One year a neighbor held an impromptu cookie decorating hour and everyone left with a box of cookies and a smile. It is a simple recipe that creates lasting memories because it invites participation and playful creativity.
To preserve crispness keep the cookies in a single layer or in layers separated by parchment. At room temperature store in an airtight tin or container away from direct sunlight and heat sources, which can soften the coating. In warm climates place the container in the refrigerator but bring to room temperature before serving so the texture and flavor come through. For longer storage freeze in a rigid container with parchment between layers for up to 3 months. When reheating use gentle methods only if you want to soften the coating briefly; a 10 second blast in the microwave on low can remove chill but test on a single cookie first to avoid melting decorations.

If you need dairy free options choose dairy free melting wafers or vegan candy melts and select certified gluten free sandwich cookies to accommodate guests with gluten intolerance. Dark or milk chocolate can replace white coating for a different color palette; if using dark chocolate pipe the tree with green vanilla or matcha tinted coating for contrast. For nut allergies verify that melting wafers and sprinkles are produced in nut free facilities. Use small round colored sprinkles in place of candy stars for a lower sugar option and swap chocolate jimmies with crushed pretzel sticks or small rectangular cookies for a textured trunk.
Arrange cookies on a platter like a tiny forest, alternating sizes and angles for visual interest. Pair with warm beverages such as hot cocoa or spiced tea to complement the sweet coating. For party platters include clusters of these cookies alongside gingerbread men or shortbread so guests can sample different textures. Add edible glitter or dust lightly with powdered sugar for a snow effect. For packaged gifts layer cookies between parchment in small boxes tied with ribbon for attractive, edible hostess presents.
Decorating cookies to resemble trees is a playful adaptation of traditional holiday symbolism where evergreen trees represent resilience and festivity. This treat blends American sandwich cookie culture with classic holiday decoration techniques using confectionery coatings. Similar simple confection projects have been popular in community baking traditions because they require minimal baking skills yet deliver seasonal presentation. This technique echoes the decades long practice of using ready made cookies as bases for creative holiday assembly work.
For a winter palette switch green coating to pale blue and top with snowflake sugar decorations for a winter wonderland theme. For a Halloween twist use orange coating with black candy eyes and serve as spooky cookie monsters. At Easter use pastel colors and tiny edible pearls. Adjust the piping design from trees to wreaths or simple garlands to suit different celebrations, and change the star toppers to themed candies for holiday specific presentations.
Make the coated cookies up to two days ahead and store them flat so decorations remain intact. Melt and store extra green coating in a small sealed container at room temperature for same day touch ups. For bulk prep melt coatings in larger microwave safe bowls and transfer to smaller disposable piping bags for different workstations. Label containers with serving day and ingredient notes so anyone assisting can follow the plan. When packing for events secure cookies in single layers and use non slip liners to avoid shifting during transport.
These festive trees are a joyful way to bring color and nostalgia to holiday gatherings. They are forgiving, adaptable, and create a moment of delight when presented on a holiday table or boxed as a small edible gift. Try them with friends, family, or your community cookie exchange and feel free to experiment with colors and toppers to make them your own.
Work on a cool surface so the coating sets faster and lines stay crisp.
Practice piping on parchment before decorating cookies to get comfortable with pressure and speed.
If green coating thickens, stir in a small teaspoon of neutral oil to restore fluidity.
Use room temperature cookies for an even coating surface; chilled cookies can cause cracking.
This nourishing christmas oreo tree cookies recipe is sure to be a staple in your kitchen. Enjoy every moist, high protein slice — it is perfect for breakfast or as a wholesome snack any time.
This Christmas Oreo Tree Cookies recipe makes perfectly juicy, tender, and flavorful steak every time! Serve with potatoes and a side salad for an unforgettable dinner in under 30 minutes.
Line a baking sheet with parchment paper and arrange the 15 cookies with space between them to make decorating easier.
Place 6 ounces of white melting chips in a microwave safe bowl. Heat in 30 second intervals, stirring between each, until fully melted and smooth. Add a small drop of neutral oil if needed to loosen.
Dip each Oreo halfway into the melted white coating, tapping off excess, then place on the prepared sheet to set at room temperature or in the refrigerator for faster setting.
Melt 3 ounces of green wafers in a separate bowl using 30 second bursts in the microwave, stirring until smooth. Transfer to a piping bag or a plastic bag with a small corner snipped.
Pipe a small tree with back and forth motions on the white coated portion of each cookie, starting narrow at the top and widening toward the bottom to mimic branches.
Press a candy star onto the top of each tree while the green coating is wet. Use chocolate jimmies below the tree to form a trunk. Allow cookies to set completely before serving or packaging.
Last Step: Please leave a rating and comment letting us know how you liked this recipe! This helps our business to thrive and continue providing free, high-quality recipes for you.
Leave a comment & rating below or tag
@culinya on social media!

Ultra-fudgy brownies crowned with gooey mini marshmallows and a quick-set chocolate icing. Crowd-pleasing, nostalgic, and irresistibly rich in every bite.

Buttery shortbread crust meets a silky brown sugar pecan topping in these easy pecan pie bars. Just 10 minutes of prep for bakery-level bliss.

A flawlessly smooth pumpkin cheesecake with warm spice, buttery graham crust, and no cracks. Finish with caramel and rum-kissed whipped cream.
Leave a comment & rating below or tag @culinya on social media!
Enjoyed this recipe? Share it with friends and family, and don't forget to leave a review!
This recipe looks amazing! Can't wait to try it.
Comments are stored locally in your browser. Server comments are displayed alongside your local comments.

Join to receive our email series which contains a round-up of some of our quick and easy family favorite recipes.
