
Christmas Peanut Butter Truffles

No-bake white chocolate-coated peanut butter truffles decorated with festive sprinkles — a quick, crowd-pleasing holiday treat.
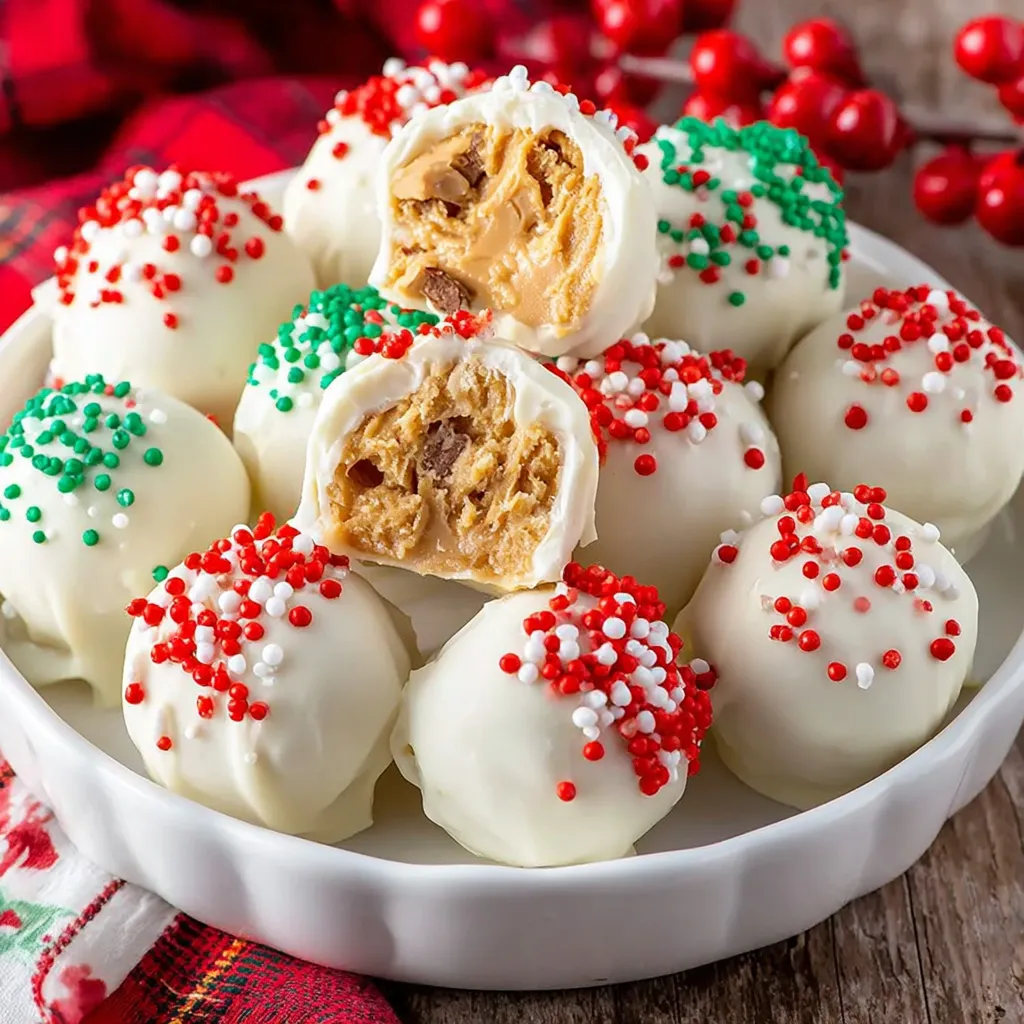
This Christmas peanut butter truffle recipe has become my holiday shortcut to joy. I first made these on a busy December afternoon years ago when I needed a simple, no-bake treat for a classroom party and only had pantry staples on hand. The combination of sweet powdered sugar, rich peanut butter, and creamy white chocolate I used that day sparked an instant family tradition. Each bite is a delicate balance of smooth, slightly salty peanut butter wrapped in a crisp white chocolate shell, finished with festive sprinkles that make them look like they belong under the tree.
What makes these truffles special is their simplicity and versatility: they require minimal equipment, can be shaped by hand or with a scoop, and chill quickly so you can finish them between holiday tasks. The texture contrast — a tender, slightly fudgy center and a snap of white chocolate — is what keeps everyone reaching for more. I love how they travel well; a tin of these sent to neighbors always starts conversations and brings back memories of cold evenings spent baking and sipping mulled cider. These are easy enough for kids to decorate, too, making them a perfect family activity during the festive rush.
Why You'll Love This Recipe
- Fast and no-bake: Ready in under an hour with just 15 minutes of active time, ideal when the oven is busy with turkey or cookies.
- Pantry-friendly: Uses common ingredients — powdered sugar, peanut butter, butter, and melting chocolate — so you can make them at a moment's notice.
- Kid-friendly assembly: Kids enjoy rolling and decorating, so they’re great for a family holiday project or classroom gifts.
- Customizable toppings: Decorate with festive sprinkles, chopped nuts, crushed candy canes, or a drizzle of melted dark chocolate to match any theme.
- Make-ahead convenience: You can prepare the centers a day in advance; coat and decorate right before serving for a fresh look.
- Gift-ready: They transport well in tins or boxes and keep their shape in cool conditions, making them perfect edible gifts.
My first batch surprised me — neighbors and family members raved and asked for the recipe. Over the years I fine-tuned the chilling times and the scoop size to yield consistently round, elegant morsels. The small tweaks, like using room-temperature butter and chilling the centers briefly before dipping, make a big difference in texture and ease of coating.
Ingredients
- Powdered sugar (1 cup): Finely sifted powdered sugar keeps the center smooth and easy to roll. I prefer a brand that’s well-ground for a silky texture — Domino or C&H work well in the U.S.
- Peanut butter (1/2 cup): Use creamy for a classic, silky center or chunky for added crunch. Natural peanut butter with no added sugar can be used, but expect slightly less sweet results.
- Butter (3 tablespoons, room temperature): Adds richness and a touch of salt if you use salted butter. Room-temperature butter blends more uniformly into the mixture.
- White melting chocolate (16 ounces): Use coating wafers or compound chocolate labeled for melting for a smooth finish and quick setting. Brands like Ghirardelli or Wilton candy melts are reliable.
- Christmas sprinkles and toppings: Festive nonpareils, edible glitter, crushed peppermint, or chopped dry roasted peanuts all add color and texture — choose heat-stable sprinkles so they don’t fade when applied to warm chocolate.
Instructions
Combine the base: In a medium mixing bowl, add 1 cup sifted powdered sugar, 1/2 cup peanut butter, and 3 tablespoons room-temperature butter. Use a large spatula or wooden spoon to stir until a smooth, slightly stiff dough forms. If the mixture seems too dry, add a teaspoon of peanut butter; if too soft, fold in a tablespoon of powdered sugar. The ideal texture is firm enough to hold shape but not crumbly. Portion the centers: Using a small cookie scoop or a heaping teaspoon, portion the dough and roll between your palms into 1-inch balls. Work quickly to keep hands warm from the butter; if the mixture softens, pop the tray back in the fridge. Aim for uniformly sized balls so they coat evenly. Place on a parchment-lined baking sheet and chill for 15–30 minutes until firm to the touch. Melt the coating: Break 16 ounces of white melting chocolate into a microwave-safe bowl. Microwave in 30-second bursts at 50% power, stirring between each, until completely melted and smooth. Alternatively, melt over a double boiler, stirring gently to avoid seizing. Maintain a temperature under 120°F to prevent blooming and keep the coating glossy. Dip and decorate: Remove chilled centers from the refrigerator. Using a fork or dipping tool, lower each ball into the melted chocolate, tapping the fork on the side to remove excess coating. Place back on parchment and quickly add sprinkles or toppings before the coating sets. Work in small batches so the chocolate doesn’t thicken. Set and store: Allow the coated truffles to sit at room temperature or place in the refrigerator for 10–15 minutes to harden completely. Store in an airtight container in a cool spot or refrigerate if your home is warm. Allow refrigerated truffles to come to room temperature for 10 minutes before serving for the best flavor and texture.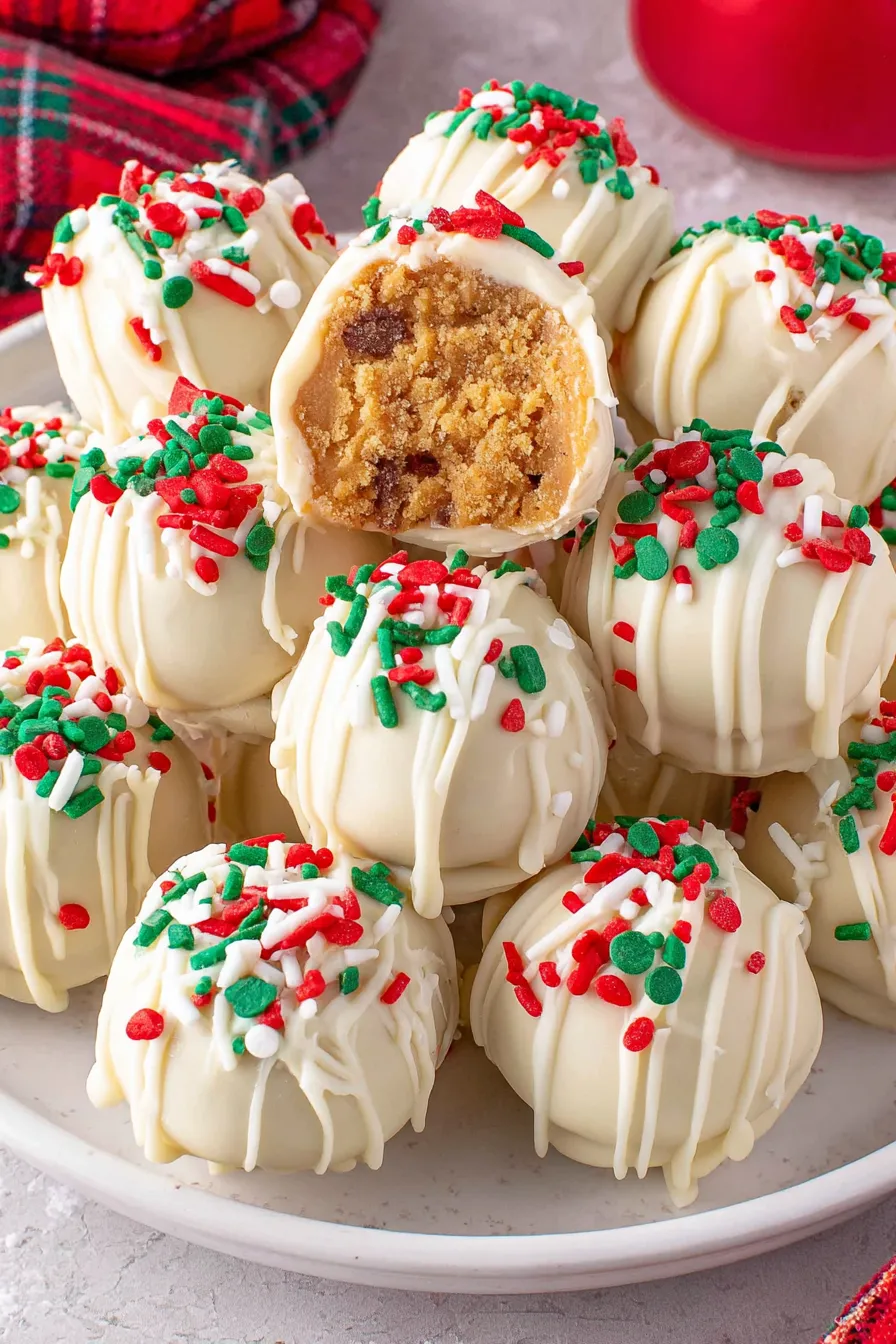
You Must Know
- These candies are nut-forward and contain peanuts and dairy — not suitable for nut-free or dairy-free diets unless substituted.
- They freeze well for up to 3 months; thaw in the fridge overnight before serving to maintain shape and texture.
- Work in small coating batches to keep the chocolate at the right temperature — it sets too quickly if it cools.
- If chocolate seizes (becomes grainy), add a teaspoon of neutral oil and stir to smooth it out, or reheat gently.
- Room temperature, not warm: serve at cool room temperature to let flavors bloom — too cold masks sweetness.
My favorite part is watching kids decorate: their faces light up when they sprinkle candy like snow on each piece. One year I brought a tin to a potluck and someone mistook them for store-bought — the compliment made me laugh and made me realize how a simple, thoughtful presentation lifts a humble confection into something special. Small refinements — the right scoop size, a brief chill, and fast decorating — always improve the finished look.
Storage Tips
Store in an airtight container layered with parchment to prevent sticking. At cool room temperature (under 68°F), they keep well for 3–4 days. For longer storage, refrigerate up to 2 weeks; to freeze, layer them in a freezer-safe container with parchment and store for up to 3 months. Thaw overnight in the refrigerator or for a few hours at room temperature to avoid condensation that can dull the white coating. When transporting, use a flat tin with dividers or wax paper to keep pieces from rubbing together.
Ingredient Substitutions
To make these dairy-free, use a dairy-free white coating or quality dairy-free white chocolate and swap butter for a solid coconut oil alternative (use slightly less). For a vegan version, use powdered sugar certified vegan and a plant-based peanut butter. Swap peanut butter for almond or sunflower seed butter to accommodate nut allergies; for sunflower butter, reduce salt and adjust sweetness to taste. Dark chocolate can replace white for a less-sweet, more grown-up flavor — temper or use melting wafers for a glossy shell.
Serving Suggestions
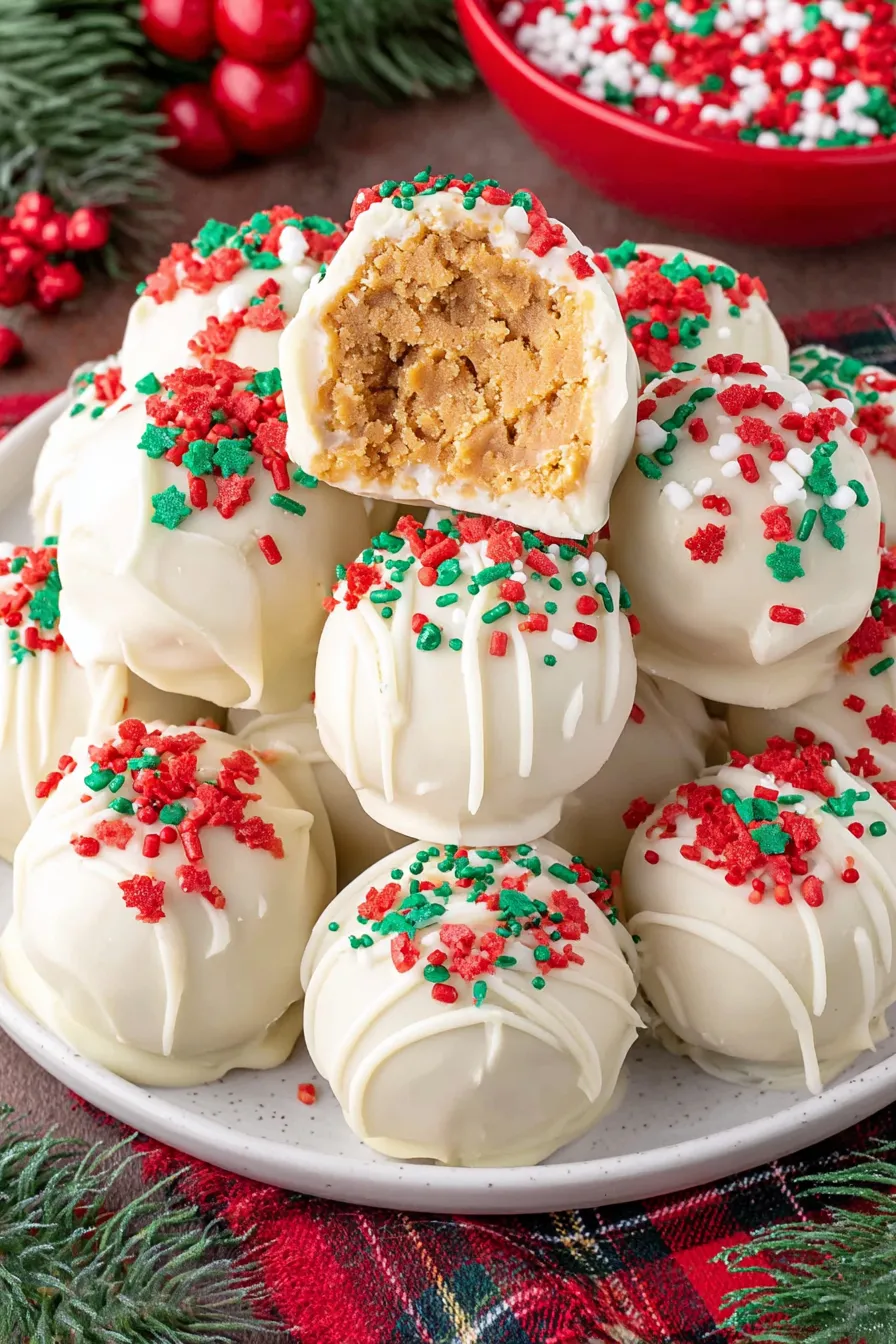
Serve on a festive platter lined with wax paper and scatter seasonal garnishes like rosemary sprigs or cranberries around the edges. Pair with mulled cider or espresso for a contrast between rich sweetness and warm spice or bitter coffee. For gift tins, include a small label with the flavor and allergen note. For a dessert board, place alongside shortbread cookies, candied nuts, and fresh fruit for color balance and texture contrast.
Cultural Background
While these truffles are a modern, pantry-influenced creation rather than an old-world confection, they sit comfortably in the tradition of European chocolates and American no-bake candies. White chocolate coatings and nut-based fillings echo classic bonbon techniques; however, the no-bake peanut butter center borrows from American sandwich-cookie fillings and fudge-style treats. Decorating with holiday sprinkles traces back to festive confectionery traditions where color and shimmer signal celebration.
Seasonal Adaptations
For winter, press crushed peppermint into the warm coating or use red-and-green sugar for a traditional palette. For a New Year’s party, swap festive sprinkles for gold flakes or edible glitter. In summer, coat centers in tempered dark chocolate and scatter toasted coconut or chopped pistachios for a seasonal twist. Adjust toppings and colors to match any holiday or event — the basic technique adapts to birthdays, baby showers, or themed gatherings.
Meal Prep Tips
Make the centers up to 24 hours ahead and keep refrigerated on a parchment-lined tray. When ready to finish, melt the coating and prepare a shallow bowl for quick dipping. Work in 10–12 piece batches so the coating remains fluid. Use a small digital thermometer to keep your melted chocolate between 86–90°F for white candy coating; if it thickens, reheat gently in 10–15 second bursts. This approach streamlines production for large batches and preserves the glossy finish.
These white chocolate peanut butter truffles are an easy, heartwarming addition to holiday traditions. They’re quick to make, beautiful to gift, and flexible enough to suit many tastes. I hope you find them as comforting and fun to share as our family does — enjoy making them your own this season.
Pro Tips
Chill the centers before dipping to prevent them from falling apart when coated.
Work in small batches when coating so the melted chocolate stays smooth and fluid.
Use a cookie scoop for uniform pieces to ensure even coating and consistent portions.
If the white coating thickens, reheat gently in short bursts in the microwave and stir between bursts.
This nourishing christmas peanut butter truffles recipe is sure to be a staple in your kitchen. Enjoy every moist, high protein slice — it is perfect for breakfast or as a wholesome snack any time.
FAQs about Recipes
How long do these truffles keep?
Store in an airtight container in a cool place for 3–4 days, refrigerate up to 2 weeks, or freeze for up to 3 months.
Can I make these without peanuts?
Yes — replace peanut butter with sunflower seed butter and use dairy-free white coating for a nut-free adaptation.
Tags
Christmas Peanut Butter Truffles
This Christmas Peanut Butter Truffles recipe makes perfectly juicy, tender, and flavorful steak every time! Serve with potatoes and a side salad for an unforgettable dinner in under 30 minutes.
Ingredients
Center
Coating & Toppings
Instructions
Mix the filling
In a medium bowl, combine 1 cup powdered sugar, 1/2 cup peanut butter, and 3 tablespoons room-temperature butter. Stir with a spatula until a smooth, firm dough forms; adjust texture with small amounts of powdered sugar or peanut butter as needed.
Portion and chill
Scoop dough into 1-inch balls using a small cookie scoop or a heaping teaspoon. Roll between palms for smooth rounds and place on a parchment-lined sheet. Refrigerate 15–30 minutes until firm.
Melt the coating
Melt 16 ounces white melting chocolate in 30-second microwave bursts at 50% power, stirring between bursts, or melt over a double boiler. Keep chocolate warm and fluid but under 120°F to maintain gloss.
Dip and decorate
Dip chilled centers into the melted chocolate with a fork or dipping tool, tap off excess, place on parchment, and immediately add sprinkles or toppings before the coating sets.
Set and store
Let coated pieces sit at room temperature or refrigerate 10–15 minutes to harden. Store in an airtight container in a cool place for up to 4 days, refrigerate up to 2 weeks, or freeze up to 3 months.
Last Step: Please leave a rating and comment letting us know how you liked this recipe! This helps our business to thrive and continue providing free, high-quality recipes for you.
Nutrition
Did You Make This?
Leave a comment & rating below or tag
@culinya on social media!
Categories:
You might also like...
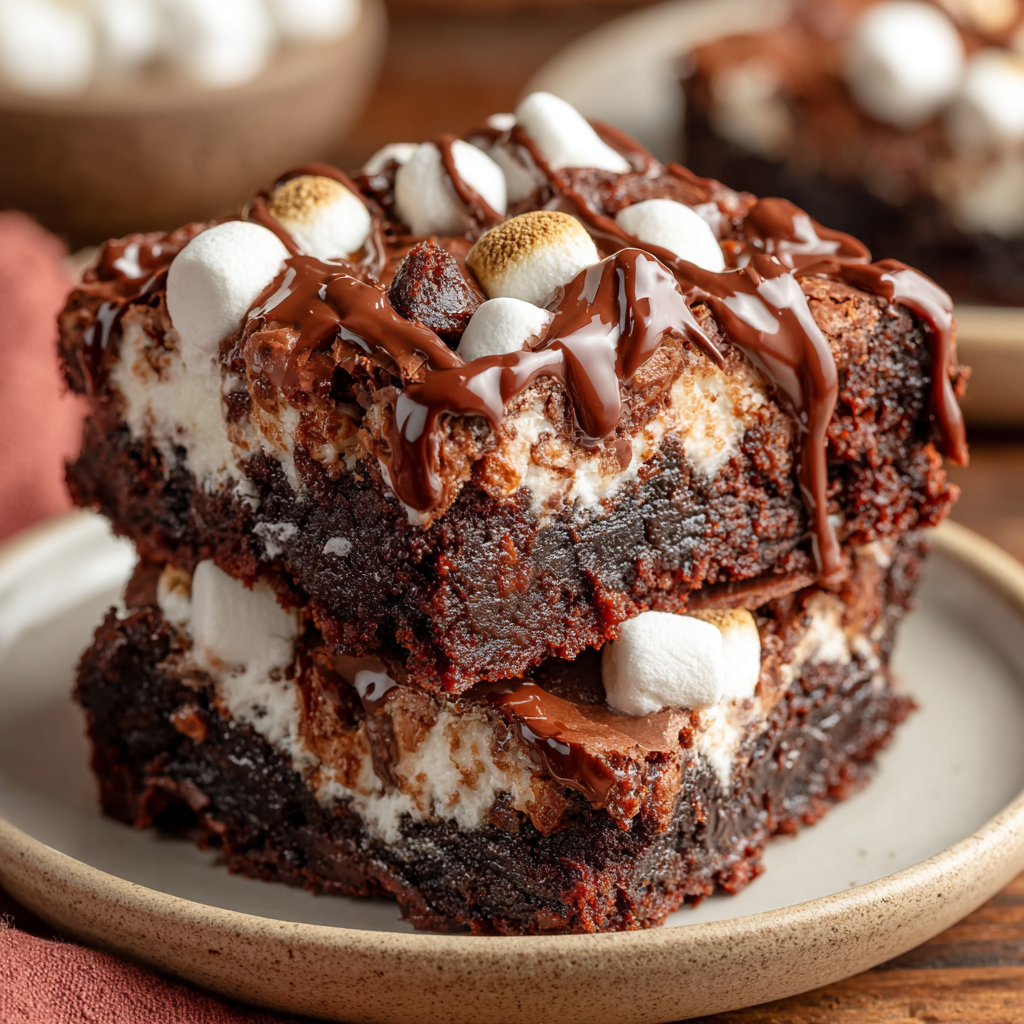
Fudgy Marshmallow Mud Brownies
Ultra-fudgy brownies crowned with gooey mini marshmallows and a quick-set chocolate icing. Crowd-pleasing, nostalgic, and irresistibly rich in every bite.
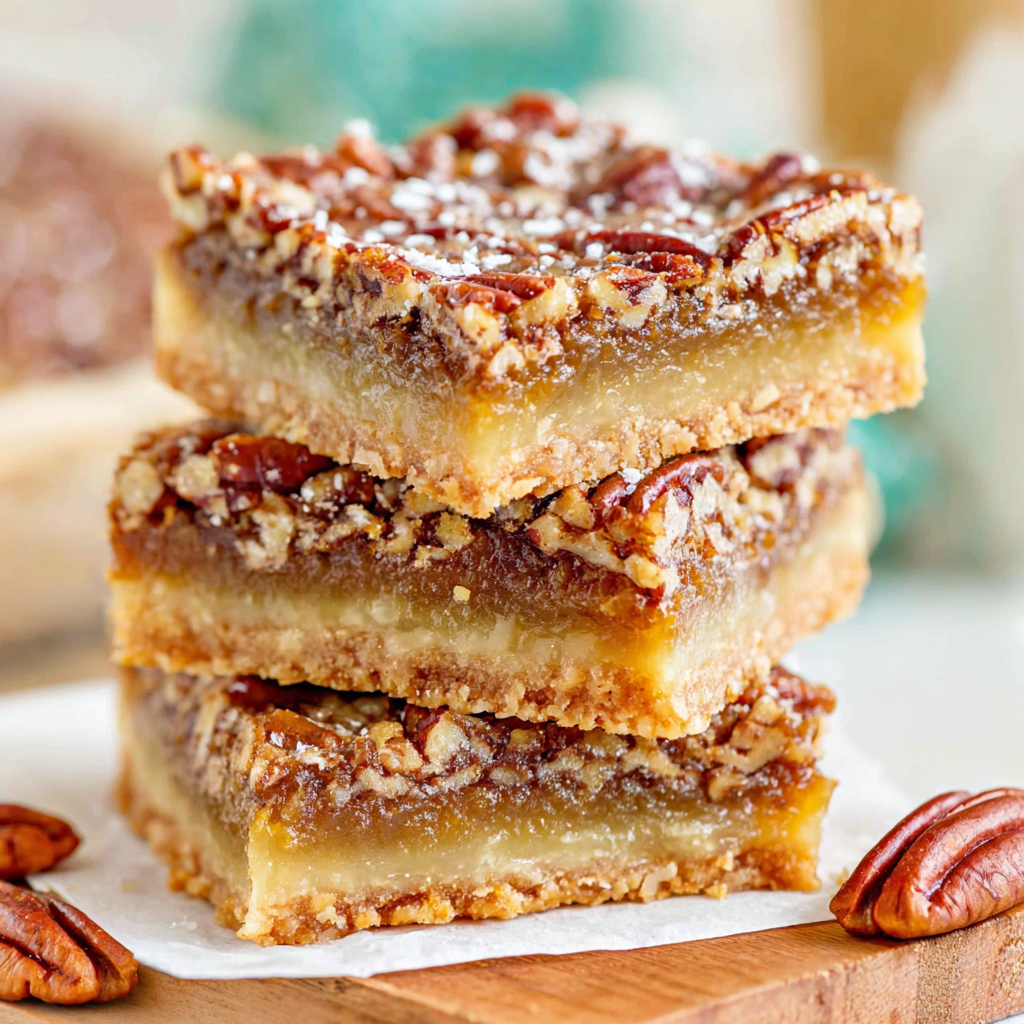
Buttery Pecan Pie Bars
Buttery shortbread crust meets a silky brown sugar pecan topping in these easy pecan pie bars. Just 10 minutes of prep for bakery-level bliss.
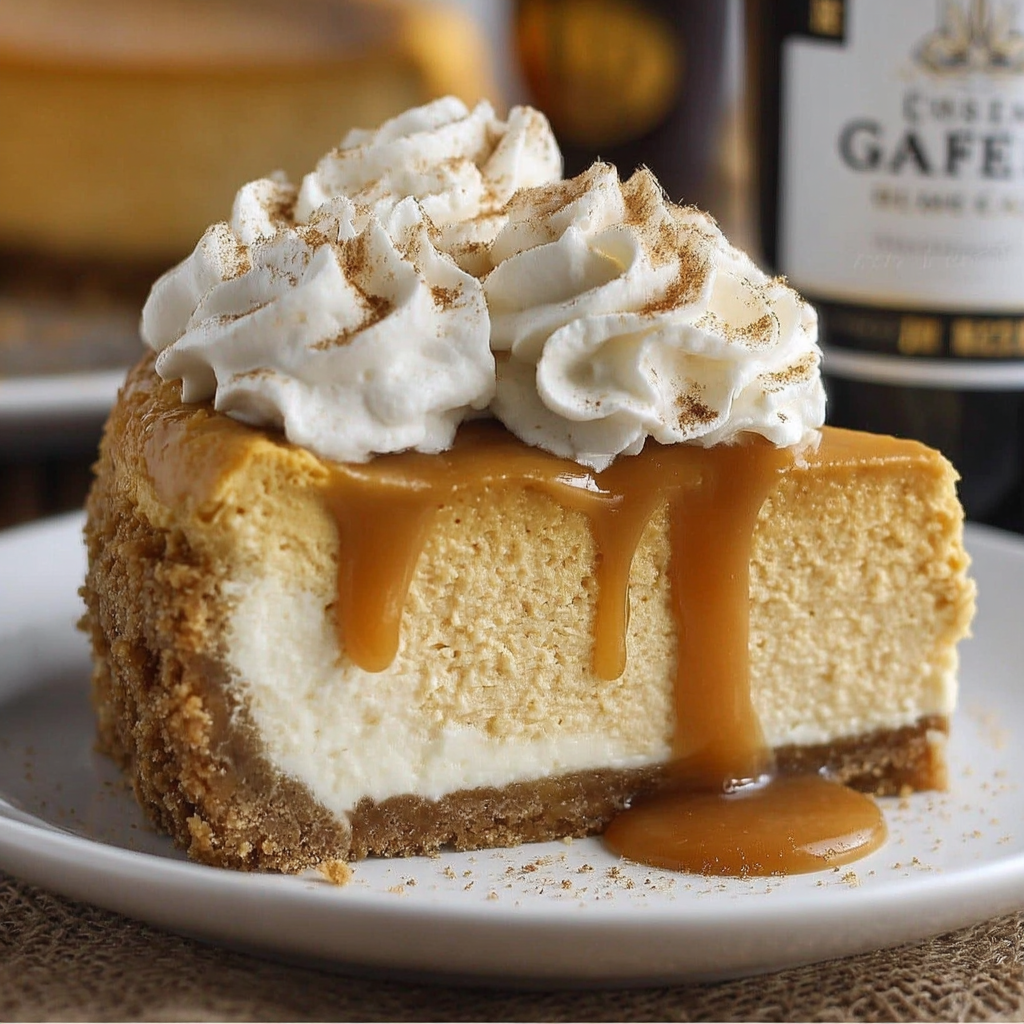
Silky No-Crack Pumpkin Cheesecake
A flawlessly smooth pumpkin cheesecake with warm spice, buttery graham crust, and no cracks. Finish with caramel and rum-kissed whipped cream.
Did You Make This?
Leave a comment & rating below or tag @culinya on social media!
Rate This Recipe
Share This Recipe
Enjoyed this recipe? Share it with friends and family, and don't forget to leave a review!
Comments (1)
This recipe looks amazing! Can't wait to try it.
Comments are stored locally in your browser. Server comments are displayed alongside your local comments.

Hi, I'm Sophia!
What's Popular

30-Minute Meals!
Join to receive our email series which contains a round-up of some of our quick and easy family favorite recipes.