
>>

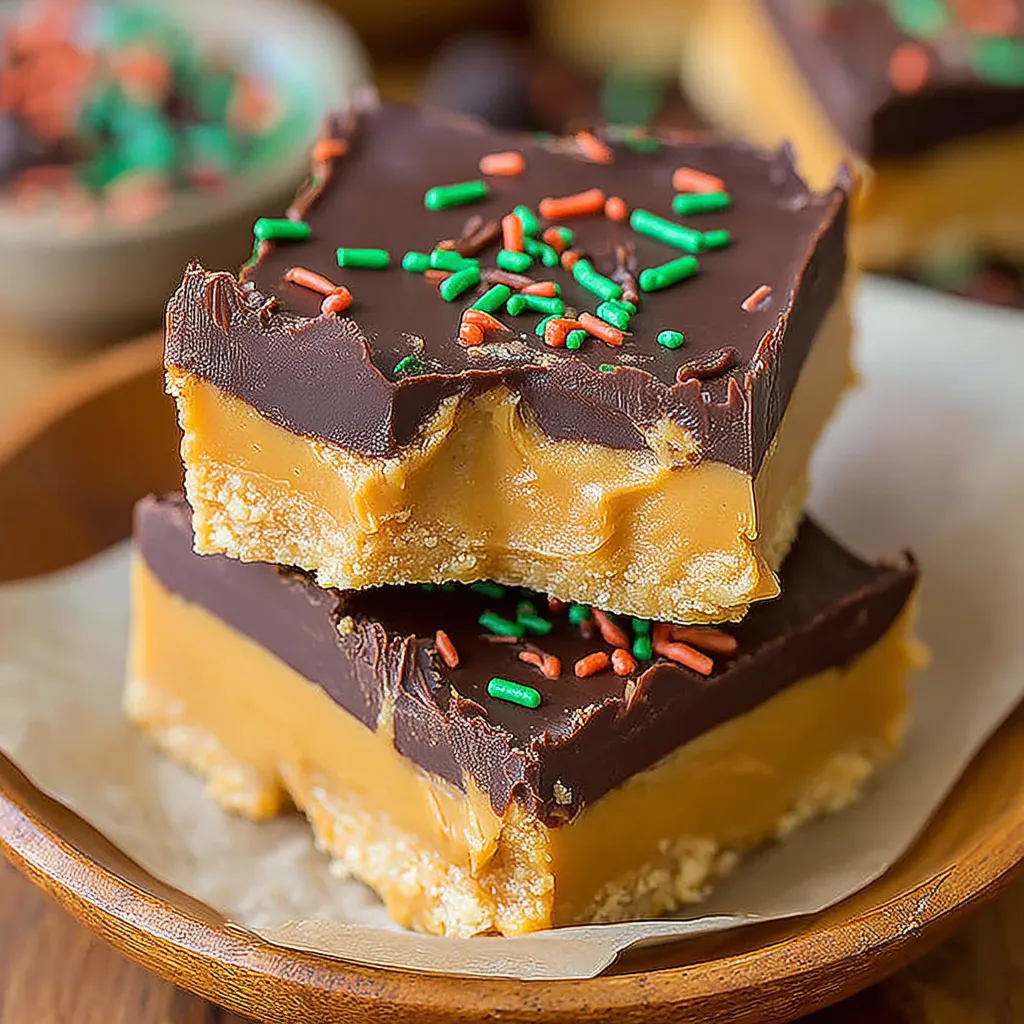
Soft, peanut-buttery bars topped with a smooth chocolate layer — an easy, no-bake treat that tastes like a cross between a cookie and a candy.
This recipe has been my go-to for potlucks and holiday trays for years. I discovered these bars during a frenzied week of cookie exchanges when I needed something quick, crowd-pleasing, and totally indulgent. The salty-sweet peanut butter base is tender and slightly sandy from the confectioners' sugar, while the glossy chocolate top sets into a thin, satisfying shell. Every time I bring these to a gathering, people line up for a second piece — they disappear faster than I expect.
I first made this version after comparing several family handed-down recipes and realized the simplicity of using a 9x9 inch pan makes portioning perfect and gives the bars a nostalgic square shape reminiscent of old-school candy bars. The texture is pleasantly dense but soft, which contrasts beautifully with the snap and sheen of the chocolate layer. I love how the peanut butter flavor stays front-and-center; choose a familiar brand like Jif or Skippy for the best sweetness and consistency.
In my experience these bars have been lifesavers at cookie swaps and birthday parties. One year I stacked them into a decorative tin and labeled them with a handwritten tag; they were the first to go. My youngest always asks me to make a double batch for school open-house events, which is my highest compliment. The recipe is forgiving and easy to scale up if you need more than a 9x9 batch.
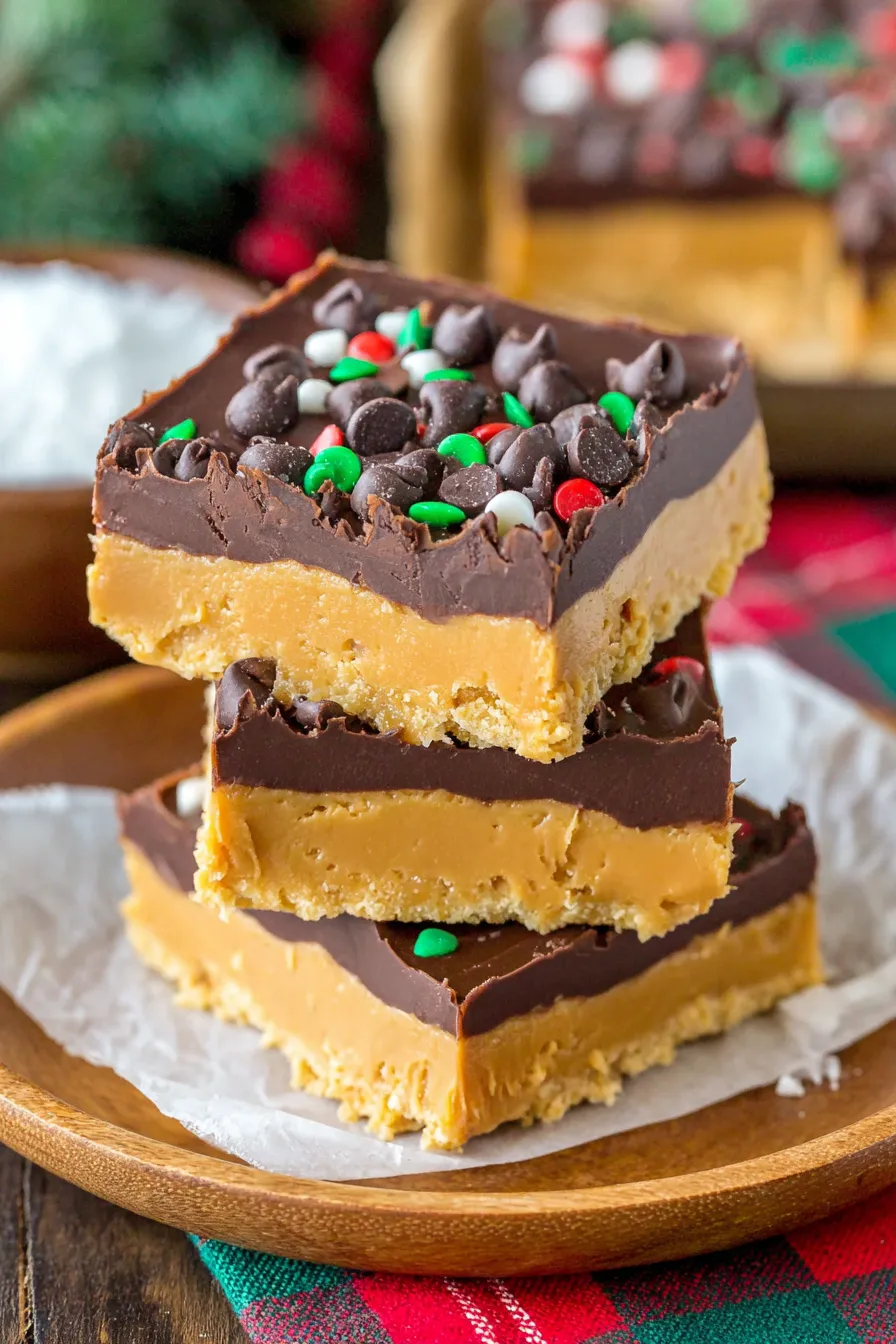
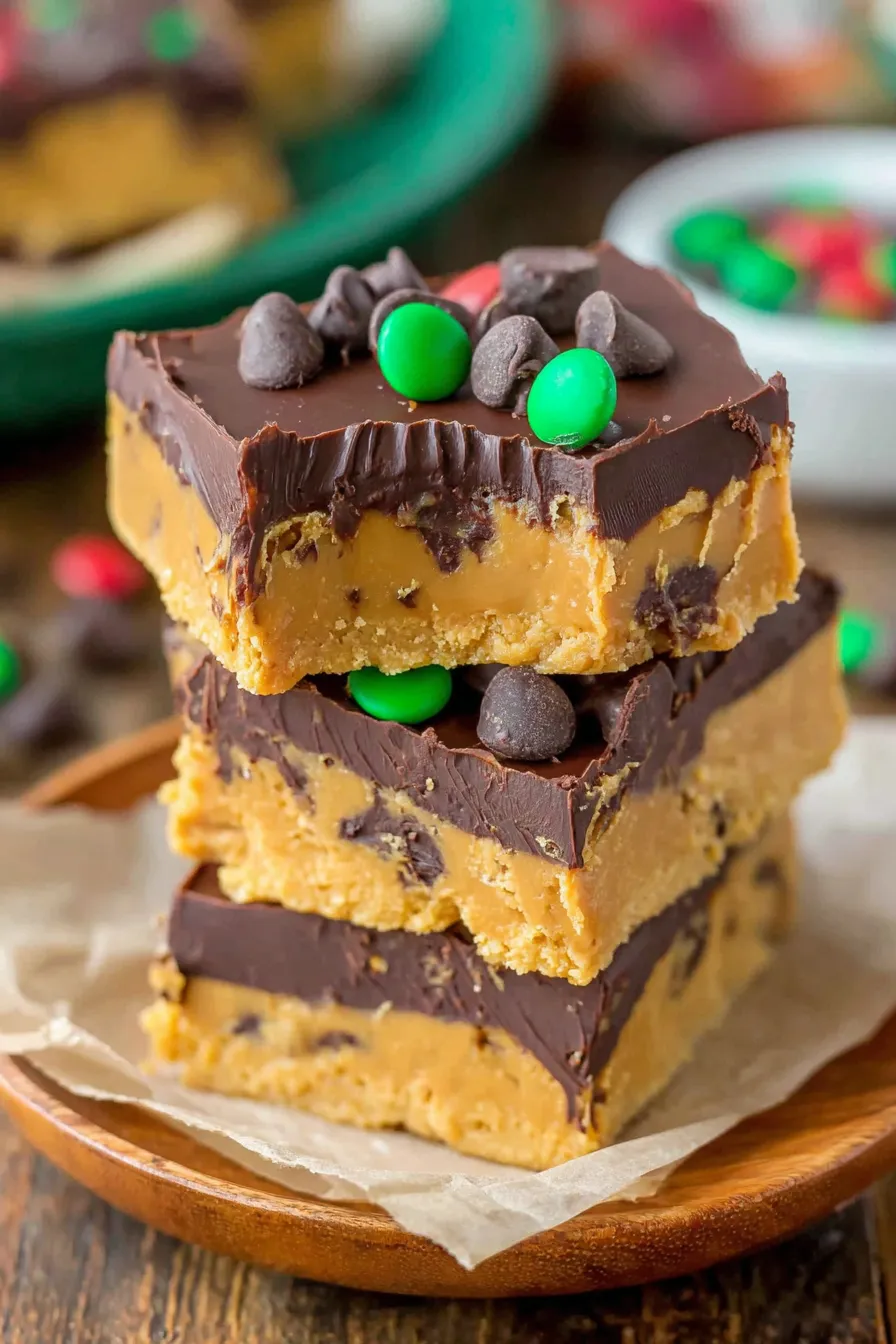
My favorite part is the contrast between the lush peanut base and the shiny chocolate cap — it's simple but feels decadent. I often make a test bar to check sweetness and texture before chilling the whole slab. Over the years I've learned the small details — pressing the filling firmly, warming the knife between cuts, and using a little coconut oil in the chocolate — are what make these look like they came from a bakery.
Store the bars in an airtight container in the refrigerator for up to one week; they will keep their texture and appearance when chilled. If you plan to freeze them, cut into individual portions and wrap each piece in plastic wrap, then place in a freezer-safe bag or container for up to three months. Thaw overnight in the refrigerator before serving. For short-term counter storage (2–3 hours), keep them covered and away from direct sun to prevent chocolate bloom or softening.
If you need to adapt ingredients, swap creamy peanut butter for almond butter using the same volume — note the flavor will be milder and slightly sweeter, so you may reduce powdered sugar by 2–4 tablespoons. For a lower-sugar version, use a sugar-free powdered blend designed for baking but expect a drier texture. Dairy-free eaters can use vegan butter and dairy-free chocolate chips; melted coconut oil alone also works in the peanut layer to reduce dairy content.
Serve chilled on a decorative platter with a dusting of powdered sugar for a festive touch. Pair with coffee or milk for a classic combo, or slice small squares for a dessert buffet alongside cookies and bars. For parties, arrange on a tiered tray with small doilies between layers. Garnish individual squares with a light sprinkle of flaky sea salt to heighten contrast between sweet and savory.
At holiday time, press crushed candy canes into the chocolate before it sets for a peppermint twist, or add a few drops of orange extract to the melted chocolate for a citrus-chocolate pairing. In summer months, swap the chocolate for a thin layer of salted caramel (cool first) and sprinkle toasted peanuts on top. For a fall version, stir 1/4 teaspoon ground cinnamon into the peanut layer for warmth.
These bars are excellent for make-ahead dessert prep. Double the ingredients and use a 9x13 inch pan to scale up; extend chilling time slightly. Portion into single-serve wraps and refrigerate for grab-and-go snacks. If packing for lunches, keep them chilled in an insulated lunch bag. For gifting, stack with parchment squares and tie with ribbon — they travel well when kept cool.
There’s a simple joy in making something that feels both nostalgic and luxurious, and these bars deliver that every time. They’re quick, forgiving, and consistently loved by friends and family — give them a try and make them your own with a favorite chocolate or a pinch of flaky salt.
Press the peanut butter layer firmly into the pan so bars hold their shape when cut.
Warm and dry the knife between cuts for clean, neat squares.
Use a little coconut oil in the melted chocolate to achieve a glossy, firm finish.
Allow the chocolate to set at room temperature first, then refrigerate to avoid condensation.
This nourishing classic buckeye bars recipe is sure to be a staple in your kitchen. Enjoy every moist, high protein slice — it is perfect for breakfast or as a wholesome snack any time.
Yes. Keep them refrigerated in an airtight container for up to 7 days and freeze up to 3 months.
Gently warm a knife under hot water, dry it, and slice to get clean edges without cracking the chocolate.
This Classic Buckeye Bars recipe makes perfectly juicy, tender, and flavorful steak every time! Serve with potatoes and a side salad for an unforgettable dinner in under 30 minutes.
In a large bowl, beat the softened butter, creamy peanut butter, powdered sugar, and vanilla with an electric mixer until smooth and spreadable, about 2–3 minutes.
Line a 9x9 inch pan with parchment or foil. Add the peanut mixture and press firmly and evenly into the pan using a rubber or offset spatula.
Melt chocolate chips with coconut oil in 30-second intervals in the microwave or using a double boiler, stirring until glossy and smooth.
Pour the melted chocolate over the pressed peanut layer, spread evenly, let set at room temperature, then refrigerate at least one hour before slicing.
Lift the slab from the pan using the parchment overhang and cut into 12–16 bars with a warm, dry knife. Store chilled up to 7 days or freeze.
Last Step: Please leave a rating and comment letting us know how you liked this recipe! This helps our business to thrive and continue providing free, high-quality recipes for you.
Leave a comment & rating below or tag
@culinya on social media!

Ultra-fudgy brownies crowned with gooey mini marshmallows and a quick-set chocolate icing. Crowd-pleasing, nostalgic, and irresistibly rich in every bite.

Buttery shortbread crust meets a silky brown sugar pecan topping in these easy pecan pie bars. Just 10 minutes of prep for bakery-level bliss.

A flawlessly smooth pumpkin cheesecake with warm spice, buttery graham crust, and no cracks. Finish with caramel and rum-kissed whipped cream.
Leave a comment & rating below or tag @culinya on social media!
Enjoyed this recipe? Share it with friends and family, and don't forget to leave a review!
This recipe looks amazing! Can't wait to try it.
Comments are stored locally in your browser. Server comments are displayed alongside your local comments.

Join to receive our email series which contains a round-up of some of our quick and easy family favorite recipes.
