
>>

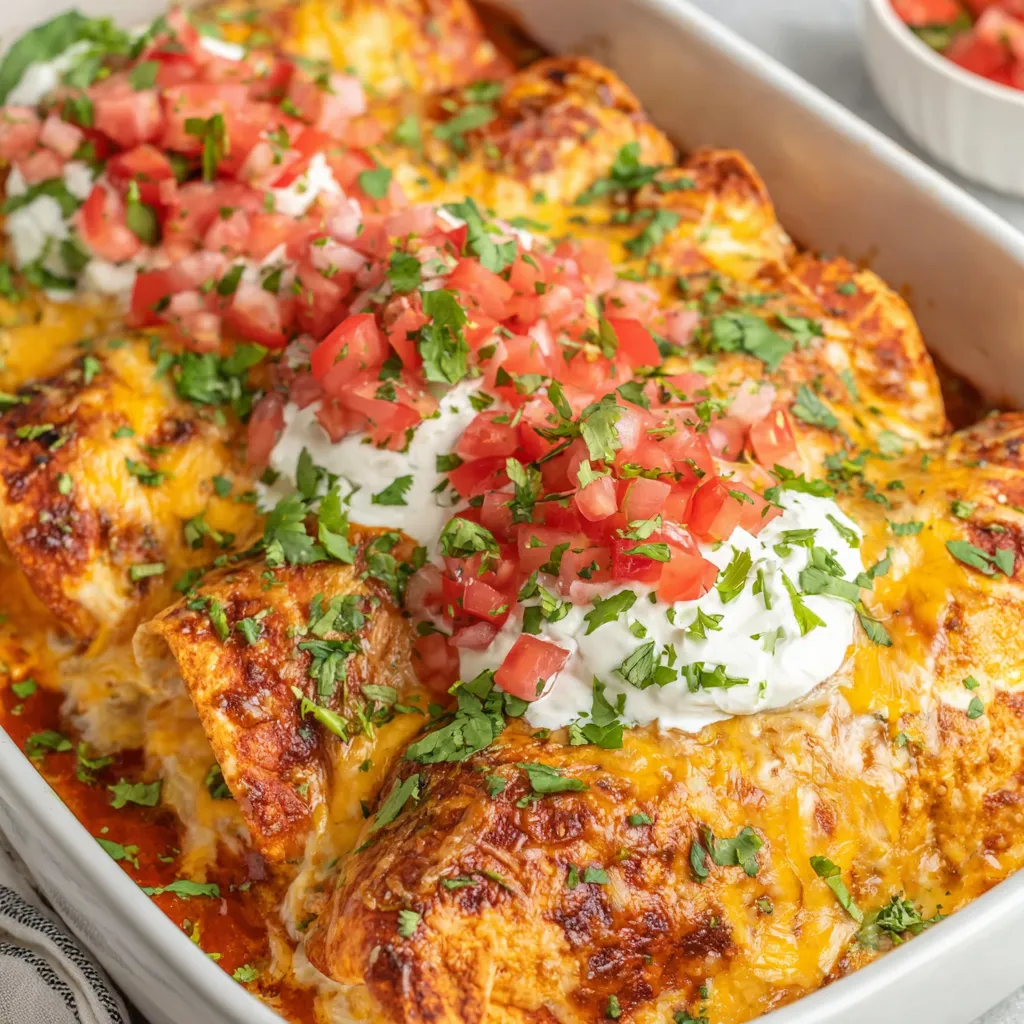
Tender shredded chicken folded into a creamy, tangy filling, rolled in flour tortillas, smothered in red enchilada sauce and melted Colby Jack cheese — a weeknight crowd-pleaser.
This recipe for Cream Cheese Chicken Enchiladas has been a cornerstone of my weeknight rotation for years. I first combined cream cheese and shredded chicken one chilly evening when I had a leftover rotisserie chicken and a craving for something comforting but quick. The cream cheese melts into a luxuriously smooth base, turning ordinary shredded chicken into a silky filling that balances the bright acidity of tomatoes and the gentle heat of green chiles. The result is creamy without being heavy, and the colby jack lends a mild, melting cheese goodness that every bite begs for.
I love these enchiladas because they travel well from oven to table and always disappear fast at family dinners. They strike a great balance between approachable and special: you don’t need fancy technique, just a few smart steps and good timing. The texture is what sold me — creamy interior contrasted with a lightly toasted, cheesy top. I usually make a double batch when friends are coming over because they keep beautifully in the fridge and reheat without losing flavor.
When I served this to my in-laws the first time, my mother-in-law asked for the recipe immediately. I’ve learned small tricks from repeating it dozens of times: let the enchiladas rest five minutes after baking to avoid split seams, and drain the diced tomatoes well to keep the filling thick and not watery. The reaction is almost always the same — second helpings and plenty of compliments.
My favorite part of making these is the five-minute rest after baking; it feels like magic watching the filling hold together and the flavors marry. Family and guests often comment on the creamy mouthfeel that comes from the cream cheese-heavy base. It’s a dependable recipe for holiday sides or casual dinners, and it travels well to potlucks when kept warm in a low oven.
Store leftovers in an airtight container in the refrigerator for up to three days. For longer storage, assemble the tray without the final sauce and cheese, wrap tightly with foil, and freeze for up to three months. To reheat refrigerated portions, bake at 350°F uncovered for 12 to 15 minutes until warmed through; if frozen, thaw overnight in the refrigerator then bake for 25 to 30 minutes. Microwaving is fine for single portions but tends to soften the tortilla texture — finish under a broiler or in a hot oven for a minute if you want crisp edges.
If you need a lighter version, substitute half-and-half for heavy cream but expect a slightly less silky texture. Use low-fat cream cheese for fewer calories, but melting behavior will change and the filling may be less glossy. For a gluten-free option, swap 8-inch corn or gluten-free tortillas — warm them briefly to make them pliable. If you prefer more heat, add a teaspoon of chipotle in adobo or a pinch of cayenne; for milder taste, choose mild diced tomatoes and green chiles.
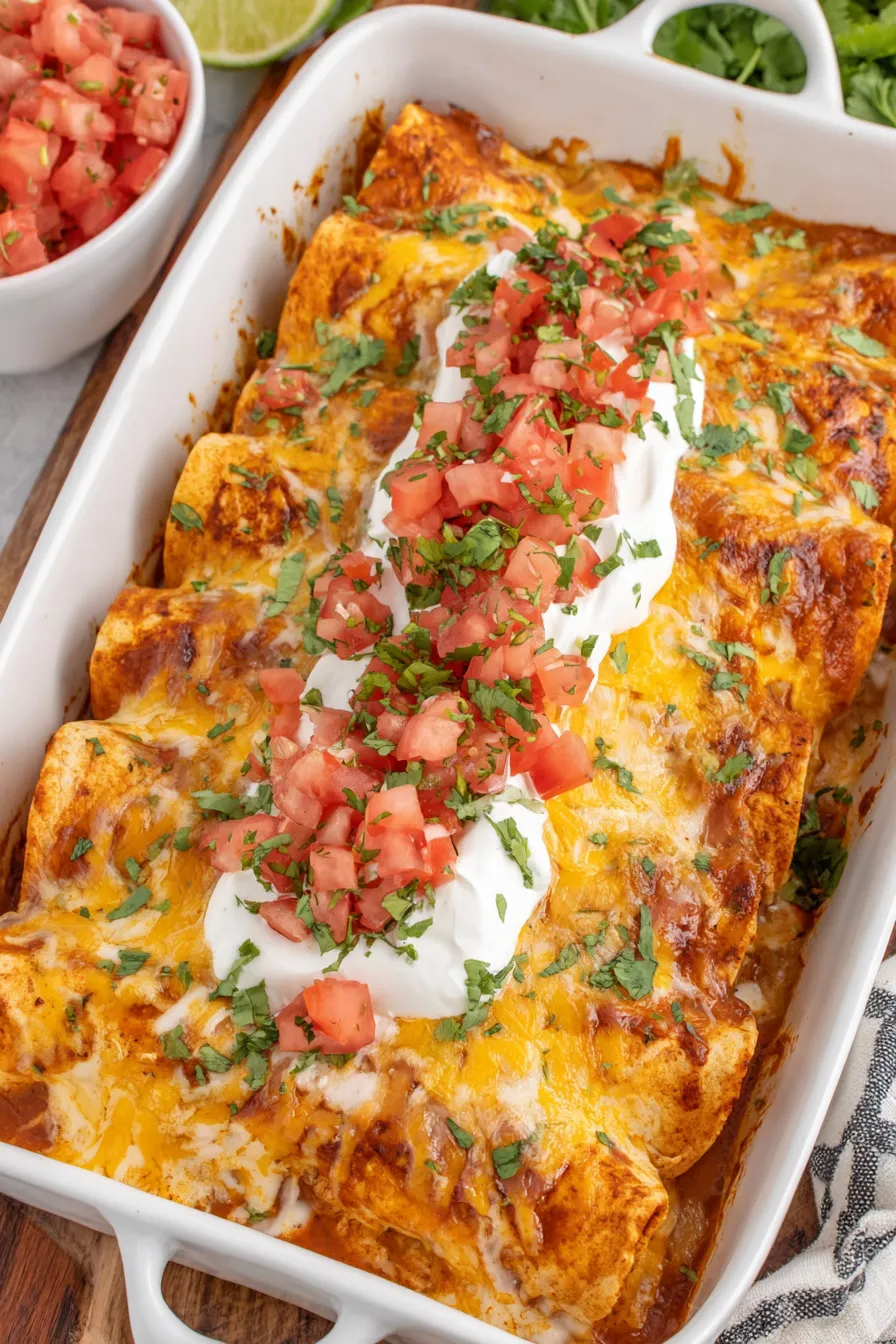
Serve with a crisp green salad, black beans, or Mexican-style rice to round out the plate. For freshness, offer lime wedges, extra cilantro, and a side of sliced avocado or guacamole. Pico de gallo adds acidity, while sour cream cools the palate; for a richer finish, drizzle a little extra heavy cream-thinned crema. Garnish with finely chopped scallions or pickled red onions for color and bite.
While enchiladas trace their roots to traditional Mexican cuisine — corn tortillas filled and sauced with chiles — this version is an Americanized, Tex-Mex inspired interpretation. Cream cheese and Colby Jack signal a comfort-food evolution popular in home kitchens across the United States, particularly in Southwestern households that blend native Mexican flavors with readily available grocery products like canned sauces and rotisserie chicken.
In summer, brighten the filling with fresh roasted tomatoes and charred jalapeños in place of canned chiles. In winter, add a spoonful of pumpkin puree with cumin and smoked paprika for a seasonal twist. For holiday gatherings, prepare small, bite-sized enchilada rolls and present them on a platter for easy nibbling.
Assemble the filling and tortillas the night before. Store the filling in the fridge and roll the enchiladas in the baking dish the next day, covering tightly until baking. This approach saves time on busy nights and improves flavor as fillings meld in the fridge. Use disposable foil pans for transporting to potlucks and cover with foil to keep warm in a low oven upon arrival.
These enchiladas are a testament to how a handful of simple techniques — properly softened cream cheese, well-drained tomatoes, and a short rest after baking — elevate a basic combination into a memorably creamy, shareable main. I hope you make them, tweak them, and make them your own.
Drain canned tomatoes very well to keep the filling from becoming watery.
Soften cream cheese to room temperature to ensure a smooth, lump-free sauce.
Warm tortillas briefly in the microwave or on a skillet for easier rolling and fewer tears.
Let the tray rest for 5 minutes after baking so the filling sets and slices cleanly.
Use freshly shredded cheese for better melting and creaminess.
This nourishing cream cheese chicken enchiladas recipe is sure to be a staple in your kitchen. Enjoy every moist, high protein slice — it is perfect for breakfast or as a wholesome snack any time.
This Cream Cheese Chicken Enchiladas recipe makes perfectly juicy, tender, and flavorful steak every time! Serve with potatoes and a side salad for an unforgettable dinner in under 30 minutes.
Preheat the oven to 350°F. Spray a 9x13-inch baking dish with nonstick spray and pour one 10-ounce can of enchilada sauce evenly in the bottom to coat the surface.
In a 10-inch nonstick skillet over medium heat, add sliced cream cheese and 1/2 cup heavy cream. Stir constantly until completely melted and glossy, 3 to 5 minutes; keep heat moderate to avoid burning.
Remove skillet from the heat and stir in 2 tablespoons chopped cilantro, 1 teaspoon ground cumin, and 1/2 teaspoon cracked black pepper to preserve bright herb flavors.
Fold in the drained diced tomatoes and green chiles, then add the shredded chicken and stir until well coated. The mixture should be thick and cohesive; reduce briefly if it seems too loose.
Place about 1/3 cup of filling down the center of each warmed flour tortilla, sprinkle 2 to 3 tablespoons of shredded Colby Jack, fold one end over and roll tightly. Arrange seam-side down in the prepared dish atop the enchilada sauce.
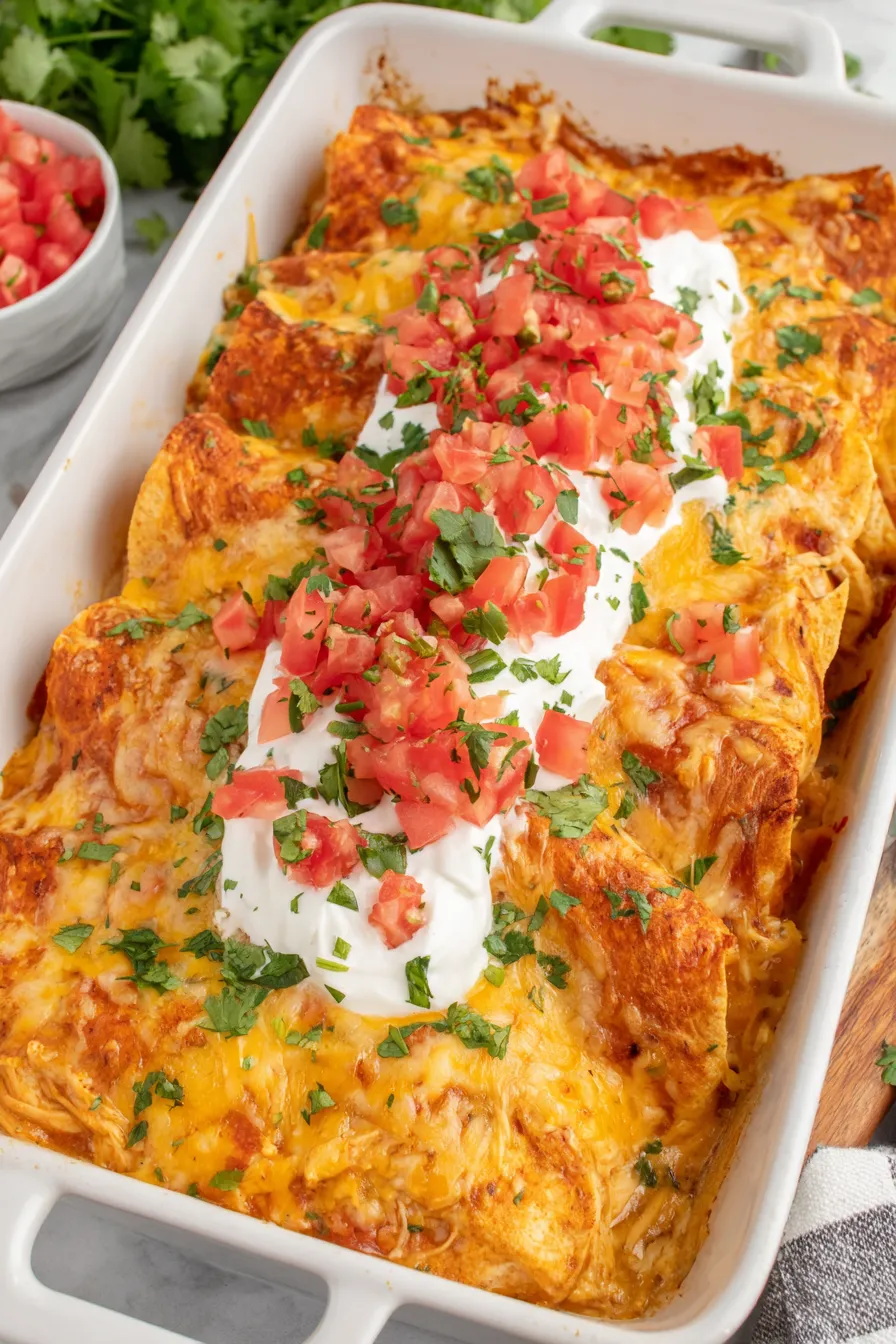
Drizzle remaining enchilada sauce over the rolled tortillas and sprinkle with 1 1/2 cups shredded Colby Jack. Bake 25 to 30 minutes until cheese melts and begins to brown; start checking at 20 minutes.
Let the tray rest about 5 minutes after baking. Garnish with 1/2 cup sour cream, 1/2 cup pico de gallo and remaining cilantro before serving to add acidity and freshness.
Last Step: Please leave a rating and comment letting us know how you liked this recipe! This helps our business to thrive and continue providing free, high-quality recipes for you.
Leave a comment & rating below or tag
@culinya on social media!

Ultra-fudgy brownies crowned with gooey mini marshmallows and a quick-set chocolate icing. Crowd-pleasing, nostalgic, and irresistibly rich in every bite.

Buttery shortbread crust meets a silky brown sugar pecan topping in these easy pecan pie bars. Just 10 minutes of prep for bakery-level bliss.

A flawlessly smooth pumpkin cheesecake with warm spice, buttery graham crust, and no cracks. Finish with caramel and rum-kissed whipped cream.
Leave a comment & rating below or tag @culinya on social media!
Enjoyed this recipe? Share it with friends and family, and don't forget to leave a review!
This recipe looks amazing! Can't wait to try it.
Comments are stored locally in your browser. Server comments are displayed alongside your local comments.

Join to receive our email series which contains a round-up of some of our quick and easy family favorite recipes.
