
>>

A simple, no-knead loaf that delivers a crisp crust and tender crumb — perfect for weekday baking and beginner bakers alike.
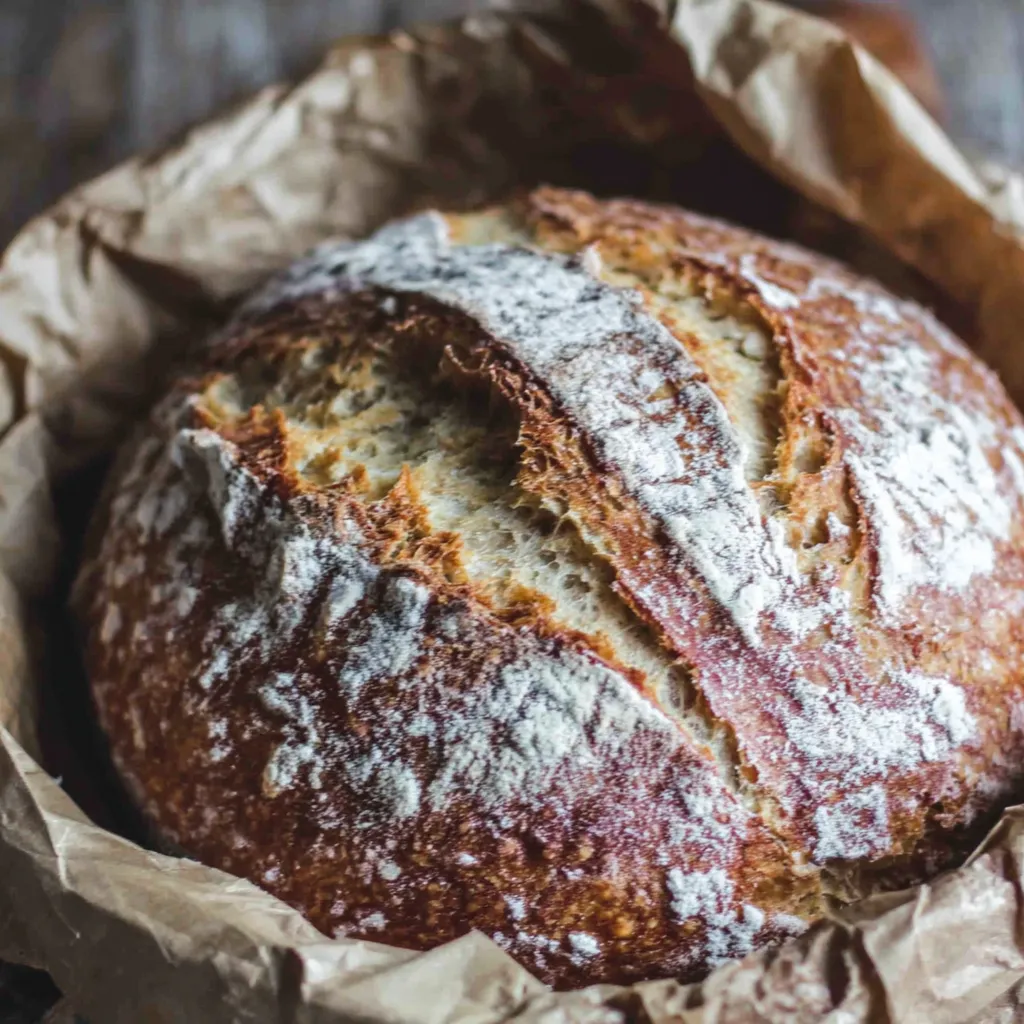
This no-knead yeast loaf became my weekday miracle the moment I realized I could get a bakery-style crust and an open, tender crumb without hours of active work. I discovered this approach on a rainy afternoon while short on time and long on appetite; the result was a loaf with a caramelized exterior and a soft, slightly nutty interior thanks to the whole wheat. The process centers on time and temperature rather than muscle — you mix, let fermentation do the heavy lifting, shape gently, and bake in a preheated covered pot for that signature crisp crust.
What makes this version especially useful is its balance: it uses both bread flour for structure and whole wheat for flavor and nutrition, with simple pantry ingredients and straightforward steps. I often bake it when friends drop by unexpectedly because the active prep is under 30 minutes and the oven does the rest. Sliced warm with butter, or toasted for sandwiches the next day, it reliably brings people together around the kitchen table.
In my kitchen this loaf has become the one I reach for when I want fresh bread without a long commitment. Family members comment on the crust every time, and guests often ask for the recipe because it looks and tastes like it came from a small bakery. It’s one of those dishes that invites improvisation and rewards patience.
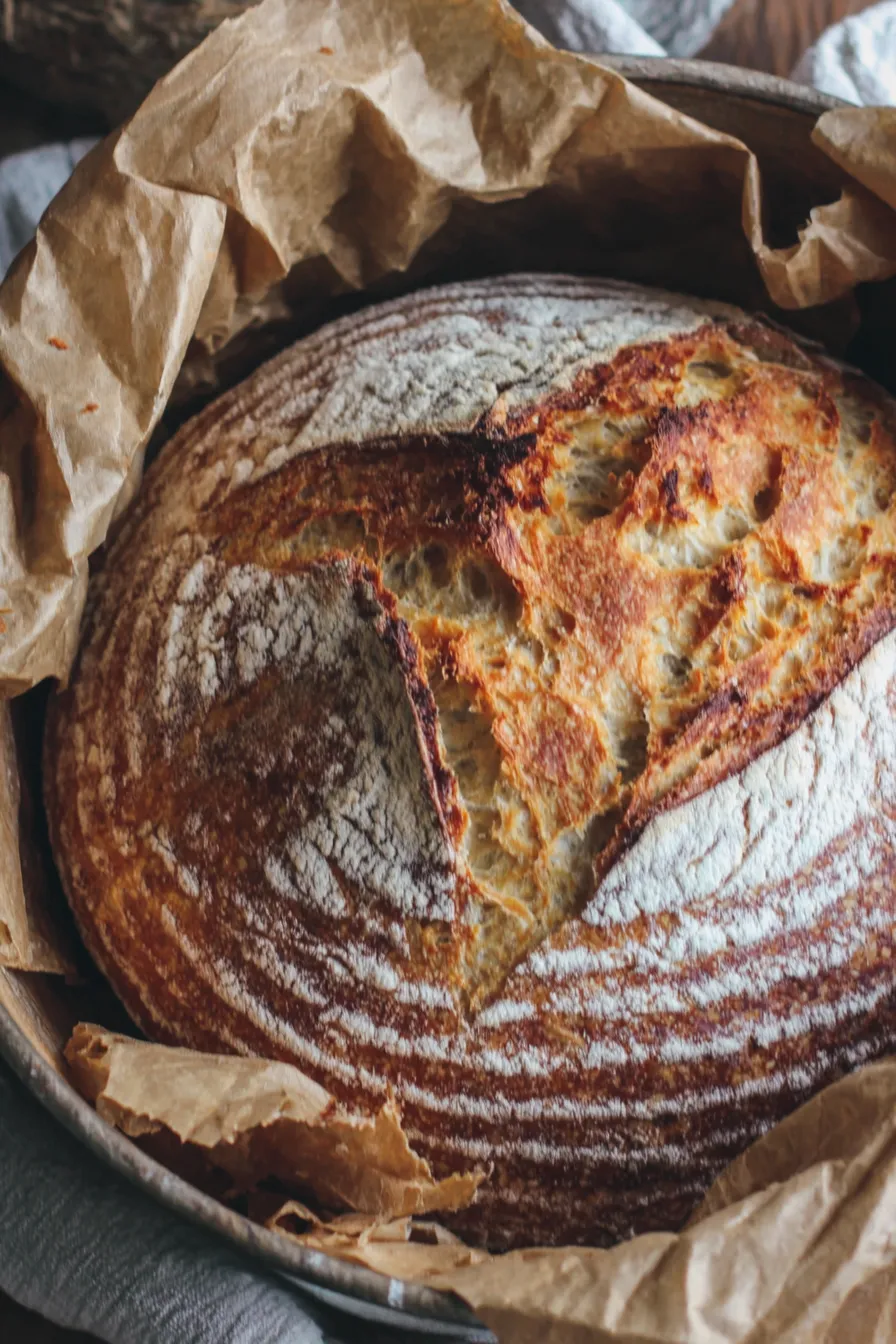
My favorite thing about this loaf is the forgiving nature of the method: once you learn the visual cues — a foamy yeast bloom, a dough that has relaxed and doubled, and a glossy dark crust — you'll be confident making variations. Guests often comment on the aroma while it bakes; it’s one of those small domestic joys that feels like ritual.
To retain crust and crumb, cool the loaf completely before storing. For short-term use (1–3 days), keep the bread in a linen or cotton bag at room temperature to allow minimal airflow and avoid condensation. For longer storage, slice and freeze in airtight bags with parchment between slices; remove slices as needed and toast or reheat at 350°F for 8–10 minutes to revive texture. Avoid refrigeration unless you plan to toast — fridge temperatures accelerate staling by crystallizing starches.
If you want a lighter loaf, replace 1/4 to 1/2 cup of whole wheat with additional bread flour. To make it entirely whole wheat, expect a denser crumb; compensate with an extra 1/4 cup water and a slightly longer rise. For a softer crust, after the covered bake remove the lid and tent the loaf with foil in the final minutes. If you need a gluten-free version, this method won’t translate directly — gluten-free flours require different hydration and binders like xanthan gum and a different oven technique.
Serve warm with softened butter and flaky sea salt or olive oil with a drizzle of balsamic for dipping. For a hearty meal, slice thick for open-faced sandwiches topped with roasted vegetables or melted cheese. Leftover slices make excellent French toast. I like to pair this loaf with soup on chilly nights or slice thin for bruschetta at a gathering — the texture holds up well to toppings.
No-knead techniques are a modern reinterpretation of traditional long-fermentation loaves, borrowing principles from European peasant breads where time and temperature, rather than vigorous kneading, produced structure. The combination of bread and whole wheat flours nods to rustic loaves found across Mediterranean and Northern European baking traditions. Baking in a covered pot is a technique popularized by contemporary bakers to mimic the steam environment of professional ovens, yielding artisan-style results at home.
In cooler months I replace 1/4 cup of whole wheat with toasted seeds such as sunflower or pumpkin for extra warmth and texture. Spring and summer benefit from herby additions — fold in 1–2 tablespoons chopped fresh rosemary or thyme at the end of mixing. For holiday variations, add 1/4 cup dried fruit and a teaspoon cinnamon for a festive loaf; reduce sugar slightly to keep balance.
To plan ahead, mix the dough in the evening and refrigerate after the initial mix for a slow overnight ferment; shape and bake the next day. Portion the baked loaf into meal-sized slices and freeze in vacuum-sealed bags so you can pull out just what you need. Use a heavy Dutch oven and a digital thermometer for consistent results — the thermometer helps you know when the interior is done without guessing.
Every time I pull a loaf from the oven, it feels like a small triumph — a humble, reliable ritual that nourishes both body and company. Try this method once and you’ll likely return to it time and again, altering flavors and add-ins as you go.
Use a thermometer to check water and loaf internal temperature for reliable results (water ~100°F, loaf 200–205°F).
Preheat the Dutch oven with the lid for at least 30 minutes to create the steam chamber needed for a crisp crust.
Cool the loaf completely before slicing to allow crumb set; cutting too early yields gummy slices.
If the dough feels too sticky, add flour 1 tablespoon at a time; err on the side of slightly sticky rather than dry.
This nourishing easy no-knead yeast bread recipe is sure to be a staple in your kitchen. Enjoy every moist, high protein slice — it is perfect for breakfast or as a wholesome snack any time.
This Easy No-Knead Yeast Bread recipe makes perfectly juicy, tender, and flavorful steak every time! Serve with potatoes and a side salad for an unforgettable dinner in under 30 minutes.
Dissolve yeast and sugar in 1 1/4 cups warm water (about 100°F). Let sit 5–10 minutes until foamy to confirm yeast activity.
Whisk together 2 cups bread flour, 1 cup whole wheat flour, and 1 1/4 teaspoons salt until evenly blended.
Add dry ingredients to the yeast mixture in the mixer on low, then increase speed until dough pulls away from bowl; adjust with 1 tablespoon flour increments if too sticky.
Place dough in a greased bowl, cover tightly, and let rise in a warm spot until doubled, about 1 1/2 hours.
Turn dough onto floured surface, pull edges to center to form a round, place seam side up in a lightly floured bowl, and cover while oven heats.
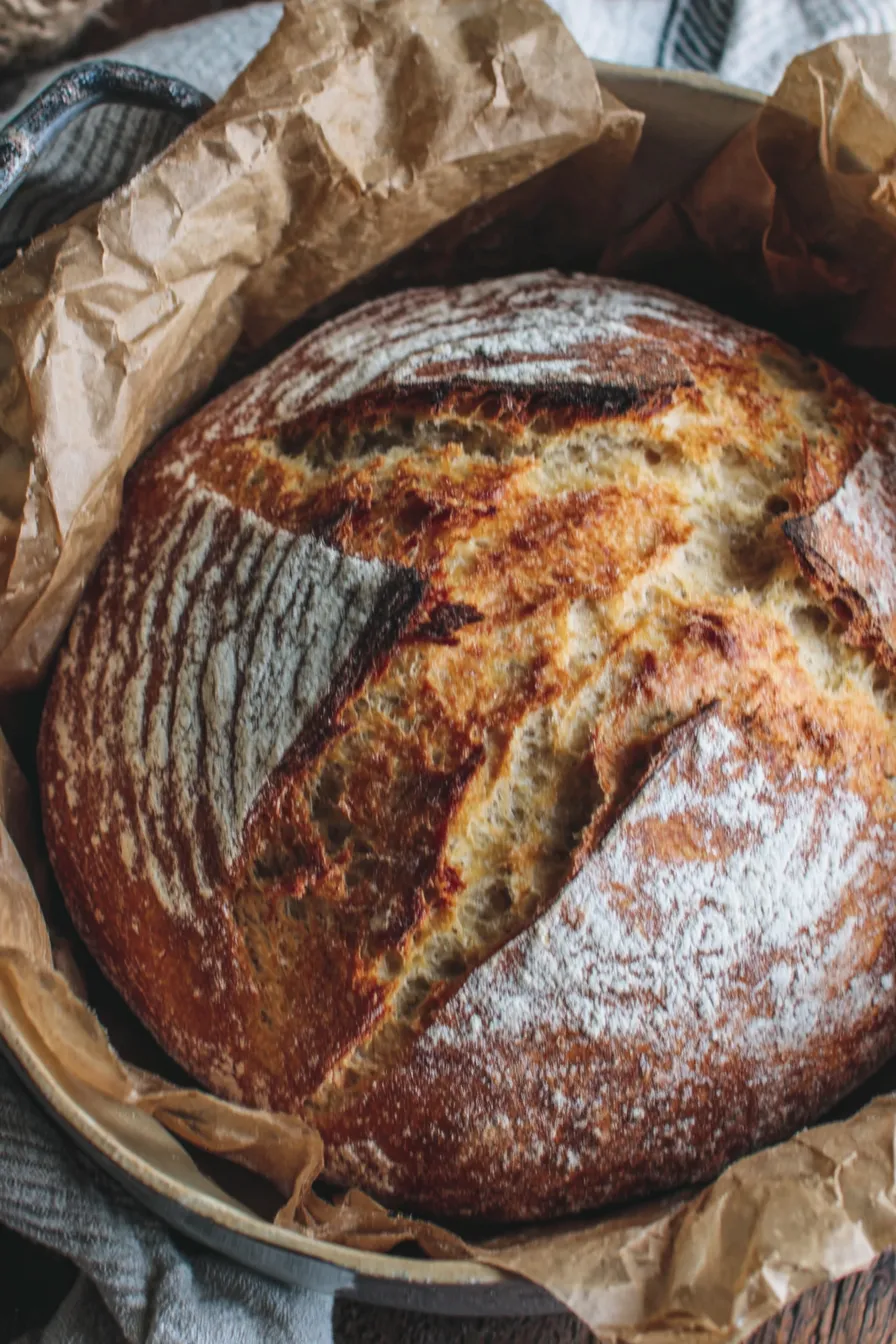
Preheat oven to 460°F with a covered 3 1/2-quart Dutch oven inside for 30 minutes. Transfer dough on parchment into the hot pot, bake covered 30 minutes, then uncovered 15–20 minutes until deep brown.
Remove loaf to a wire rack using the parchment paper and cool completely (about 1 hour) before slicing for best texture.
Last Step: Please leave a rating and comment letting us know how you liked this recipe! This helps our business to thrive and continue providing free, high-quality recipes for you.
Leave a comment & rating below or tag
@culinya on social media!

Ultra-fudgy brownies crowned with gooey mini marshmallows and a quick-set chocolate icing. Crowd-pleasing, nostalgic, and irresistibly rich in every bite.

Buttery shortbread crust meets a silky brown sugar pecan topping in these easy pecan pie bars. Just 10 minutes of prep for bakery-level bliss.

A flawlessly smooth pumpkin cheesecake with warm spice, buttery graham crust, and no cracks. Finish with caramel and rum-kissed whipped cream.
Leave a comment & rating below or tag @culinya on social media!
Enjoyed this recipe? Share it with friends and family, and don't forget to leave a review!
This recipe looks amazing! Can't wait to try it.
Comments are stored locally in your browser. Server comments are displayed alongside your local comments.

Join to receive our email series which contains a round-up of some of our quick and easy family favorite recipes.
