
>>

A rich, old-fashioned fudge made with chocolate chips, marshmallow creme, and chopped walnuts—decadent, nostalgic, and perfect for holidays or gifting.
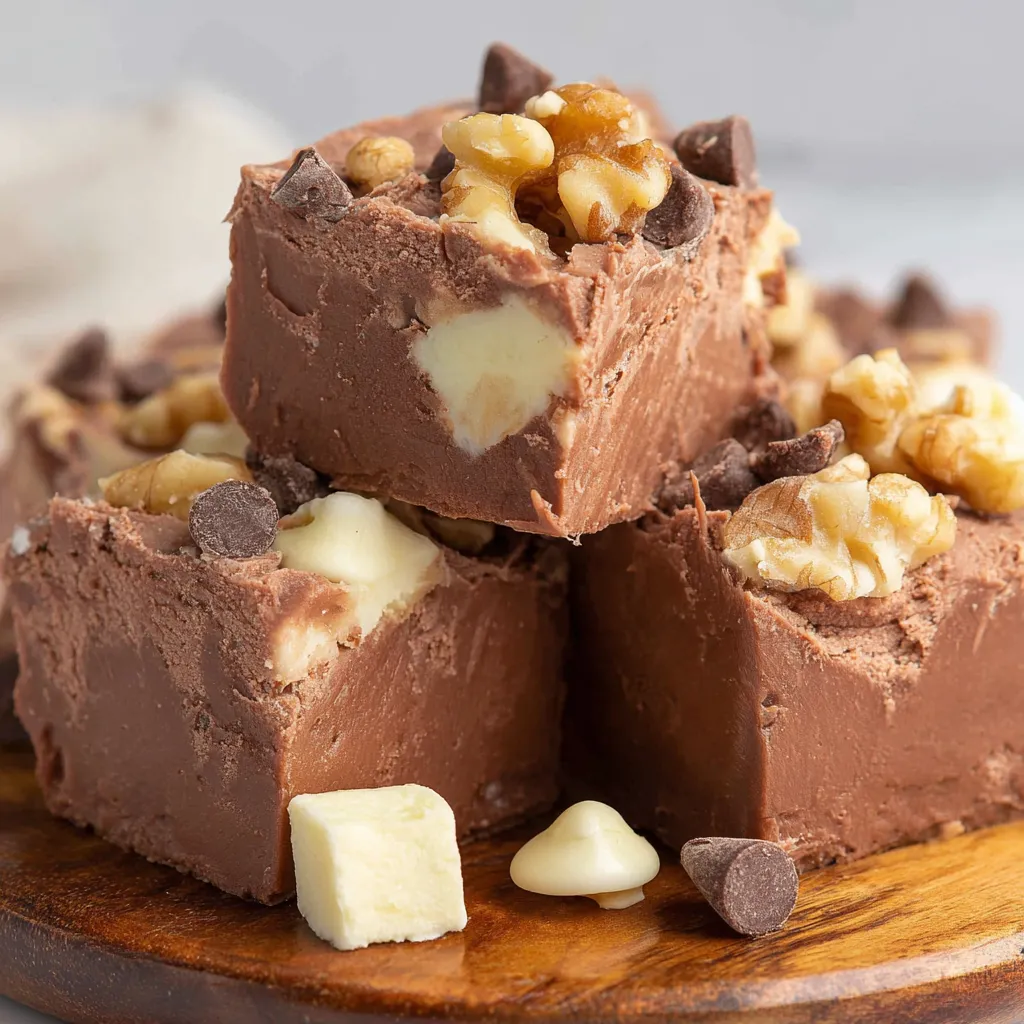
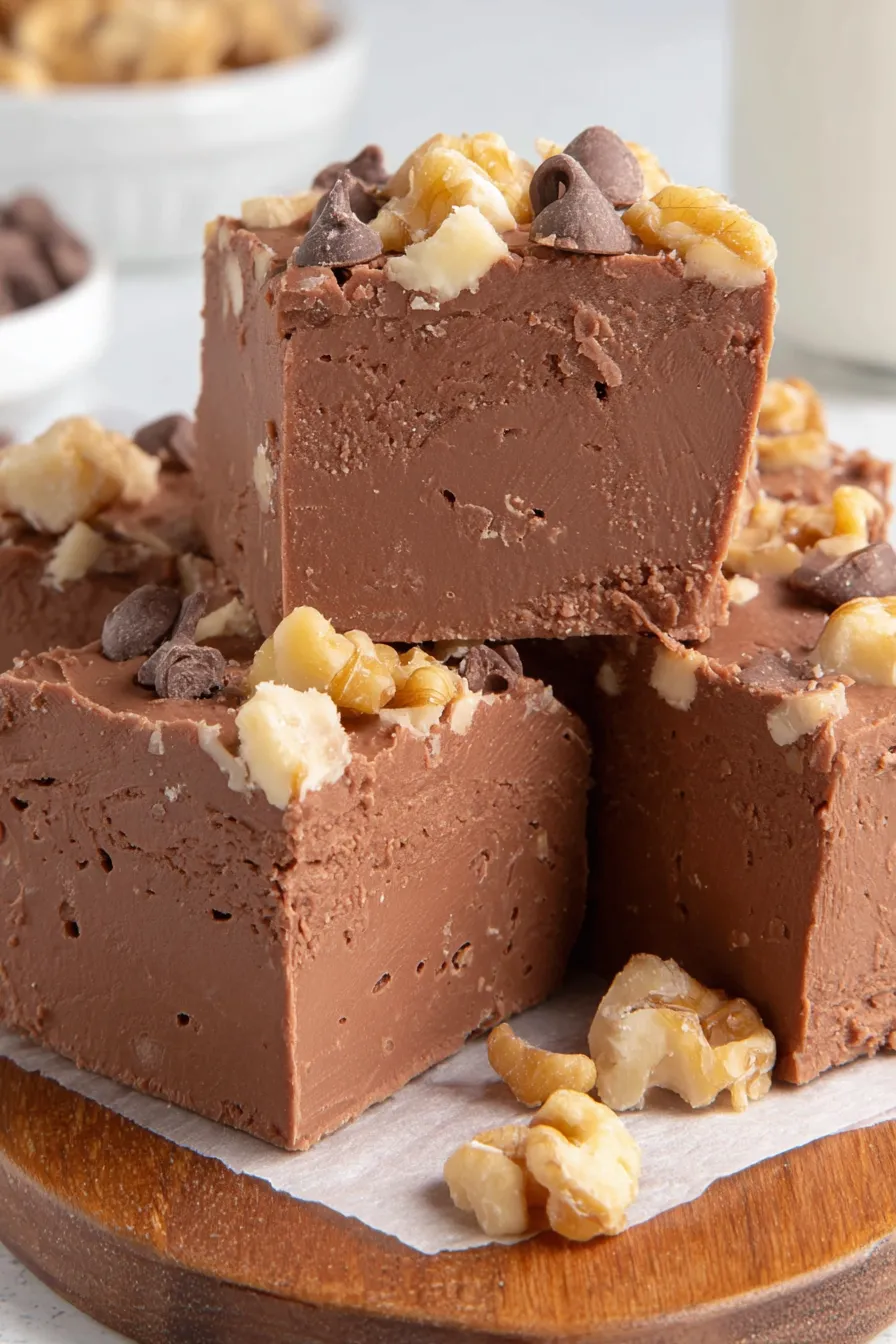
This Fantasy Fudge has been a holiday staple in my kitchen for as long as I can remember. I first tasted it at a neighbor's cookie swap one December and immediately asked for the recipe. The texture is glossy and dense, with a soft snap when you bite into a 1x1 square, and the flavor balances deep semi-sweet chocolate with the bright, pillowy sweetness of marshmallow creme. It melts slowly on the tongue, with a pleasant walnut crunch that keeps every bite interesting. I discovered a trick early on: using a straight-sided 9x13 pan lined with parchment makes slicing tidy squares effortless, and the fudge releases cleanly when fully cooled.
Over the years I've made small adjustments—choosing BlueBonnet margarine when I want a slightly lighter, familiar buttery flavor and Nestle Toll House chocolate chips for their dependable melting profile. I love how the evaporated milk adds body and a subtle caramelized note when the sugar reaches a rolling boil. This is the kind of confection that fills the house with aroma, attracts friends to the kitchen, and disappears quickly at gatherings. It’s approachable for a busy home cook yet delivers that classic, nostalgic treat everyone expects at holiday time.
I remember the first time I brought a pan of this to a family reunion; within an hour there were hugs and requests for the recipe. My neighbor who taught me the method swore by a constant stir during the boil and an immediate chocolate stir-in off the heat, and that technique has saved countless batches from grainy sugar crystals. It’s a forgiving confection that gives back more than the effort put in—perfect for when you want a show-stopping homemade sweet with minimal fuss.
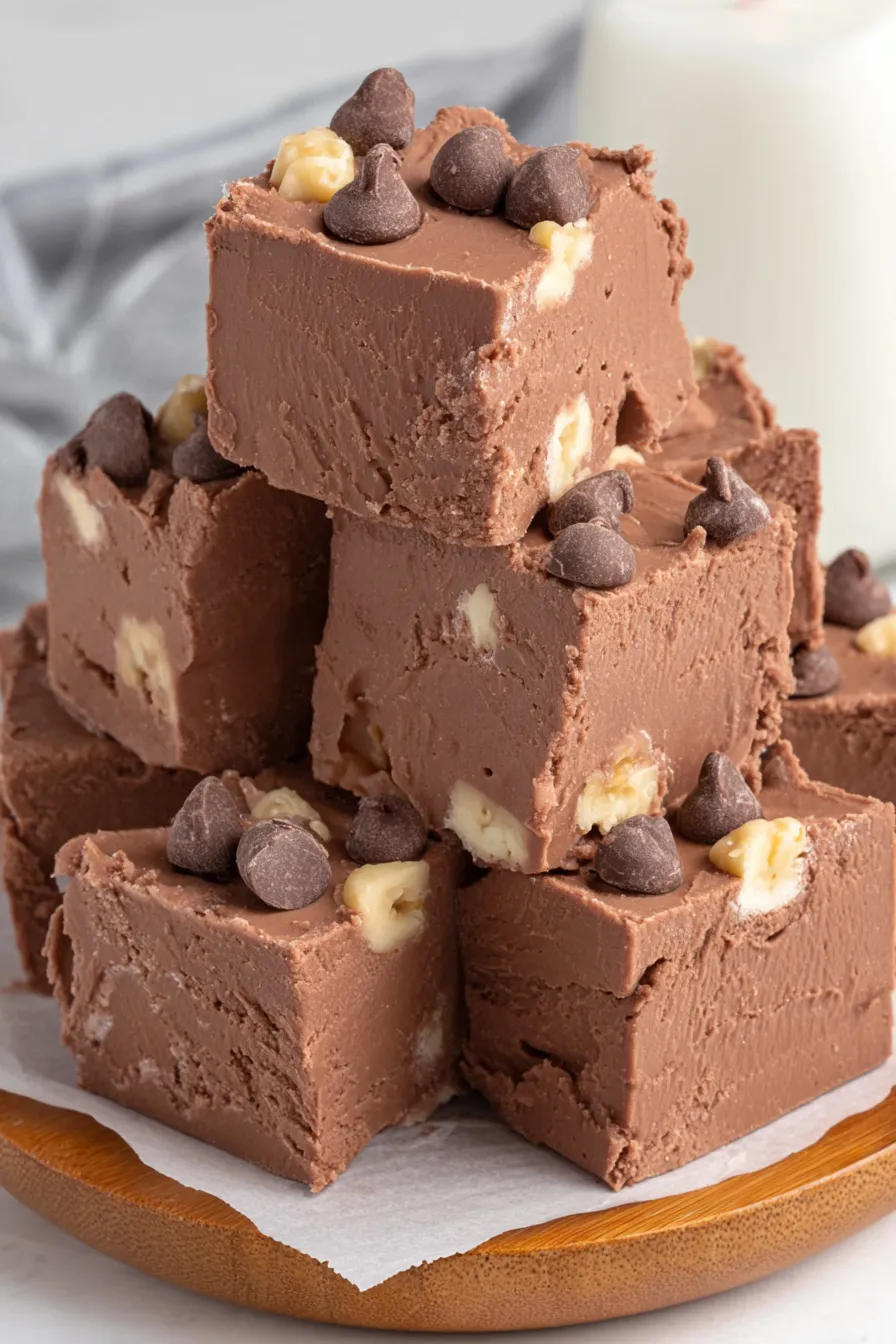
One of my favorite things about this confection is how forgiving it is once you understand the key stage: the 5-minute rolling boil. After I learned to trust the timing and constant stirring, I went from anxious stirring to confident candy-making. The toasted walnut crunch is my favorite finishing touch—sometimes I reserve a few for sprinkling on top so every slice looks festive. This has become my go-to for cookie exchanges, teacher gifts, and potlucks because it scales up easily and travels well.
Store cooled squares in an airtight container layered between sheets of parchment or wax paper to prevent sticking. At room temperature they will keep well for up to 5 days in a cool, dry place—avoid warm kitchens where margarine might soften too much. For longer storage, freeze wrapped squares in a single layer on a tray until firm, then transfer to a freezer-safe container for up to 3 months. Thaw at room temperature for 30–60 minutes before serving; avoid microwaving, which can change texture and cause grease separation.
If you prefer butter instead of margarine, substitute equal parts but expect a slightly firmer set and a more pronounced buttery flavor. For a nut-free version, omit walnuts and add 1 cup crisped rice cereal for crunch. Swap semi-sweet chocolate chips for milk chocolate for a sweeter result or dark chocolate for an intense cocoa bite—adjust marshmallow creme quantity up or down if you change the sweetness level. Use dairy-free chocolate and a nondairy evaporated milk alternative for a dairy-free attempt, though texture and setting may differ.
Serve these squares on a festive platter dusted with a light sift of cocoa or powdered sugar, or top individual pieces with a toasted walnut half for presentation. They pair wonderfully with a sharp espresso or a cup of strong black tea to cut the sweetness. Package them in small cellophane bags tied with ribbon for gifts, or arrange them in a decorative tin layered with parchment for potlucks. For an elegant dessert board, combine with shortbread cookies and dried fruit.
This style of fudge is rooted in American home candy-making traditions, where simple pantry ingredients transform into celebratory confections. Using marshmallow creme as a stabilizer and sweetener became popular in mid-20th century North America when jarred marshmallow spreads became widely available. Many families developed signature versions—some with nuts, some with coconut—and it became a common holiday tradition to pass down one-pan candy recipes at neighborhood gatherings and church bazaars.
In winter, fold in ½ cup crushed peppermint candies or top with crushed candy cane for a festive mint-chocolate version. For autumn, stir in 1 teaspoon ground cinnamon and replace walnuts with toasted pecans for a warming spice note. During spring or summer, omit nuts and swirl in a tablespoon of almond or orange extract for a bright twist. Small seasonal toppings—sea salt flakes in winter or toasted coconut in summer—make it easy to adapt the same method year-round.
Make a double batch and freeze half for later to save time during busy holiday weeks. Portion squares into single-serve containers or wrap individually before freezing for grab-and-go treats. If you plan to gift, slice before freezing and store in parchment-lined tins; thaw completely before presenting to avoid condensation on the pieces. Label containers with the date—properly wrapped fudge will stay fresh for months in the freezer without losing texture.
Making Fantasy Fudge always feels a little like stepping back into family kitchens—simple ingredients, clear technique, and the joy of sharing something homemade. Whether you’re gifting, entertaining, or just craving a rich chocolate bite, this is a reliable, beloved confection that warms both kitchen and heart. I encourage you to make it your own with small swaps and to enjoy the memories that come with every pan.
Use a heavy-bottomed saucepan to prevent hot spots and scorching during the boil.
Stir constantly during the rolling boil to avoid sugar crystallization on the pan sides.
Remove from heat before adding chocolate chips so they melt smoothly without overcooking.
Line the pan with parchment overhang for easy removal and clean slicing.
Wipe your knife between cuts to keep square edges tidy when slicing into 1x1 pieces.
This nourishing fantasy fudge recipe is sure to be a staple in your kitchen. Enjoy every moist, high protein slice — it is perfect for breakfast or as a wholesome snack any time.
Yes. Store in an airtight container at room temperature for up to 5 days, or freeze for up to 3 months.
If you want a firmer set, allow the fudge to cool fully and chill lightly before slicing; avoid cutting while still warm.
This Fantasy Fudge recipe makes perfectly juicy, tender, and flavorful steak every time! Serve with potatoes and a side salad for an unforgettable dinner in under 30 minutes.
Line a 9x13-inch straight-sided pan with parchment paper leaving an overhang. Lightly grease the parchment if desired.
In a heavy 3-4 quart saucepan over medium heat, add sugar, margarine, and evaporated milk. Stir until combined and margarine is melted.
Increase heat and bring to a hard/rolling boil, stirring constantly. Once at rolling boil, continue stirring and time exactly 5 minutes.
Remove from heat and add chocolate chips, stirring until smooth and glossy.
Stir in marshmallow creme and vanilla until no streaks remain. Fold in chopped walnuts evenly.
Pour into prepared pan, smooth into an even layer, cool completely, then lift out and slice into 1x1-inch squares.
Last Step: Please leave a rating and comment letting us know how you liked this recipe! This helps our business to thrive and continue providing free, high-quality recipes for you.
Leave a comment & rating below or tag
@culinya on social media!

Ultra-fudgy brownies crowned with gooey mini marshmallows and a quick-set chocolate icing. Crowd-pleasing, nostalgic, and irresistibly rich in every bite.

Buttery shortbread crust meets a silky brown sugar pecan topping in these easy pecan pie bars. Just 10 minutes of prep for bakery-level bliss.

A flawlessly smooth pumpkin cheesecake with warm spice, buttery graham crust, and no cracks. Finish with caramel and rum-kissed whipped cream.
Leave a comment & rating below or tag @culinya on social media!
Enjoyed this recipe? Share it with friends and family, and don't forget to leave a review!
This recipe looks amazing! Can't wait to try it.
Comments are stored locally in your browser. Server comments are displayed alongside your local comments.

Join to receive our email series which contains a round-up of some of our quick and easy family favorite recipes.
