
Funfetti Icebox Cake

A playful no-bake layer dessert built with crisp shortbread cookies, fluffy whipped cream, and rainbow sprinkles — perfect for parties and easy to make ahead.

This Funfetti icebox cake is one of those joyful desserts that brightens any table and takes me straight back to birthday parties and late summer gatherings. I discovered this combination the first time I needed a celebratory treat that was fast, transportable, and loved by kids and grown ups alike. The contrast between crisp shortbread cookies and the cloudlike whipped cream creates a delicate texture play that feels indulgent without fuss. I first made it on a humid day when I wanted a cake that did not require an oven; it set in the refrigerator and held its shape beautifully when sliced.
What makes this version special is the playful pop of rainbow sprinkles folded into the cream and scattered on top. The sprinkles give a faint crunch and a festive look without overpowering flavor. Using sturdy shortbread rounds keeps the layers distinct yet tender after chilling. Over the years I have brought this to potlucks, summer barbecues, and small celebrations — it is always the first dessert to disappear. The assembly is straightforward, and the technique favors gentle folding and confident layering rather than precision baking skills.
Why You'll Love This Recipe
- Ready in under 30 minutes of active work: whip, layer, chill. The hands-on time is minimal and most of the process is refrigeration.
- Uses pantry and fridge staples: shortbread cookies, heavy cream, powdered sugar, vanilla, and sprinkles make this perfect for last minute celebrations.
- Make ahead friendly: assemble up to 24 hours in advance and refrigerate, allowing flavors to meld for cleaner slices.
- Crowd pleasing and portable: the springform pan makes it easy to transport and unmold for gatherings.
- Customizable appearance and texture: swap cookies or sprinkles to suit dietary needs or theme a party.
I remember serving this for my niece's school celebration; she loved the colors and declared it the best cake ever. Guests often ask for the technique because the texture is surprisingly sophisticated: crisp layers that soften just enough to melt with each bite. The recipe has become my go-to when I want an instant festive dessert without turning on the oven.
Ingredients
- Shortbread cookies: 10.6 ounces (about 300 grams). Choose sturdy round shortbread biscuits such as Walkers or store-brand shortbread. The dense crumb holds up well under the cream and softens to a tender bite after chilling.
- Heavy cream: 1 2/3 cups (about 400 grams). Use cold heavy whipping cream with at least 36 percent fat for the most stable whipped peaks. Chilling the mixing bowl and beaters for 10 minutes helps achieve stiff peaks faster.
- Powdered sugar: 1/3 cup (sifted). Powdered sugar sweetens and helps stabilize the whipped cream. If you prefer less sweetness, reduce by 1 to 2 tablespoons.
- Vanilla extract: 1 teaspoon. Pure vanilla extract adds depth; a splash of almond extract can be used for a different aromatic profile.
- Rainbow sprinkles: 1/3 cup. Use jimmies or nonpareils depending on the mouthfeel you prefer. Sprinkles add visual celebration and a slight crunchy contrast.

Instructions
Whip the cream to stiff peaks: Chill the mixing bowl and beaters if possible. Pour the cold heavy cream into the bowl, add the powdered sugar and vanilla, then beat on medium-high with an electric mixer until glossy, stiff peaks form. This takes roughly 3 to 5 minutes depending on mixer power. Stop once the peaks hold shape and avoid overbeating to butter. Prepare the pan and first layer: Use a 20 centimeter (8 inch) springform pan. Spoon about one half cup of whipped cream into the bottom, spreading into an even thin layer that will help the cookies adhere and stay level. Arrange the cookies: Place shortbread cookies in a single snug layer on top of the cream, fitting them close so there are no large gaps. If your cookies are slightly larger than the pan, overlap the edges slightly without crushing them. Add cream and repeat layers: Spread another half cup of whipped cream over the cookies to glue the next layer, then add a second cookie layer. Continue alternating cookie and cream layers until you finish with a top layer of whipped cream. The cake typically has three cookie layers and two thin cream layers between, ending with cream on top. Decorate and chill: Transfer remaining whipped cream to a piping bag fitted with a star tip and pipe decorative rosettes or swirls on the top. Scatter the rainbow sprinkles generously over the surface. Refrigerate the cake uncovered for at least four hours, preferably overnight, until the cookies soften slightly and slices hold cleanly.
You Must Know
- This is a no-bake dessert that relies on chilling time rather than oven time; allow at least four hours for the proper texture, though overnight is ideal.
- Keep all dairy cold until whipping to achieve stable peaks. If your cream starts to weep after piping, gently re-chill before serving.
- Store refrigerated for up to 3 days for optimal texture. The cookies will continue to soften over time.
- Contains dairy and wheat. Not suitable for those with milk or gluten allergies unless ingredients are substituted appropriately.
My favorite aspect is how effortless it looks despite the layers. The cake slices look professionally made when chilled and cut with a hot, dry knife. Family members often comment that it tastes like a cross between a trifle and a classic layered birthday cake, but with a lighter mouthfeel that works well after a big meal.
Storage Tips
Store the assembled cake in the refrigerator, covered loosely with plastic wrap or a cake dome to prevent it from absorbing other flavors. For best texture, consume within three days; after that the biscuit layers will become quite soft. You can freeze individual slices wrapped tightly in plastic and foil for up to one month. Thaw in the refrigerator for several hours before serving. When reheating slices, avoid microwaving as it will melt the whipped cream; instead let them sit at room temperature for 15 to 20 minutes for a softer mouthfeel.
Ingredient Substitutions
For a gluten free version, use certified gluten free shortbread or gluten free tea biscuits in a 1 to 1 swap. To make it lighter, substitute half the heavy cream with mascarpone beaten until smooth, which yields a silkier, denser filling. For a dairy free option, use stabilized coconut cream whipped with powdered sugar and a teaspoon of vanilla, though flavor and texture will change. Swap sprinkles for finely chopped candied fruit or toasted coconut flakes for a different crunch profile.
Serving Suggestions
Serve chilled in neat slices with a small spoonful of fresh berries or a raspberry coulis to cut the richness. For a party, top the cake with extra sprinkles or edible glitter and place on a cake stand to show off the layers. Pair with espresso or a light sparkling wine to balance the creaminess. This dessert also works well as a portioned treat in small jars for individual servings at picnics or potlucks.
Cultural Background
Layered chilled desserts have long been a part of many cuisines, from Italian tiramisus to British trifles. The icebox cake evolved in the United States during the early 20th century when electric refrigeration became common. The concept involves layering thin cookies or wafers with whipped cream or custard so the biscuit absorbs moisture and becomes cake like without baking. This festive variant incorporates the American tradition of funfetti sprinkles, a modern twist that celebrates birthdays and casual gatherings.
Seasonal Adaptations
In summer, add lemon zest to the whipped cream and swap sprinkles for candied lemon peel for a bright refreshing take. In winter, fold a teaspoon of ground cinnamon into the cream and use gingerbread or spiced shortbread cookies to echo seasonal flavors. For holiday colors, change the sprinkles to red and green or use edible gold for New Year celebrations. These small swaps transform the dessert to suit any season while keeping the simple technique intact.
Meal Prep Tips
Prepare the whipped cream up to one day ahead and store in a chilled, covered bowl. Assemble the layers the night before to allow the flavors to integrate and to free up time on the day of serving. If you plan to transport the cake, secure it inside a cake box and keep it on a level surface in a cooler with ice packs. For buffet service, slice the cake into uniform pieces and arrange on a platter so guests can serve themselves.
This Funfetti icebox cake is an approachable, festive dessert that invites creativity. Whether you keep it classic or tailor it with seasonal ingredients, it always brings a smile and makes any celebration feel a little brighter.
Pro Tips
Chill the mixing bowl and beaters for 10 minutes before whipping cream to help reach stiff peaks quickly.
Use a hot, dry knife wiped between cuts for clean slices; warm the blade under hot water, dry it, then slice.
Assemble the cake in an 8 inch springform pan for easy unmolding and neat layers.
If you prefer less sweetness, reduce powdered sugar by 1 to 2 tablespoons and taste before piping.
This nourishing funfetti icebox cake recipe is sure to be a staple in your kitchen. Enjoy every moist, high protein slice — it is perfect for breakfast or as a wholesome snack any time.
Tags
Funfetti Icebox Cake
This Funfetti Icebox Cake recipe makes perfectly juicy, tender, and flavorful steak every time! Serve with potatoes and a side salad for an unforgettable dinner in under 30 minutes.
Instructions
Whip the cream
Chill bowl and beaters if possible. Beat the cold heavy cream with powdered sugar and vanilla on medium-high until glossy stiff peaks form, about 3 to 5 minutes.
Prepare the pan and first layer
Spread approximately 1/2 cup of whipped cream into the bottom of a 20 cm (8 in) springform pan to create an even base layer.
Arrange cookies
Place shortbread cookies in a single layer on the cream, fitting them close together so there are no large gaps between pieces.
Continue layering
Spread another 1/2 cup of whipped cream over the cookies, add another cookie layer, and repeat until the top layer is whipped cream. Typically three cookie layers work well.
Decorate and chill
Pipe decorative swirls with remaining cream using a star tip, scatter sprinkles evenly, then refrigerate for at least four hours or overnight before slicing.
Last Step: Please leave a rating and comment letting us know how you liked this recipe! This helps our business to thrive and continue providing free, high-quality recipes for you.
Nutrition
Did You Make This?
Leave a comment & rating below or tag
@culinya on social media!
Categories:
You might also like...
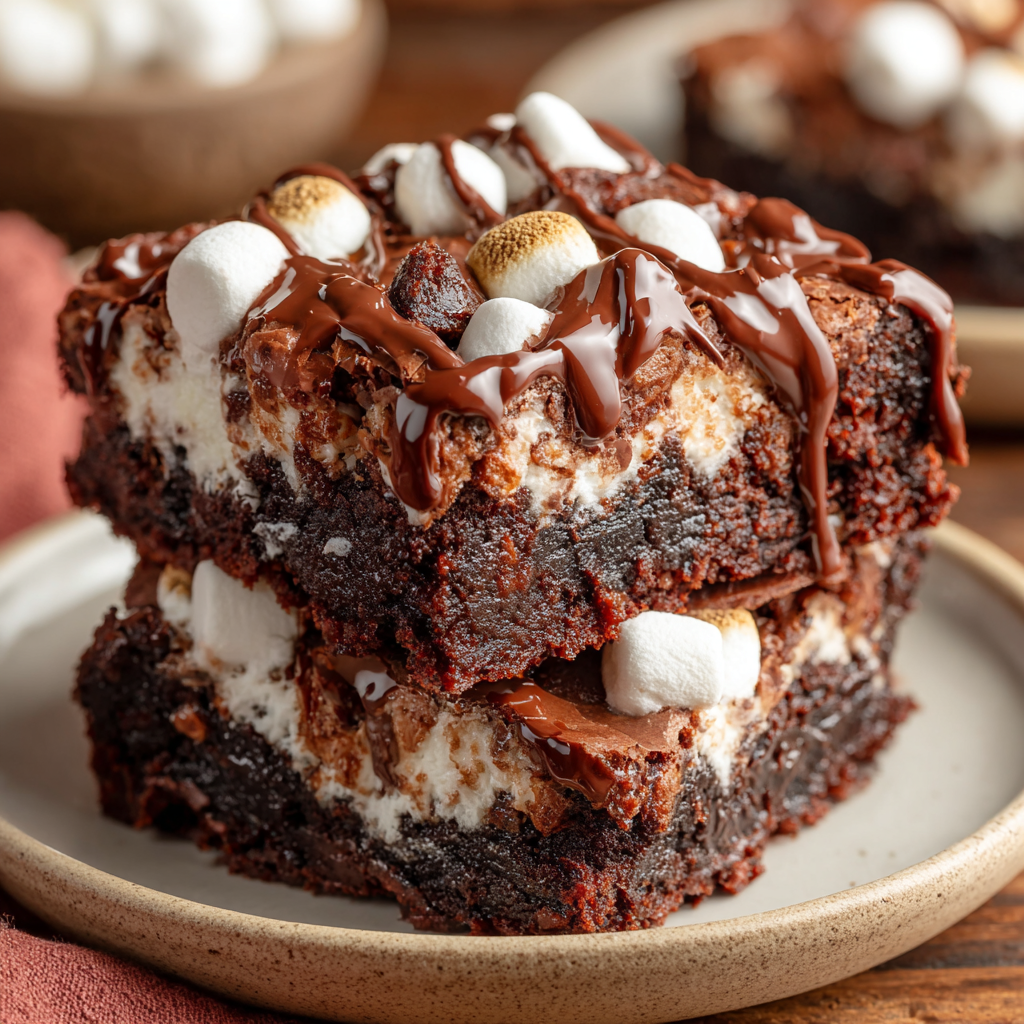
Fudgy Marshmallow Mud Brownies
Ultra-fudgy brownies crowned with gooey mini marshmallows and a quick-set chocolate icing. Crowd-pleasing, nostalgic, and irresistibly rich in every bite.
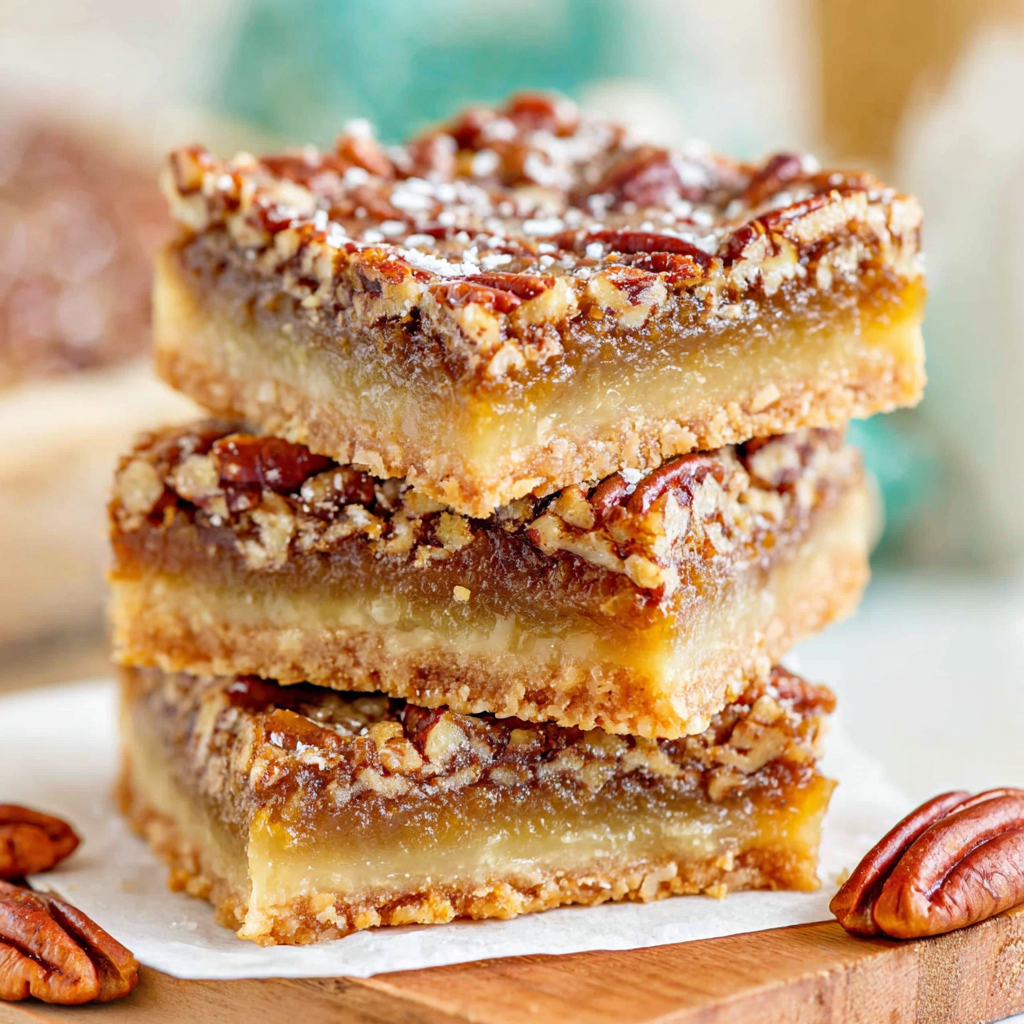
Buttery Pecan Pie Bars
Buttery shortbread crust meets a silky brown sugar pecan topping in these easy pecan pie bars. Just 10 minutes of prep for bakery-level bliss.
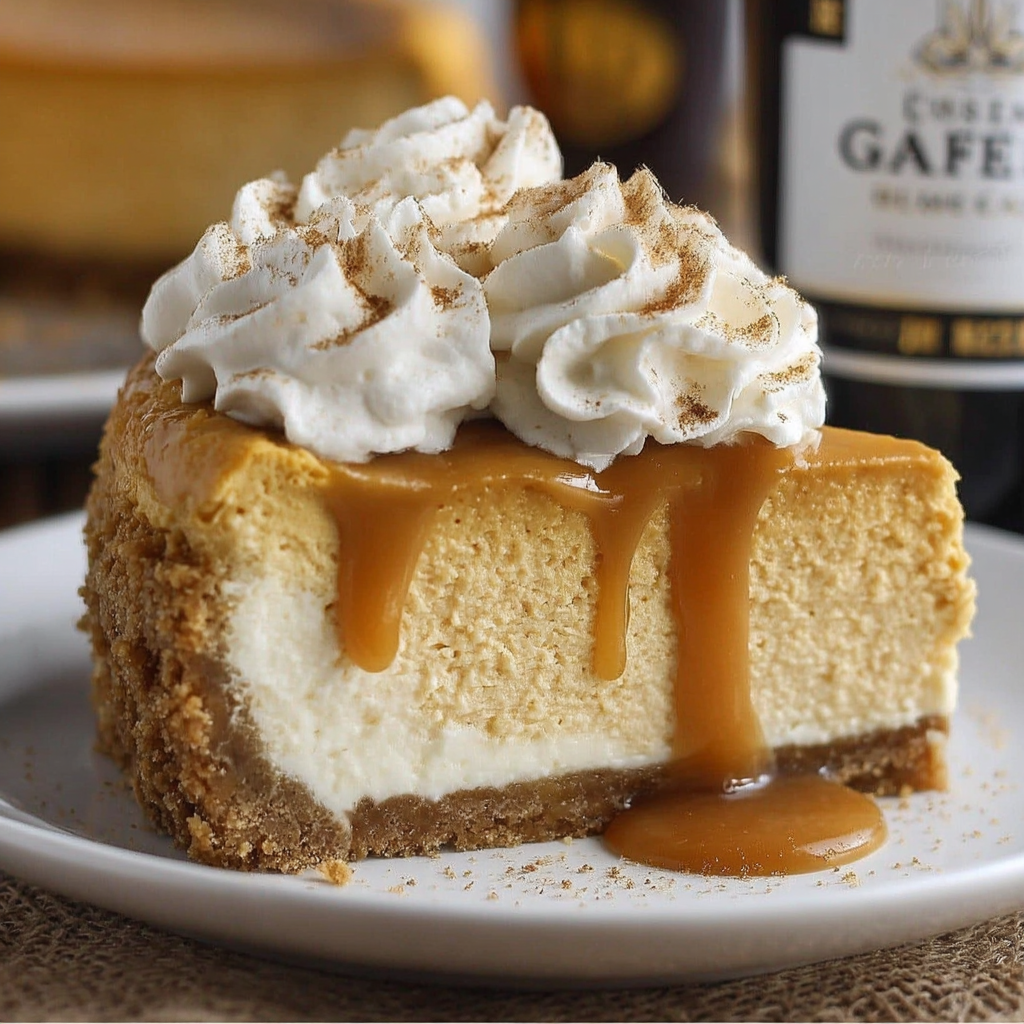
Silky No-Crack Pumpkin Cheesecake
A flawlessly smooth pumpkin cheesecake with warm spice, buttery graham crust, and no cracks. Finish with caramel and rum-kissed whipped cream.
Did You Make This?
Leave a comment & rating below or tag @culinya on social media!
Rate This Recipe
Share This Recipe
Enjoyed this recipe? Share it with friends and family, and don't forget to leave a review!
Comments (1)
This recipe looks amazing! Can't wait to try it.
Comments are stored locally in your browser. Server comments are displayed alongside your local comments.

Hi, I'm Sophia!
What's Popular

30-Minute Meals!
Join to receive our email series which contains a round-up of some of our quick and easy family favorite recipes.