
>>

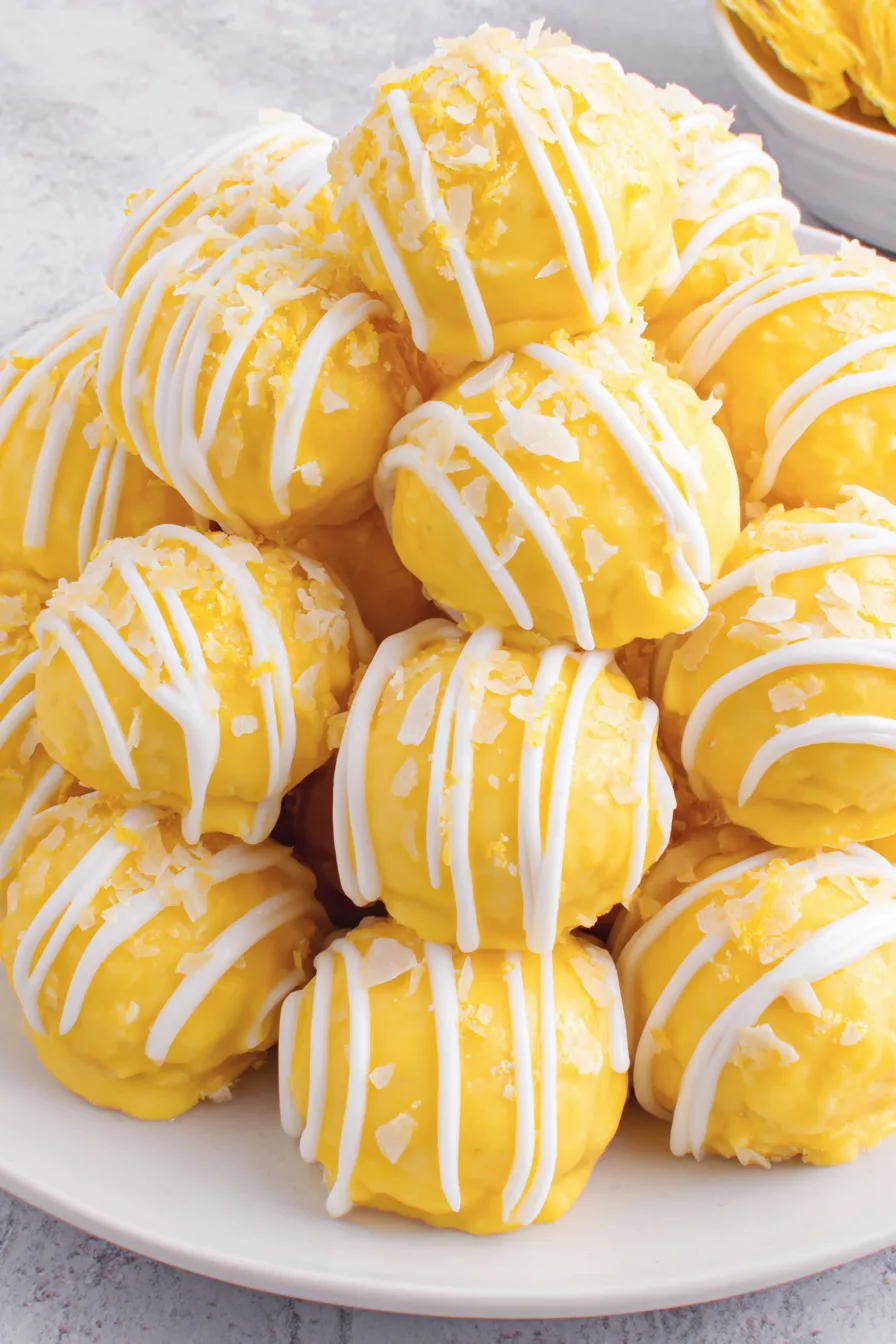
Bright, creamy no-bake lemon cheesecake bites coated in yellow candy melts and drizzled with white vanilla almond bark — a simple, crowd-pleasing treat for parties and holidays.
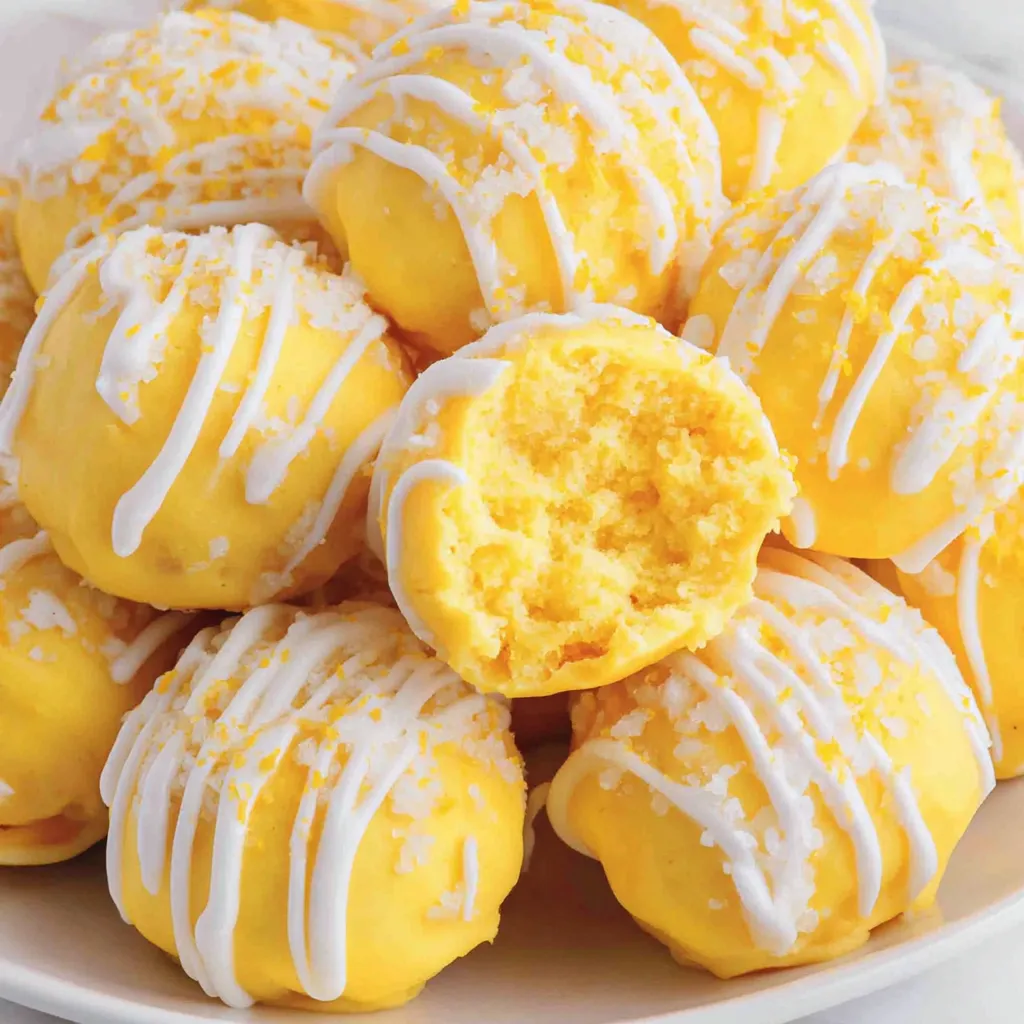
This little tray of lemon cheesecake bites has been my go-to for spring gatherings, potlucks, and any time I need a sweet that looks special but comes together quickly. I first created this version during a busy Easter weekend when I wanted a citrusy dessert that didn’t require baking a whole cheesecake. The lemon cake mix brings bright, concentrated lemon flavor while the cream cheese provides the rich, tangy center. The result is a creamy, slightly tangy interior with a crisp candy shell that snaps pleasantly with every bite.
I distinctly remember my grandmother taking one bite and asking for the recipe on the spot — and that’s how these treats earned a permanent place in my repertoire. They’re portable, freezer-friendly, and easy to adapt for color themes or flavor swaps. The texture contrasts — silky center and firm candy coating — make them irresistible at first taste, and they’re surprisingly simple to prepare even if you’re new to candy-coating techniques.
In my kitchen these have become the dessert I take to every spring gathering — neighbors request them, my kids call them ‘lemon pops,’ and they’ve traveled well on picnics and potlucks. The combination of tangy cream cheese and citrus crumb is consistently surprising and delightful.

My favorite thing about these is how they travel and present: they look bakery-made but require minimal fuss. Family and friends often ask if they are from a local shop. I love that a child can help roll the balls while an adult handles the hot candy work — it’s a true team dessert.
Place the finished bites in a single layer inside an airtight container, separating layers with parchment paper to prevent sticking. Refrigerate for up to 7 days; they will soften slightly over time but remain delicious. For longer storage, freeze the bites on a tray until firm (about 1 hour), then transfer to a freezer-safe container or zip-top bag for up to 3 months. Thaw in the refrigerator for 20–30 minutes before serving to avoid condensation on the candy coating. Avoid leaving them at room temperature for extended periods on warm days as the coating can become tacky.
If you prefer a less sweet coating, use high-quality white chocolate melting wafers and tint them yellow with oil-based color for a subtler finish. For a gluten-free version, choose a certified gluten-free lemon cake mix. To reduce sugar slightly, use light cream cheese or a blend of full-fat and reduced-fat, but note the texture will be softer and may need extra chilling. If almond bark is not available, use white candy melts or melted white chocolate for drizzling. For a citrus kick, fold in 1–2 teaspoons of lemon zest to the cream cheese before chilling.
Serve these chilled on a decorative platter, garnished with thin lemon slices, edible flowers, or a light dusting of powdered sugar. Pair with coffee, tea, or a sparkling wine for an elegant contrast. They work beautifully on dessert tables, at baby showers, and as part of a sampler box with other small sweets. For a kid-friendly presentation, place them in mini cupcake liners or use colorful sprinkles immediately after coating before the candy sets.
These bites are a modern American confection inspired by two classic dessert ideas: the boxed cake mix and the no-bake cheesecake. Using boxed mixes as a flavor base is a long-standing home cook tradition, offering consistent flavor and convenience. Candy-coating techniques come from confectionery traditions where melts and bark are used to finish bonbons and truffles. The combination is quintessentially home-bakery: accessible, adaptable, and made for sharing at community gatherings and holiday tables across the United States.
Adapt these for holidays by changing candy melt colors and garnishes: pastel colors and edible pearls for spring, orange and black for Halloween, or red and green for Christmas. In summer, add lime zest for a brighter, fresher citrus profile. For Valentine’s Day, tint coatings pink and add heart sprinkles. Temperature matters: in hot weather work in a cool room and chill balls thoroughly before coating to reduce melting and achieve a smooth finish.
Make the centers up to two days ahead and keep them chilled until coating time. Alternatively, prepare and freeze scooped balls on a tray until firm, then dip from frozen for a quick final assembly before guests arrive. Use an insulated cooler with ice packs for transport to outdoor events. Bring extra melted coating in a thermal container to touch up any spots at your destination. Label storage containers with the date so you know freshness limits, and keep them away from strong-smelling foods to preserve lemon aroma.
These lemon cheesecake bites are one of those small culinary pleasures that always draw compliments. They travel well, adapt easily, and are forgiving enough for cooks at any skill level. Give them a try, tweak the flavor to your liking, and pass them along — they make a lovely edible gift.
Heat-treat the dry cake mix in the microwave as described to reduce risk from raw powdered ingredients.
Ensure the cream cheese is completely at room temperature before beating to avoid lumps.
Chill the mixture thoroughly before scooping to make shaping easier and prevent melting during coating.
Work quickly when coating with candy melts; keep the coating warm and fluid for smooth coverage.
Use parchment paper to prevent sticking and to make cleanup quick.
This nourishing lemon cheesecake bites recipe is sure to be a staple in your kitchen. Enjoy every moist, high protein slice — it is perfect for breakfast or as a wholesome snack any time.
This Lemon Cheesecake Bites recipe makes perfectly juicy, tender, and flavorful steak every time! Serve with potatoes and a side salad for an unforgettable dinner in under 30 minutes.
Place the dry lemon cake mix in a medium microwave-safe bowl. Microwave in two 30-second intervals, stirring between intervals. Allow the mix to cool completely to room temperature before combining with cream cheese.
Beat the room-temperature cream cheese in a medium bowl with a handheld mixer on medium-high speed for 2 to 2½ minutes until smooth and lump-free, scraping the bowl once or twice.
Sprinkle the cooled dry mix over the whipped cream cheese and mix on low to medium speed until just incorporated. Avoid over-mixing to maintain a light texture.
Cover tightly and refrigerate for 2 hours to firm up the mixture for easy scooping. Alternatively freeze for 30–40 minutes if short on time.
Line a baking sheet with parchment. Using a 1 tablespoon scoop, portion the mixture and roll into balls. Place on the prepared sheet approximately 1 inch apart.
Melt candy wafers in a heat-safe bowl in 30-second intervals, stirring after each interval until smooth and glossy. Keep warm to prevent setting while you coat.
Dip each chilled ball into the melted candy, lift with a fork, tap off excess, and place back on parchment. Use a spoon to touch up any uncovered areas.
Melt the white vanilla almond bark in 30-second intervals, stir until smooth, and drizzle thin ribbons over the coated bites. Chill until set.
Return the finished bites to the refrigerator until the coating is fully set. Store chilled and serve within 7 days or freeze for longer storage.
Last Step: Please leave a rating and comment letting us know how you liked this recipe! This helps our business to thrive and continue providing free, high-quality recipes for you.
Leave a comment & rating below or tag
@culinya on social media!

Ultra-fudgy brownies crowned with gooey mini marshmallows and a quick-set chocolate icing. Crowd-pleasing, nostalgic, and irresistibly rich in every bite.

Buttery shortbread crust meets a silky brown sugar pecan topping in these easy pecan pie bars. Just 10 minutes of prep for bakery-level bliss.

A flawlessly smooth pumpkin cheesecake with warm spice, buttery graham crust, and no cracks. Finish with caramel and rum-kissed whipped cream.
Leave a comment & rating below or tag @culinya on social media!
Enjoyed this recipe? Share it with friends and family, and don't forget to leave a review!
This recipe looks amazing! Can't wait to try it.
Comments are stored locally in your browser. Server comments are displayed alongside your local comments.

Join to receive our email series which contains a round-up of some of our quick and easy family favorite recipes.
