
>>

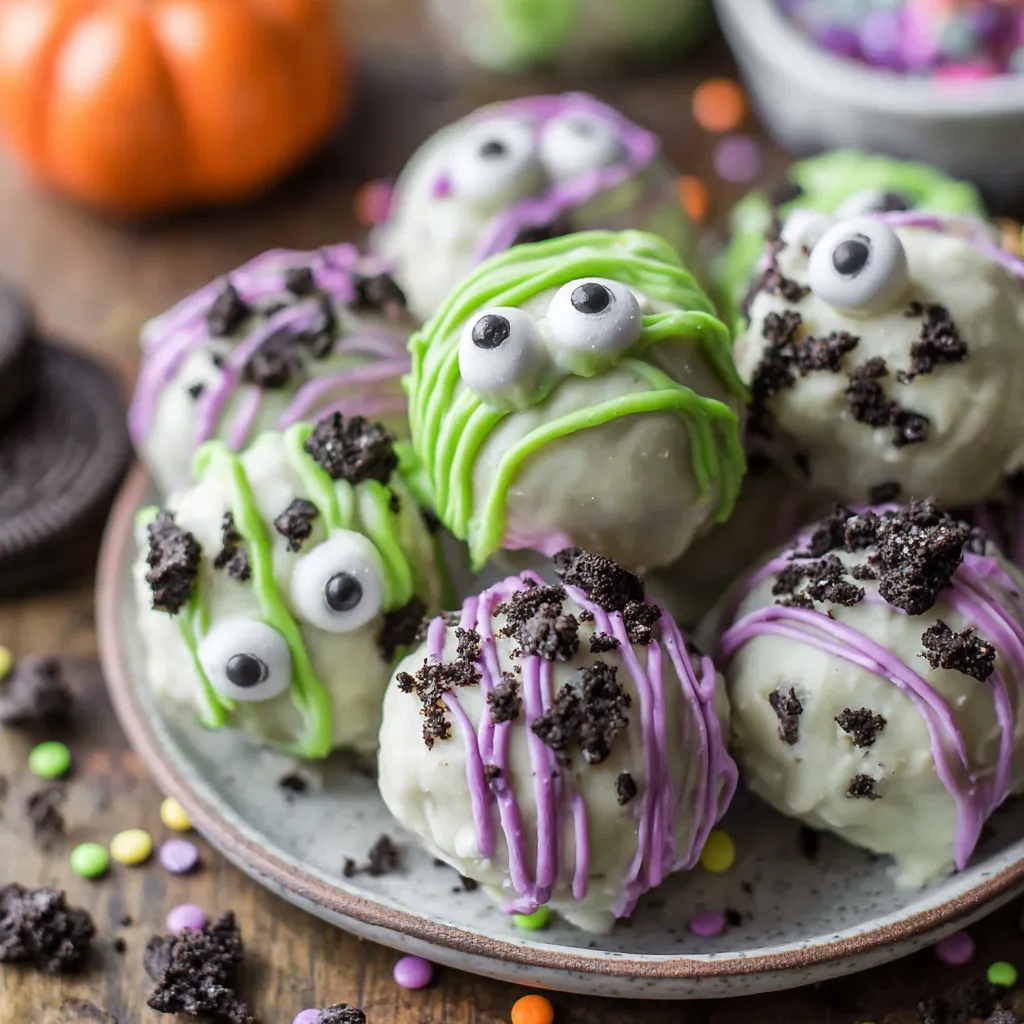
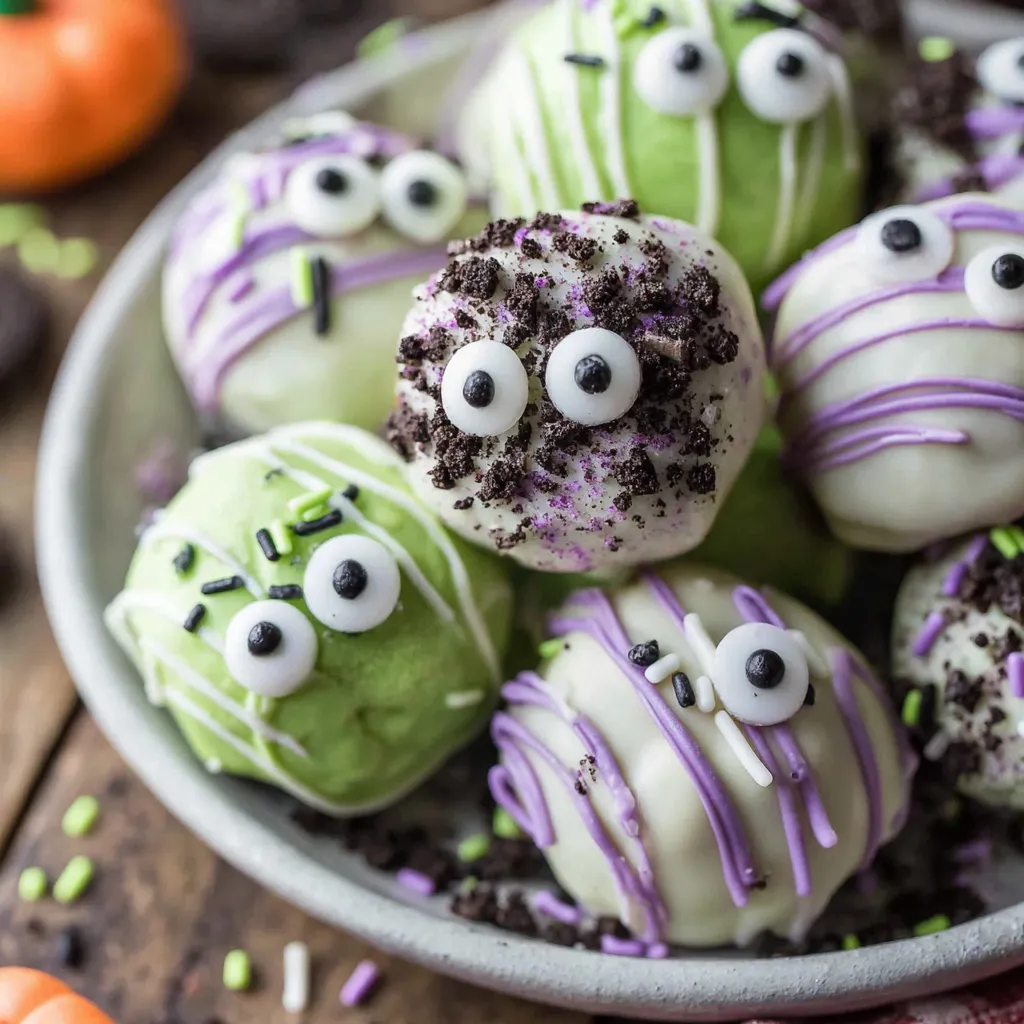
Sweet, spooky, and wonderfully simple no bake truffles made from Oreo cookies, cream cheese, and colorful white chocolate. Perfect for Halloween parties and kid-friendly celebrations.
This no bake treat has been my go-to for Halloween gatherings ever since I first made a batch for my neighborhood potluck. I discovered this combination one October evening when I wanted something festive but fuss-free, and the result was an instant hit. The truffles are creamy, sweet, and delightfully playful, with a crisp chocolate shell and a soft cookie center that melts on the tongue. Kids love the bright colors and candy eyes, while adults appreciate the nostalgic Oreo flavor re-imagined with a grown-up finish.
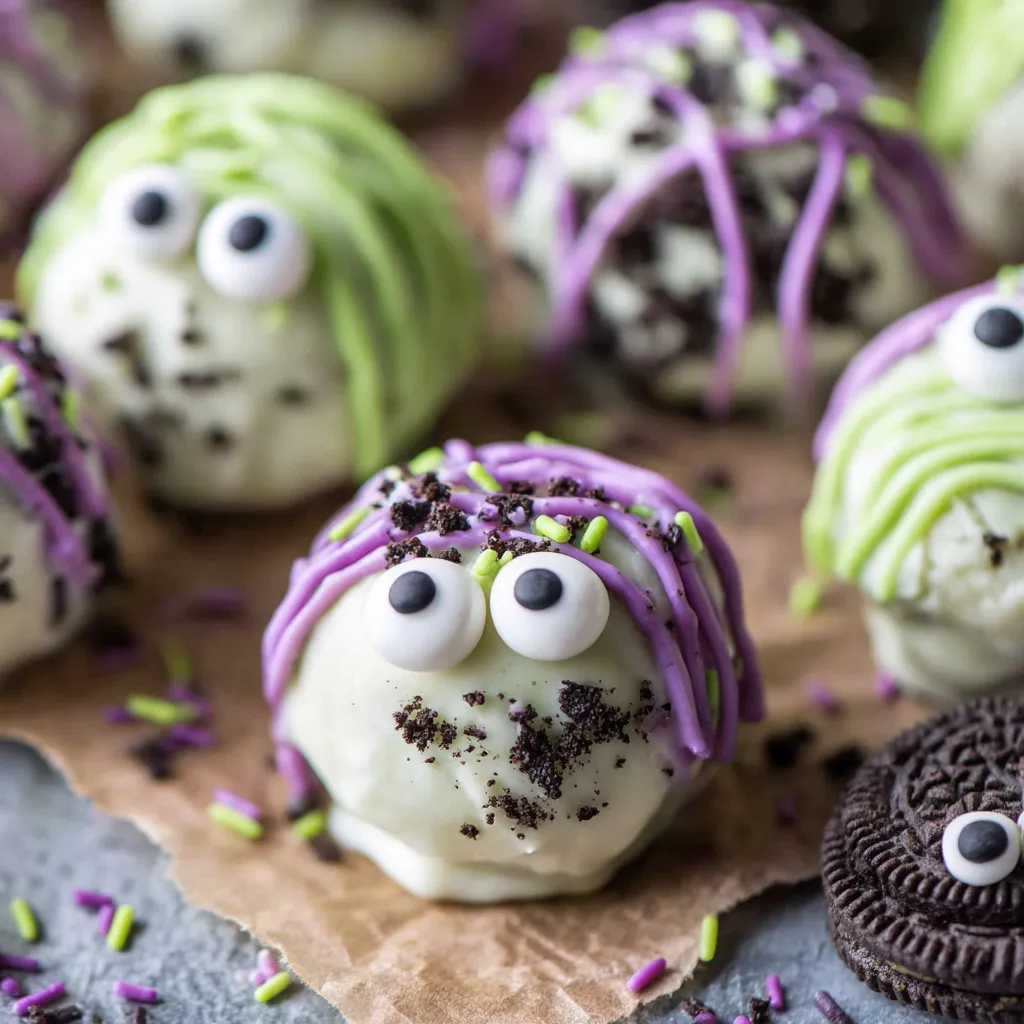
The texture is the best part: a dense, fudgy center made by combining crushed Oreos and softened cream cheese, then coated in a glossy white chocolate tinted green and purple. Visual cues matter here. When you dip the chilled centers, the coating should set with a smooth sheen and hold its shape, so the little monster decorations look crisp and lively. Whether you make a small batch for a family movie night or a dozen for a party platter, these truffles always disappear fast.
I still remember the first time I made these and brought them to a block party. My three year old insisted on placing every candy eye, which made them even more charming. My friends loved the combination of creamy filling and sweet coating, and several asked for the recipe to take home. Over the years I refined the chocolate tempering in the microwave to keep the coating smooth and avoid streaks, and I now always chill the centers until very firm for the best dipping results.
My favorite part of these truffles is seeing everyone pick their favorite eye placement and color combination. Once I made a tray where each truffle had three different sized eyes and it became the centerpiece of a kids dessert table. They also travel well when packed flat in a single layer, making them perfect for classroom treats or potluck sharing. I like to label which tray has nuts or extra toppings to avoid any allergy mishaps.
For short term storage place the finished truffles in an airtight container in a single layer, or separated with parchment paper between layers, and refrigerate. They will keep well for up to 7 days refrigerated. For longer storage, freeze them on a tray until solid, then transfer to a freezer-safe container or zip-top bag for up to 3 months. Thaw in the refrigerator for a few hours before serving to avoid condensation that can attract sprinkles. When transporting, keep them chilled in an insulated cooler or use ice packs to preserve the glossy coating.
If you need a dairy-free option, use dairy-free cream cheese and vegan white chocolate melts; results will vary slightly in texture but will still hold together. For a gluten-free version use gluten-free sandwich cookies that mimic the texture of Oreos. You can also swap food coloring gels for natural colorings like matcha or beet powder, but expect muted hues. If you want a darker monster, use white chocolate tinted with a tiny amount of black gel to create grey tones, or use melted candy coating in desired colors.
Arrange these on a Halloween platter with other bite-sized sweets, like mini cupcakes or spiced nuts, for a balanced dessert table. Place them on decorative paper liners and scatter plastic spiders for extra flair. They pair well with hot apple cider, coffee, or a glass of milk for children. For an adult crowd try serving them alongside a cheese board to offset the sweetness with savory bites. Consider labeling trays by color or decoration so guests can choose their preferred monster look.
These truffles are a playful adaptation of classic sandwich cookie and cream cheese confection ideas that have proliferated in American home baking. Oreo-based confections became popular because the cookie is widely available and provides a predictable chocolatey base when combined with soft cheese or condensed milk. Decorating with candy eyes and themed sprinkles ties into the broader American tradition of seasonal treats for Halloween, where visual novelty is as important as taste.
For other seasons swap the colors and decorations. Red and green coatings with peppermint sprinkles make a festive holiday bite, while pastel colors and edible flowers work for spring gatherings. For autumnal flavors consider adding a pinch of pumpkin pie spice to the filling or using cinnamon candies for topping. You can also change the candy eyes for themed toppers, like tiny hearts for Valentine’s Day or star sprinkles for Fourth of July.
Make the cookie-cream mixture up to two days ahead, keep it refrigerated until you are ready to portion, then scoop and freeze briefly before dipping. If planning a large batch, assemble centers, freeze them on sheets, and then dip in shifts. Store dipped truffles in the refrigerator in single layers separated by parchment to preserve decorations. If you intend to freeze, skip delicate sprinkles and eyes until after thawing, then add fresh decorations to keep them looking vibrant.
These truffles are a crowd-pleasing seasonal favorite that bring together simplicity and creativity. They are fast to make, fun to decorate, and perfect for sharing. Give them a try and personalize the colors and faces to make them truly your own.
Chill the formed balls until very firm before dipping to reduce the chance of the coating cracking or sliding.
Use gel food coloring to tint white coating without thinning the chocolate and preserve a glossy finish.
Warm the melted chocolate gently and stir frequently to avoid overheating which can create grainy texture.
If the coating thickens during work, reheat in 10 second bursts and stir thoroughly before continuing.
Press candy eyes onto the top while the drizzle is still tacky so they adhere without needing extra glue.
This nourishing no bake monster truffles (halloween oreo balls) recipe is sure to be a staple in your kitchen. Enjoy every moist, high protein slice — it is perfect for breakfast or as a wholesome snack any time.
Yes. To freeze, place truffles on a tray until solid, then transfer to an airtight container for up to 3 months. Thaw in the refrigerator before serving.
Use gel food coloring and add just a few drops. Avoid liquid color which can seize or thin chocolate.
Yes. Make the centers ahead and keep refrigerated for up to 48 hours before forming and dipping.
This No Bake Monster Truffles (Halloween Oreo Balls) recipe makes perfectly juicy, tender, and flavorful steak every time! Serve with potatoes and a side salad for an unforgettable dinner in under 30 minutes.
Line a baking sheet with parchment paper and set two microwave-safe bowls and utensils nearby for melting and decorating.
Place 24 cookies in a food processor and pulse until they form fine crumbs. Alternatively, crush in a sturdy bag with a rolling pin until sandy.
Add 4 ounces of softened cream cheese to the crumbs and pulse or mix until a cookie dough forms, scraping down the sides as needed.
Use a small scoop or 2 tablespoon measure to form balls, place on parchment, and freeze for 20 minutes until firm to the touch.
Melt about 12 ounces of white chocolate in 30 second intervals in the microwave, stirring between bursts until smooth, then add 3 to 4 drops of green gel food coloring.
Dip chilled balls into the green coating using a fork, tap off excess, and return to the parchment sheet. Allow coating to set slightly.
Melt the remaining 4 ounces of white chocolate, tint with purple gel, drizzle over the set green truffles, press on candy eyes and sprinkle toppings while the coating is still tacky.
Let truffles fully set at room temperature for 10 to 15 minutes or refrigerate briefly. Store in an airtight container in the fridge for up to 7 days.
Last Step: Please leave a rating and comment letting us know how you liked this recipe! This helps our business to thrive and continue providing free, high-quality recipes for you.
Leave a comment & rating below or tag
@culinya on social media!

Ultra-fudgy brownies crowned with gooey mini marshmallows and a quick-set chocolate icing. Crowd-pleasing, nostalgic, and irresistibly rich in every bite.

Buttery shortbread crust meets a silky brown sugar pecan topping in these easy pecan pie bars. Just 10 minutes of prep for bakery-level bliss.

A flawlessly smooth pumpkin cheesecake with warm spice, buttery graham crust, and no cracks. Finish with caramel and rum-kissed whipped cream.
Leave a comment & rating below or tag @culinya on social media!
Enjoyed this recipe? Share it with friends and family, and don't forget to leave a review!
This recipe looks amazing! Can't wait to try it.
Comments are stored locally in your browser. Server comments are displayed alongside your local comments.

Join to receive our email series which contains a round-up of some of our quick and easy family favorite recipes.
