
>>

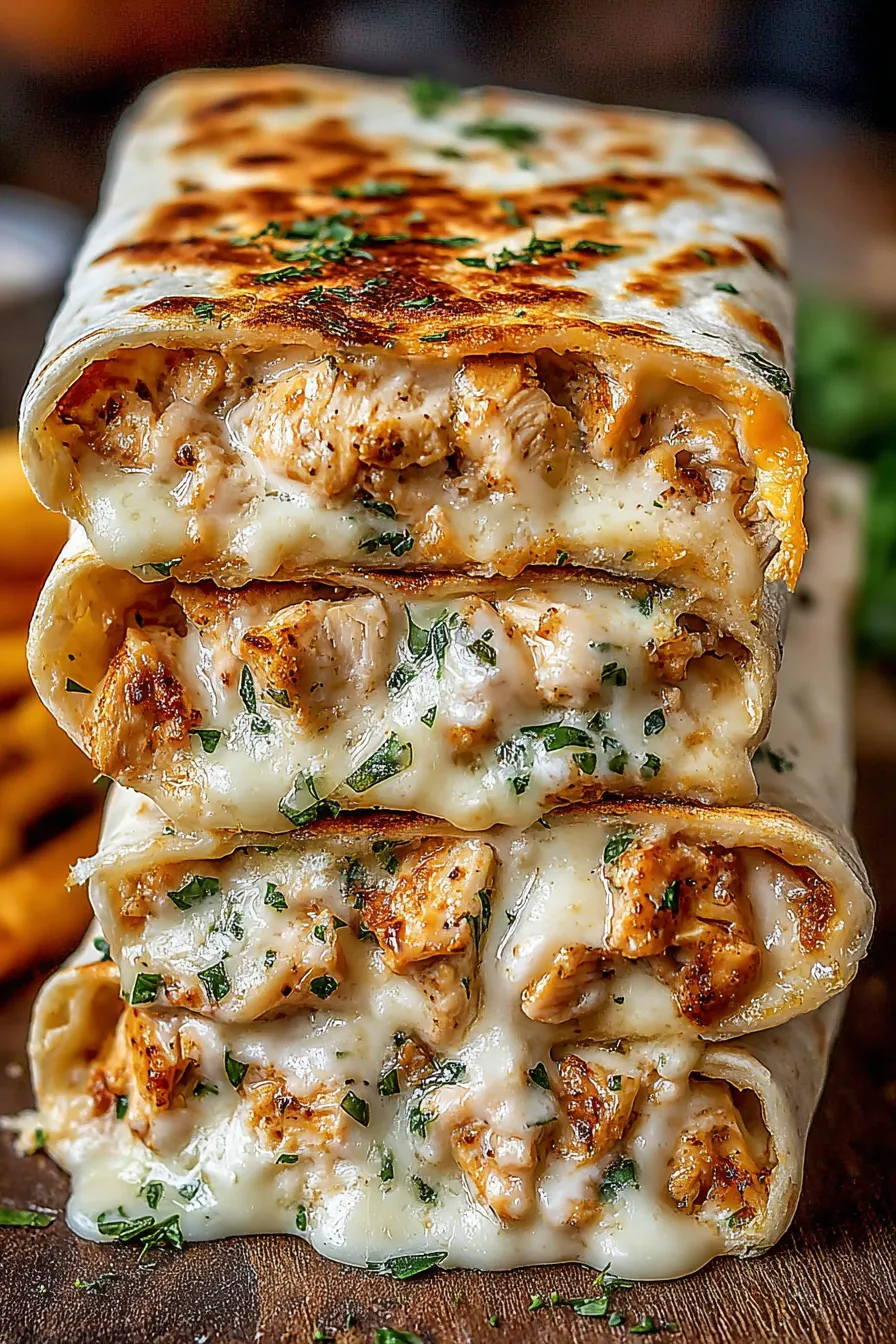
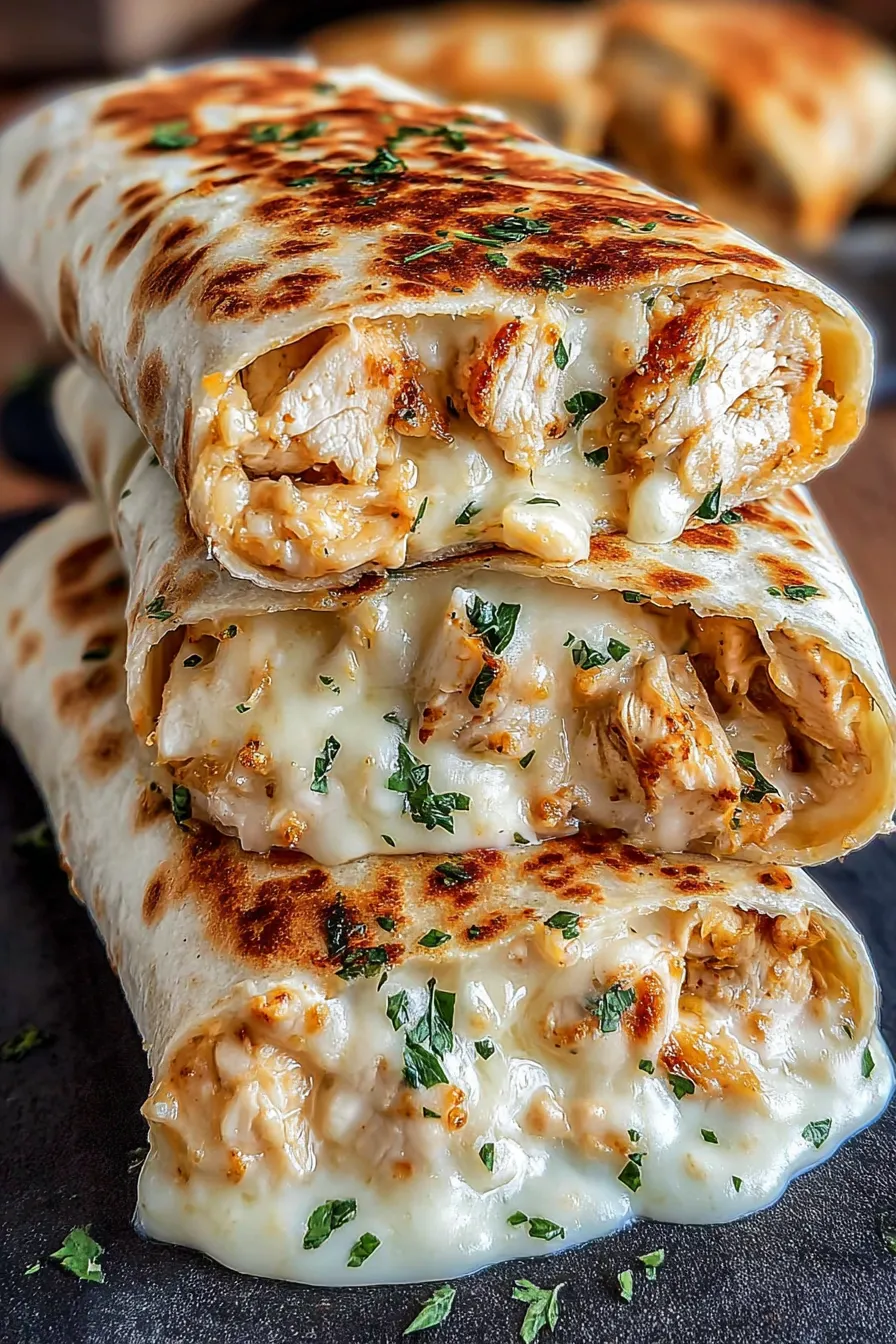
Warm flour tortillas stuffed with shredded garlic chicken and melting cheddar, baked until golden—comfort food with an easy weeknight twist.
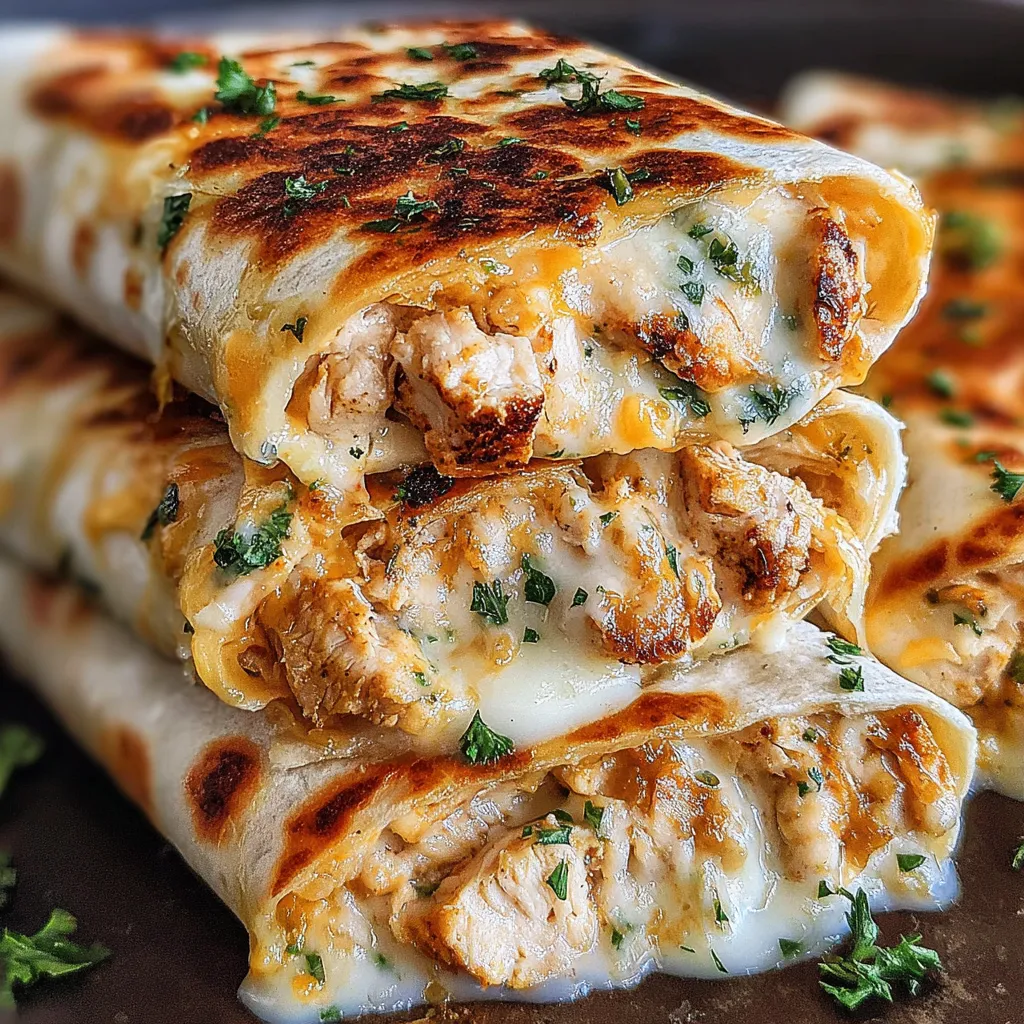
This recipe for Ooey-Gooey Cheesy Garlic Chicken Wraps has been a rotating favorite in my kitchen since the first time I made it on a busy weeknight and everyone begged for seconds. I discovered the combination during a late winter evening when pantry staples needed to stretch into something comforting and satisfying. The result was unexpectedly fantastic: tender shredded chicken infused with fragrant garlic, wrapped in a soft flour tortilla and blanketed with sharp cheddar that melts into gloriously gooey pockets.
What makes this preparation special is its balance of textures and flavors—crisply seared chicken that keeps moisture after resting, the bright bite of fresh garlic, and cheese that strings and browns just enough in the oven. It’s the kind of dish that brings people together: family members hovering around the counter while I assemble the wraps, kids choosing extra cheese, and friends raving about how simple ingredients can taste so indulgent. I love how adaptable it is too—swap spices, change the cheese, or use leftovers for a fast lunch. This version is tuned for straightforward pantry-friendly prep and maximum comfort.
In my experience, this recipe consistently earns compliments. My sister requests it when she visits, and once I brought a platter to a neighborhood potluck where it disappeared within minutes. The simple technique—pan-seared chicken, minced garlic sautéed briefly, and a quick oven finish—delivers flavor without fuss, which is why I return to it again and again.
My favorite part is how reliably this formula performs: even on busy nights it produces a comforting, restaurant-worthy result. Once, after a late soccer game, I assembled these in under 20 minutes and they instantly became the team’s post-game favorite—simple, filling, and adored by all ages.
Allow wraps to cool slightly before storing to avoid condensation. For short-term storage, place in an airtight container or wrap in foil and refrigerate up to 3 days. For freezing, wrap each tightly in plastic wrap and then foil; stack in a freezer-safe bag for up to 3 months. Reheat from frozen in a 350°F oven for 20–25 minutes, or thaw overnight in the fridge and reheat 12–15 minutes. If using a microwave for speed, cover with a damp paper towel and re-crisp briefly in a hot skillet for best texture.
Swap the flour tortillas for gluten-free wraps to make this gluten-free; warm them first to prevent cracking. Substitute cheddar with Monterey Jack, mozzarella, or a smoked provolone for different melting profiles. For a lower-fat version, use reduced-fat cheese and a light cooking spray instead of oil. Rotisserie or leftover roasted chicken works well—reduce searing time and go straight to shredding and warming with garlic. Add a handful of spinach or roasted peppers for extra vegetables.
Serve these wraps with a crisp green salad and a tangy slaw to cut through the richness, or offer avocado slices, salsa, and a lime wedge for optional brightness. For a casual meal, pair with oven-baked sweet potato fries or a bowl of tomato soup for dipping. Garnish with chopped fresh parsley or a sprinkle of flaky sea salt for a finishing touch when plating. These also travel well for picnics when wrapped tightly.
While handheld cheese-and-meat wraps are enjoyed across many cuisines, this preparation is rooted in modern American comfort food traditions that emphasize convenience and melting cheese. The use of flour tortillas nods to Tex-Mex influences, and the simple Italian seasoning evokes Mediterranean herb blends. The concept—protein, aromatic seasoning, and melted cheese enclosed in a flatbread—appeals universally and adapts to regional tastes, which is why versions of this format appear in countless home kitchens and casual eateries.
In spring and summer, add fresh chopped tomatoes, thinly sliced scallions, or baby spinach to brighten fillings. In autumn, swap in roasted butternut squash cubes and a pinch of smoked paprika for warmth. Holiday gatherings benefit from a cranberry-jalapeño relish or a smear of cranberry mustard for a seasonal twist. The technique remains the same—adjust the fillings to match seasonal produce and flavor preferences.
Cook and shred the chicken ahead and store in the fridge for up to 3 days. Assemble wraps the morning of serving and keep them covered, then bake just before eating. For freezer-friendly meal prep, assemble and freeze uncooked; bake from frozen adding 5–10 minutes to the baking time. Label packages with date and contents to maintain rotation. Use parchment between wraps when stacking to prevent sticking.
These Ooey-Gooey Cheesy Garlic Chicken Wraps are straightforward, forgiving, and endlessly adaptable. Whether feeding a hungry family or packing lunches for the week, they consistently deliver warm, comforting flavor. Make them your own—experiment with cheeses, spices, and add-ins—and enjoy the easy joy of melty cheese and tender chicken wrapped in a warm tortilla.
Pat the chicken completely dry before searing to ensure a golden crust and better flavor development.
Let the cooked chicken rest for 5 minutes before shredding to preserve juiciness and make shredding easier.
Use freshly shredded cheese when possible because pre-shredded cheese often contains anti-caking agents that reduce melting quality.
For a crisper exterior, brush the outside of wraps lightly with oil and pan-sear seam-side down for 1 minute before baking.
This nourishing ooey-gooey cheesy garlic chicken wraps recipe is sure to be a staple in your kitchen. Enjoy every moist, high protein slice — it is perfect for breakfast or as a wholesome snack any time.
Yes. You can use cooked rotisserie chicken or leftover roasted chicken—reduce the searing step and toss the shredded chicken with sautéed garlic and seasoning before assembling.
Store in an airtight container in the refrigerator for up to 3 days. For longer storage, wrap individually and freeze for up to 3 months.
This Ooey-Gooey Cheesy Garlic Chicken Wraps recipe makes perfectly juicy, tender, and flavorful steak every time! Serve with potatoes and a side salad for an unforgettable dinner in under 30 minutes.
Preheat oven to 400°F and grease a baking dish. Pat chicken dry and season both sides with salt and pepper to ensure even seasoning and a good sear.
Heat 2 tbsp olive oil in a skillet over medium heat. Cook chicken 5–7 minutes per side until golden and an internal temperature of 165°F is reached. Avoid overcrowding the pan.
Transfer chicken to a cutting board, rest 5 minutes to redistribute juices, then shred using two forks into bite-sized pieces to retain moisture.
Sauté minced garlic in the same skillet for 30–60 seconds until fragrant. Add shredded chicken and 1 tsp Italian seasoning, stirring to combine and warm through.
Place tortillas flat, divide chicken evenly among them, top with about 1/2 cup shredded cheddar each, roll tightly and place seam-side down in the prepared baking dish.
Bake at 400°F for 10–15 minutes until heated through and cheese is melted. Optional: broil 1–2 minutes for a golden finish, watching closely.
Last Step: Please leave a rating and comment letting us know how you liked this recipe! This helps our business to thrive and continue providing free, high-quality recipes for you.
Leave a comment & rating below or tag
@culinya on social media!

Ultra-fudgy brownies crowned with gooey mini marshmallows and a quick-set chocolate icing. Crowd-pleasing, nostalgic, and irresistibly rich in every bite.

Buttery shortbread crust meets a silky brown sugar pecan topping in these easy pecan pie bars. Just 10 minutes of prep for bakery-level bliss.

A flawlessly smooth pumpkin cheesecake with warm spice, buttery graham crust, and no cracks. Finish with caramel and rum-kissed whipped cream.
Leave a comment & rating below or tag @culinya on social media!
Enjoyed this recipe? Share it with friends and family, and don't forget to leave a review!
This recipe looks amazing! Can't wait to try it.
Comments are stored locally in your browser. Server comments are displayed alongside your local comments.

Join to receive our email series which contains a round-up of some of our quick and easy family favorite recipes.
