
>>

A simple, comforting apple crisp inspired by a favorite classic — just 6 ingredients, buttery oat topping, and warm cinnamon-spiced apples. Perfect with a scoop of vanilla ice cream.
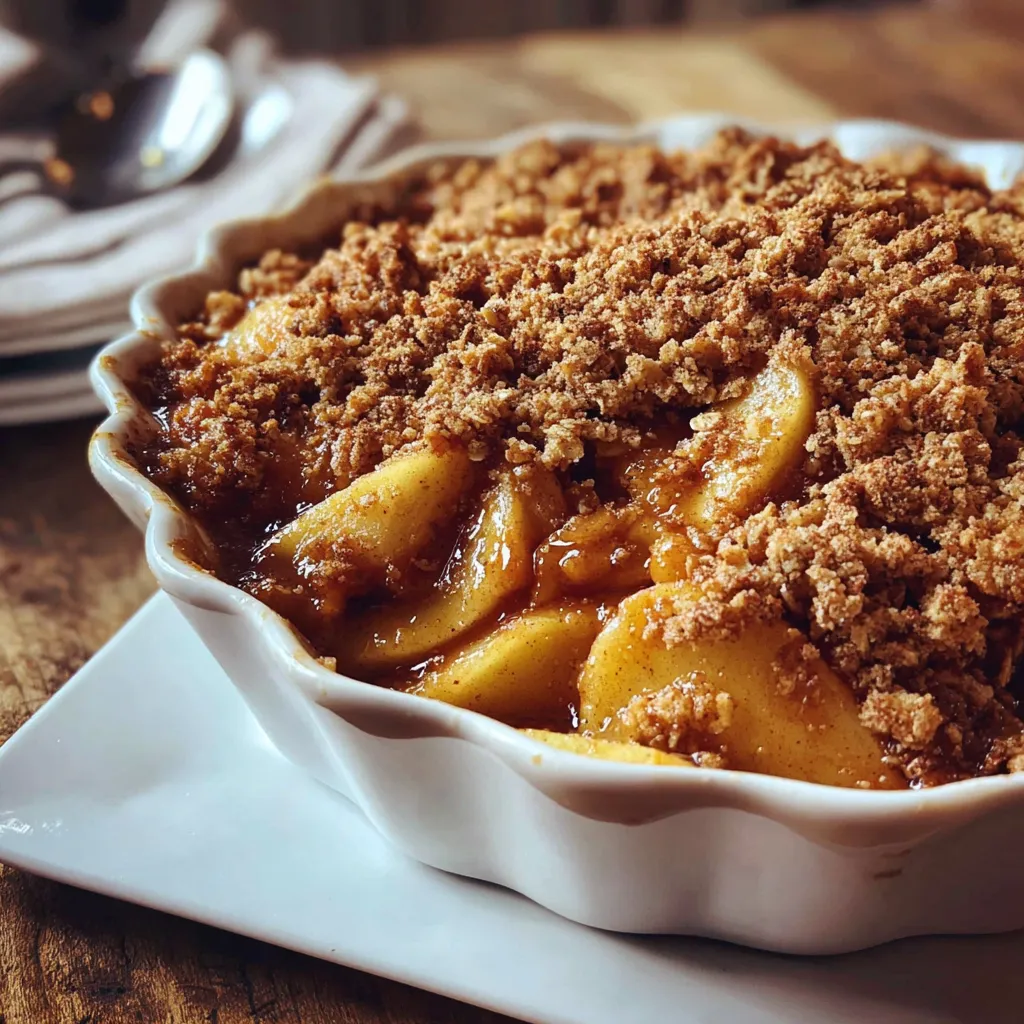
This Pioneer Woman apple crisp has been my fall and winter companion for years, the kind of dessert that smells like home the moment it goes into the oven. I first made this exact combination on a rainy afternoon when I had a bowl of apples begging to be transformed. The result was a golden, bubbling dish with tender, slightly tart apple slices under a buttery, oat-studded crumble. It became the easiest thing to bring to potlucks, holidays, and late-night family suppers because it demands very little fuss but rewards you with maximum comfort.
The texture is what keeps people coming back: apples softened but still slightly toothsome, lifted by a crunchy, caramelized topping that melts on the tongue. The cinnamon and nutmeg knit into the fruit to create warm, familiar flavors while a splash of lemon juice brightens and balances the sugar. I love that this version uses pantry staples and takes under an hour from start to finish, making it an ideal after-dinner fix or a weekend baking project.
When I bring this to family gatherings, it disappears quickly. My niece always asks for the second piece and my partner insists on reheating leftovers at least once. Over time I learned small tricks, like keeping the butter cold for better crumble texture and choosing a mix of tart and sweet apples to keep the filling lively. Those little details are what make this recipe sing every time.
My favorite part is that the topping is forgiving. I have made it with different brown sugars and on humid days the texture shifts slightly but still tastes incredible. Family members often debate whether the edges or the center are the best, and I enjoy cutting small end pieces for myself because they are extra caramelized. This recipe has become the simple, dependable dessert I reach for when I want comfort without fuss.
To store, cool the dish completely at room temperature for up to one hour, then cover tightly with plastic wrap or transfer portions to airtight containers and refrigerate. Properly stored, the crisp will keep for up to 4 days in the refrigerator. For longer storage, freeze in an oven-safe container for up to 3 months; thaw overnight in the refrigerator before reheating. To reheat, bake at 325 degrees Fahrenheit for 10 to 20 minutes until warmed through. Avoid reheating in the microwave if you want to preserve the crunch of the topping; the oven brings back texture better.
If you need to adapt, swap the all-purpose flour for an equal amount of gluten-free 1:1 flour blend to make the topping gluten-free, and use certified gluten-free oats. Replace the butter with chilled coconut oil or a vegan butter stick to make it dairy-free and vegan; note that the flavor and browning will be slightly different. For less sugar, reduce granulated sugar to 3/4 cup and swap half the brown sugar for 1/2 cup coconut sugar for a deeper, less sweet caramel flavor. You can also add 1/4 cup chopped nuts like pecans to the topping for more crunch; toast them first for best flavor.
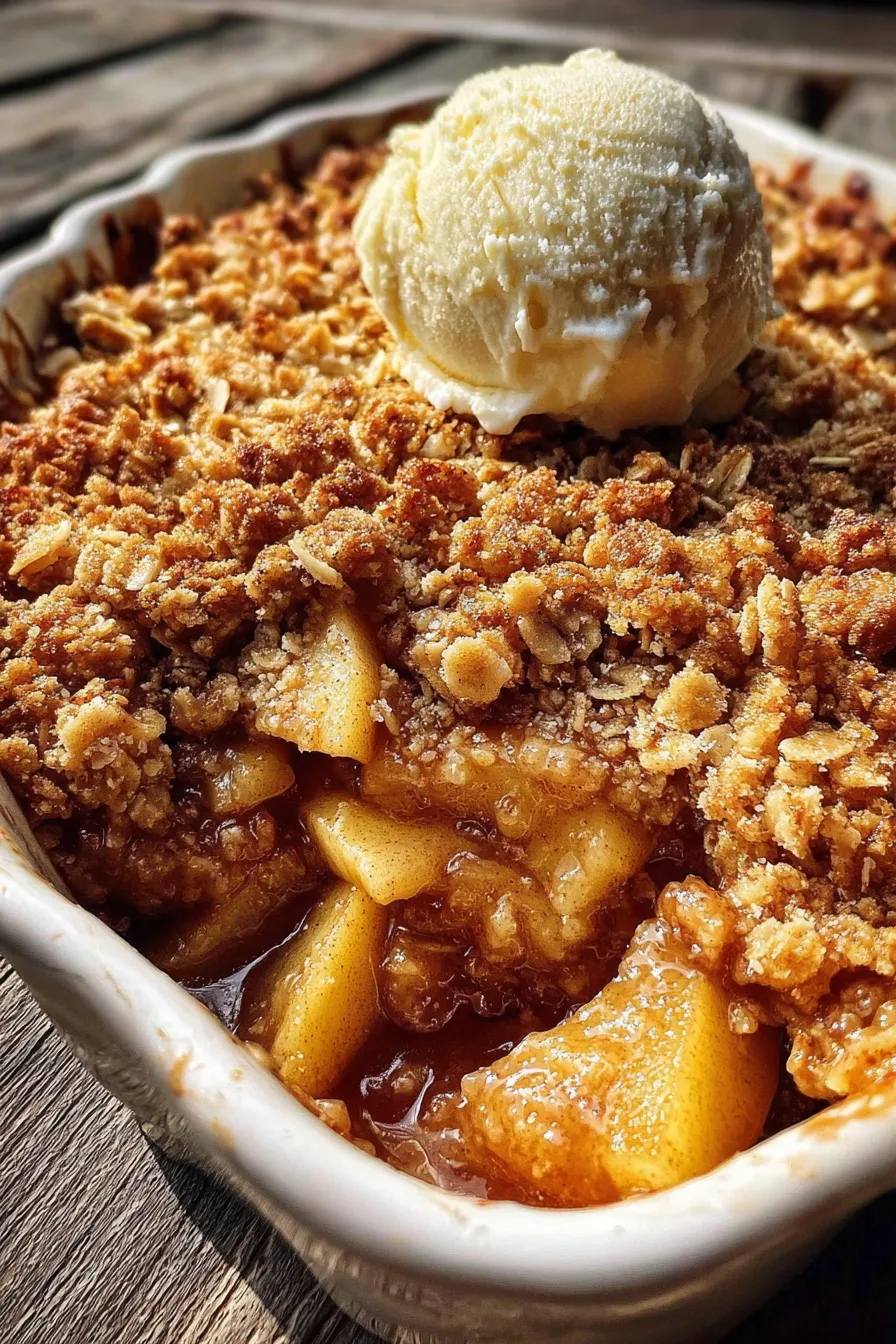
Serve warm from the oven with a big scoop of vanilla ice cream or a spoonful of lightly whipped cream. For a brunch twist, pair small portions with strong coffee or spiced tea. Garnish with a light dusting of cinnamon or a few thin apple slices for a pretty presentation. This dessert also pairs nicely with roasted pork or roasted root vegetable mains, where the sweetness and spice of the crisp echo savory autumn flavors. For a more elegant finish, drizzle a little salted caramel over each serving.
In autumn, use a mix of Braeburn and Honeycrisp with a pinch of ground cloves for deeper fall flavors. For winter baking, add a splash of apple brandy or dark rum to the filling for warmth and complexity. In spring or summer, swap half the apples for sliced pears to create a lighter, juicier texture. For a holiday twist, fold in 1/2 cup dried cranberries with the apples and use pecans in the topping to add festive color and crunch. Each seasonal swap shifts the balance but keeps the technique identical.
Assemble the crisp up to 24 hours in advance and keep it covered in the refrigerator; bake from chilled, adding 5 to 10 extra minutes to the bake time if you prefer. For single-serving prep, divide the filling and topping into small ramekins and freeze; bake from frozen at 350 F for 30 to 40 minutes, checking until bubbly. Use shallow, oven-safe containers for even baking and label with the assembly date. These small prepped portions are excellent for grab-and-go desserts or reheatable lunches.
Whether you bake it for a family dinner, a holiday table, or a quiet evening at home, this 6-ingredient apple crisp is a reliable pleasure. It rewards simple technique and thoughtful ingredients with comforting flavors that never go out of style. Make it your own by adjusting spices and apples, and enjoy the warm, bubbling goodness straight from the oven.
Keep the butter cold and cubed for a flaky, crisp topping; warm butter will produce a denser crumble.
Mix different apple varieties for balanced sweetness and texture; avoid all very soft apples.
If the topping browns too quickly, tent the dish with foil for the remaining bake time.
To thicken the filling slightly, sprinkle 1 tablespoon of cornstarch over the apples before topping.
Cool the crisp 10 to 15 minutes before serving so the juices set and portions hold together.
This nourishing pioneer woman apple crisp: 6-ingredient bliss you crave recipe is sure to be a staple in your kitchen. Enjoy every moist, high protein slice — it is perfect for breakfast or as a wholesome snack any time.
Yes. Assemble and refrigerate for up to 24 hours, then bake directly; add 5 to 10 minutes to the baking time if chilled.
Use a 9x13-inch baking dish for the quantities listed. Smaller pans will yield a deeper filling and may require longer baking.
This Pioneer Woman Apple Crisp: 6-Ingredient Bliss You Crave recipe makes perfectly juicy, tender, and flavorful steak every time! Serve with potatoes and a side salad for an unforgettable dinner in under 30 minutes.
Preheat the oven to 375 degrees Fahrenheit and grease a 9x13-inch baking dish so the filling does not stick.
Toss peeled and sliced apples with granulated sugar, lemon juice, cinnamon, and nutmeg until evenly coated.
Spread the apple mixture evenly in the greased baking dish, using a slotted spoon if there is excess liquid.
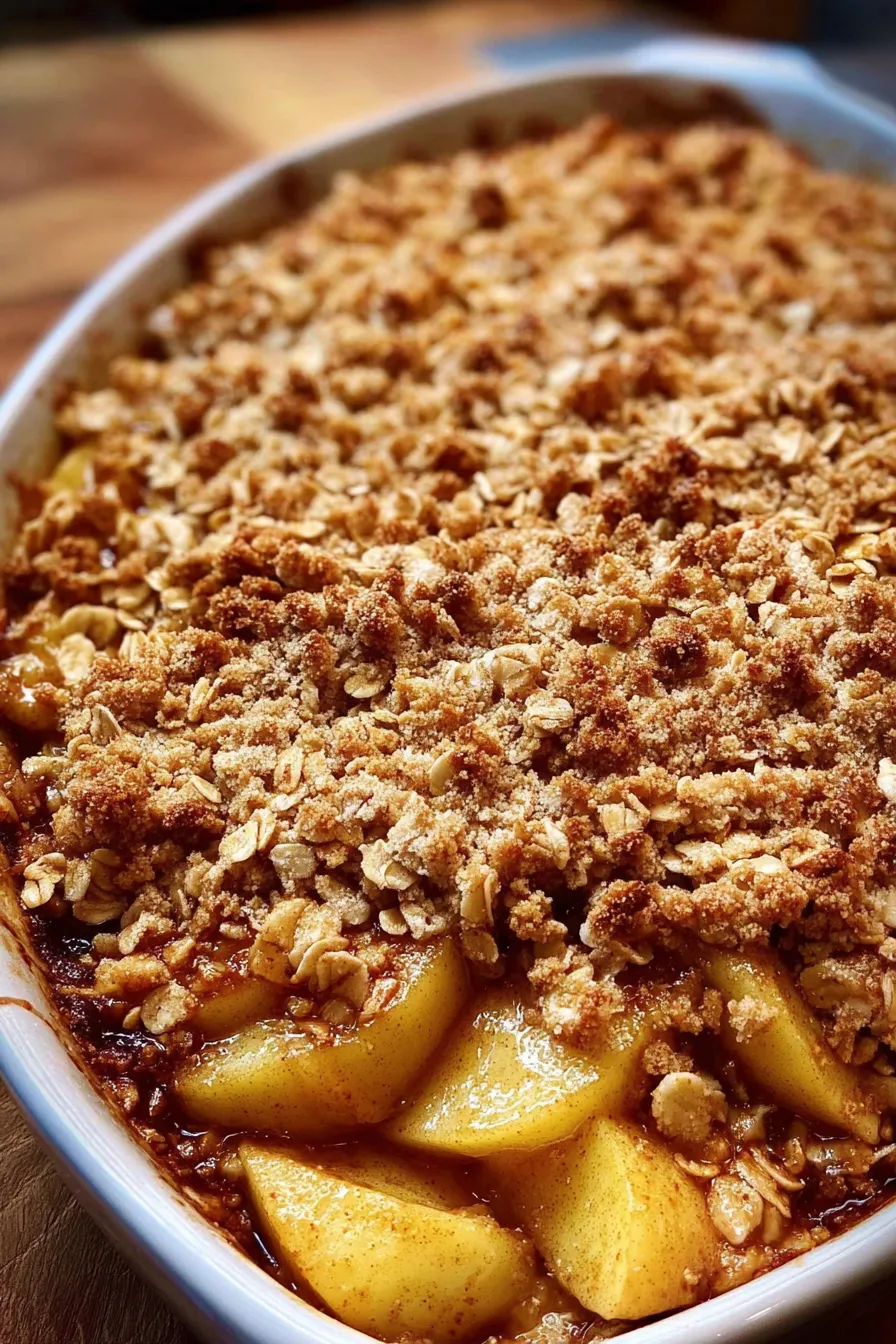
Combine flour, brown sugar, and oats. Cut in cold butter with a pastry cutter or forks until mixture resembles coarse crumbs.
Sprinkle the crumb topping evenly over the apples and bake for 30 to 35 minutes until golden and the filling is bubbly.
Let rest 10 to 15 minutes to thicken, then serve warm with ice cream or whipped cream.
Last Step: Please leave a rating and comment letting us know how you liked this recipe! This helps our business to thrive and continue providing free, high-quality recipes for you.
Leave a comment & rating below or tag
@culinya on social media!

Ultra-fudgy brownies crowned with gooey mini marshmallows and a quick-set chocolate icing. Crowd-pleasing, nostalgic, and irresistibly rich in every bite.

Buttery shortbread crust meets a silky brown sugar pecan topping in these easy pecan pie bars. Just 10 minutes of prep for bakery-level bliss.

A flawlessly smooth pumpkin cheesecake with warm spice, buttery graham crust, and no cracks. Finish with caramel and rum-kissed whipped cream.
Leave a comment & rating below or tag @culinya on social media!
Enjoyed this recipe? Share it with friends and family, and don't forget to leave a review!
This recipe looks amazing! Can't wait to try it.
Comments are stored locally in your browser. Server comments are displayed alongside your local comments.

Join to receive our email series which contains a round-up of some of our quick and easy family favorite recipes.
