
Salt River Bars

Layered cracker bars with a buttery caramel middle, chocolate-butterscotch topping, and a kiss of sea salt—perfect for holidays and potlucks.

This layered bar has been a holiday staple in my kitchen ever since a close friend brought a tray to a winter gathering years ago. I remember the first bite: a satisfying snap from the cracker, a silky, buttery caramel that clung to the teeth, and a glossy chocolate-butterscotch topping flecked with sea salt. It felt like a grown-up candy bar assembled in a sheet pan—simple to make, impossible to stop eating.
I first recreated these bars one rainy afternoon when pantry odds and ends needed to become dessert. The method is straightforward, but the magic is in timing: boiling the caramel to the right consistency, layering the crackers while the caramel is hot, and finishing with a warm, spreadable chocolate topping. The contrast of crunchy crackers and soft caramel, punctuated by flaky sea salt, makes these bars my go-to for cookie exchanges, potlucks, and last-minute company. Everyone who has tried them asks for the recipe, and they always disappear before I can snap a decent photo.
Why You'll Love This Recipe
- Uses pantry staples and one standard 9x13 pan—no special bakeware required; you can make these in under 30 minutes of active time and then chill.
- Layered texture: a crisp cracker foundation, a buttery, slightly chewy caramel center, and a creamy chocolate-butterscotch top that sets glossy.
- Make-ahead friendly—finish the day before and slice just before serving; they transport well for potlucks and travel without crumbling.
- Customizable topping—swap in dark chocolate or chopped nuts, or add a swirl of sea-salted peanut butter for variation.
- High crowd-pleasing factor: a little goes a long way, and the bars store nicely for several days refrigerated or frozen for longer storage.
Personally, these bars became a holiday benchmark in my family. I learned to time the layers so the crackers don’t become soggy yet still meld together—an easy rhythm once you make them twice. My kids love the chocolate stage the best; they commandeer the microwave bowl to scrape every bit of warm chocolate and peanut butter before I spread it.
Ingredients
- Club crackers: 150 crackers (about 1 1/2 standard boxes). Use salted Club or similar buttery rectangular crackers; they provide a sturdy, crisp base that holds the layers without falling apart.
- Salted butter: 1 cup (2 sticks). Unsalted will work but adjust added salt if you prefer a more pronounced savory balance.
- Light brown sugar: 2 cups packed. The molasses in light brown sugar gives the caramel a deep, toffee-like flavor; dark brown will intensify that note.
- Graham cracker crumbs: 1 cup. A handful of crumbs in the caramel helps thicken and stabilize it so it sets to a spreadable consistency.
- Heavy cream: 3/4 cup. Adds silkiness and prevents the caramel from crystallizing; do not substitute milk here unless you want a firmer, less creamy set.
- Milk chocolate chips: 1 1/2 cups. Choose a good-quality chip for melting—Ghirardelli or Nestlé yield smooth, glossy topping.
- Butterscotch chips: 1/2 cup. Adds a warm, buttery sweetness that balances the milk chocolate.
- Creamy peanut butter: 1/2 cup. Use full-fat creamy for spreadability and flavor; natural peanut butter can be used but may separate and be harder to spread.
- Sea salt: for garnish. Flaky sea salt (such as Maldon) sprinkled on the cooled chocolate enhances the overall flavor with bright, briny contrast.
Instructions
Prepare the pan and crackers: Line a 9x13-inch sheet pan with parchment paper, leaving long ends overhanging for easy removal. Lightly spray the parchment and the pan sides with nonstick spray. Arrange 50–60 Club crackers in a single layer across the bottom—trim crackers with a sharp knife to fit edges snugly. The crackers should cover the entire base with minimal gaps. Make the caramel: In a medium saucepan over medium heat, combine 1 cup salted butter, 2 cups packed light brown sugar, 1 cup graham cracker crumbs, and 3/4 cup heavy cream. Stir constantly until the butter melts and the sugar dissolves. Bring to a rolling boil and maintain a steady boil while stirring for exactly 7 minutes—this timeframe produces a thick, slightly chewy caramel that will set but remain pliable. If you have a candy thermometer, aim for about 234–240°F (soft-ball stage) but timing works reliably here. First caramel layer: Remove the saucepan from heat and quickly pour roughly half of the hot caramel over the first cracker layer. Use a heatproof offset spatula or the back of a spoon to spread it evenly all the way to the edges. Work briskly—the caramel will thicken as it cools. Add the second cracker layer and repeat: Place another layer of crackers over the caramel, pressing gently so each cracker touches the caramel surface. Pour the remaining caramel over that layer and spread evenly. Add the final layer of crackers on top, aligning them as neatly as possible for a tidy edge. Chill while you prepare the topping: Transfer the pan to the refrigerator to cool and firm the caramel while you make the chocolate topping—about 10–15 minutes is fine; you’ll finish chilling after the topping is set. Prepare the chocolate-peanut topping: In a microwave-safe bowl, combine 1 1/2 cups milk chocolate chips, 1/2 cup butterscotch chips, and 1/2 cup creamy peanut butter. Microwave in 15-second bursts, stirring between intervals, until the mixture is smooth and pourable. Alternatively, melt over a double boiler to prevent overheating. Finish and chill: Pour the warm topping over the final cracker layer and spread to the edges with an offset spatula. Sprinkle flaky sea salt evenly across the surface while the chocolate is still warm so the flakes stick. Chill the pan in the refrigerator for 1–2 hours until fully set. Slice and serve: Remove the slab using the parchment overhang and transfer to a cutting board. Use a sharp chef’s knife warmed under hot water and dried between cuts for clean slices. Cut into approximately 24 bars and serve chilled or at cool room temperature.
You Must Know
- These bars keep well refrigerated for up to 5 days and freeze beautifully for up to 3 months; thaw overnight in the fridge before slicing.
- High in calories and sugar—rich, small portions are satisfying; a little goes a long way for sweet tooths.
- The crackers provide structure; switching to a softer cookie will yield a chewier texture and may require shorter chilling time.
- Chilling is essential: slice after the chocolate is fully set to avoid messy cuts and ensure neat squares.
My favorite thing about these bars is their versatility. At a holiday party, I once swapped the peanut butter for almond butter and added chopped toasted almonds on top—everyone still loved them. Family members compare them to candy bars and always ask for a bag to take home. They’ve become my fallback treat when I need something that feels special but doesn’t require hours in the kitchen.
Storage Tips
Store chilled in an airtight container in the refrigerator for up to 5 days. To stack bars without sticking, place parchment or wax paper between layers. For longer storage, freeze individual bars on a baking sheet until firm, then transfer to a freezer-safe bag; they’ll keep for up to 3 months. Thaw in the refrigerator overnight to preserve texture. If you need to soften the chocolate quickly before serving, bring bars to room temperature for 10–15 minutes; avoid microwaving packaged bars as the caramel can re-liquefy.
Ingredient Substitutions
If you’re avoiding peanuts, swap creamy peanut butter with sunflower seed butter or almond butter—note the flavor shift. Use dark chocolate instead of milk for a less sweet finish; increase butterscotch to 3/4 cup if you want to retain sweet depth. For a gluten-free version, replace Club crackers and graham crumbs with certified gluten-free crackers and crumbs; expect a different crumb structure and slightly different chew in the caramel.

Serving Suggestions
Serve chilled on a dessert platter with small paper liners for easy pick-up at parties. Pair with strong coffee or a robust dessert wine—Port or a tawny sherry complements the caramel and chocolate. For holiday presentation, stack small squares in a clear box with a ribbon. Garnish individual squares with a single espresso bean or a small grating of orange zest for an elevated look.
Cultural Background
Layered cracker-and-caramel bars like these have roots in midwestern and southern potluck traditions where pantry ingredients were repurposed into shareable sweets. They echo the “cracker toffee” concept—also known as saltine toffee or “Christmas crack”—where crackers are topped with a toffee-like caramel and chocolate, then sprinkled with salt. The Salt River Bars are a riff on that idea, using Club crackers and a richer caramel with added graham crumbs and peanut butter to create a more layered, dessert-like bar.
Seasonal Adaptations
In winter, stir a pinch of cinnamon or nutmeg into the caramel for warm spice. For summer gatherings, fold in 1/2 cup chopped dried cherries into the chocolate layer before it sets for bright, tart contrast. Around Thanksgiving, swap the peanut butter for pumpkin seed butter and sprinkle toasted pepitas on top. Small seasonal tweaks keep the core method intact while adapting flavors to the occasion.
Meal Prep Tips
Make the layers one day ahead: assemble, chill, and store in the fridge. Slice the morning you plan to serve for the cleanest edges. If prepping multiple pans, stack them in the fridge uncovered for 10–15 minutes to set the chocolate surface before covering to avoid condensation. Use heavy-duty disposable foil pans for large batches to hand out at events—just line with parchment and follow the same method.
These bars are more than a quick tray dessert; they’re a memory-making, stress-free treat that brings people together. The balance of crunchy, chewy, and silky with a touch of salt is why they’re a perennial favorite in my household—give them a try, make them yours with a little tweak, and watch them disappear.
Pro Tips
Use parchment overhang to lift the whole slab from the pan for neat slicing and easy storage.
Warm your knife under hot water and dry it between cuts for cleaner edges and less smearing of the topping.
If chocolate seizes in the microwave, add 1/2 teaspoon of neutral oil or a teaspoon of warm cream and stir vigorously to smooth.
This nourishing salt river bars recipe is sure to be a staple in your kitchen. Enjoy every moist, high protein slice — it is perfect for breakfast or as a wholesome snack any time.
FAQs about Recipes
How long do the bars keep?
Yes. Store in an airtight container in the refrigerator for up to 5 days or freeze up to 3 months. Thaw overnight in the fridge before slicing.
How can I make the caramel firmer?
If you prefer an even firmer caramel, boil the caramel for an extra 1–2 minutes, but watch closely to avoid burning. Use a candy thermometer and target 240–245°F for slightly firmer set.
Tags
Salt River Bars
This Salt River Bars recipe makes perfectly juicy, tender, and flavorful steak every time! Serve with potatoes and a side salad for an unforgettable dinner in under 30 minutes.
Ingredients
Base
Caramel Layer
Topping
Instructions
Prepare pan and crackers
Line a 9x13-inch sheet pan with parchment paper, leaving long overhangs. Spray parchment and pan sides with nonstick spray. Arrange a single layer of Club crackers across the bottom, trimming to fit as needed.
Make caramel
In a medium saucepan over medium heat, combine butter, packed light brown sugar, graham cracker crumbs, and heavy cream. Stir until butter melts and sugar dissolves, bring to a rolling boil and stir constantly for 7 minutes to create a thick, slightly chewy caramel.
First caramel layer
Remove from heat and quickly pour about half the hot caramel over the first cracker layer. Spread evenly to the edges using an offset spatula. Work quickly before the caramel cools and thickens.
Add second cracker layer and caramel
Place another layer of crackers over the caramel, press gently, then pour the remaining caramel over them and spread. Add a final cracker layer on top and refrigerate while preparing the topping.
Make chocolate-peanut topping
Combine milk chocolate chips, butterscotch chips, and creamy peanut butter in a microwave-safe bowl and heat in 15-second intervals, stirring until smooth and pourable. Alternatively, melt over a double boiler.
Top, chill, and slice
Pour the warm topping over the final cracker layer, spread to edges, and sprinkle with flaky sea salt. Chill in the refrigerator for 1–2 hours until set. Lift from pan, slice into approximately 24 bars with a warm, sharp knife.
Last Step: Please leave a rating and comment letting us know how you liked this recipe! This helps our business to thrive and continue providing free, high-quality recipes for you.
Nutrition
Did You Make This?
Leave a comment & rating below or tag
@culinya on social media!
Categories:
You might also like...
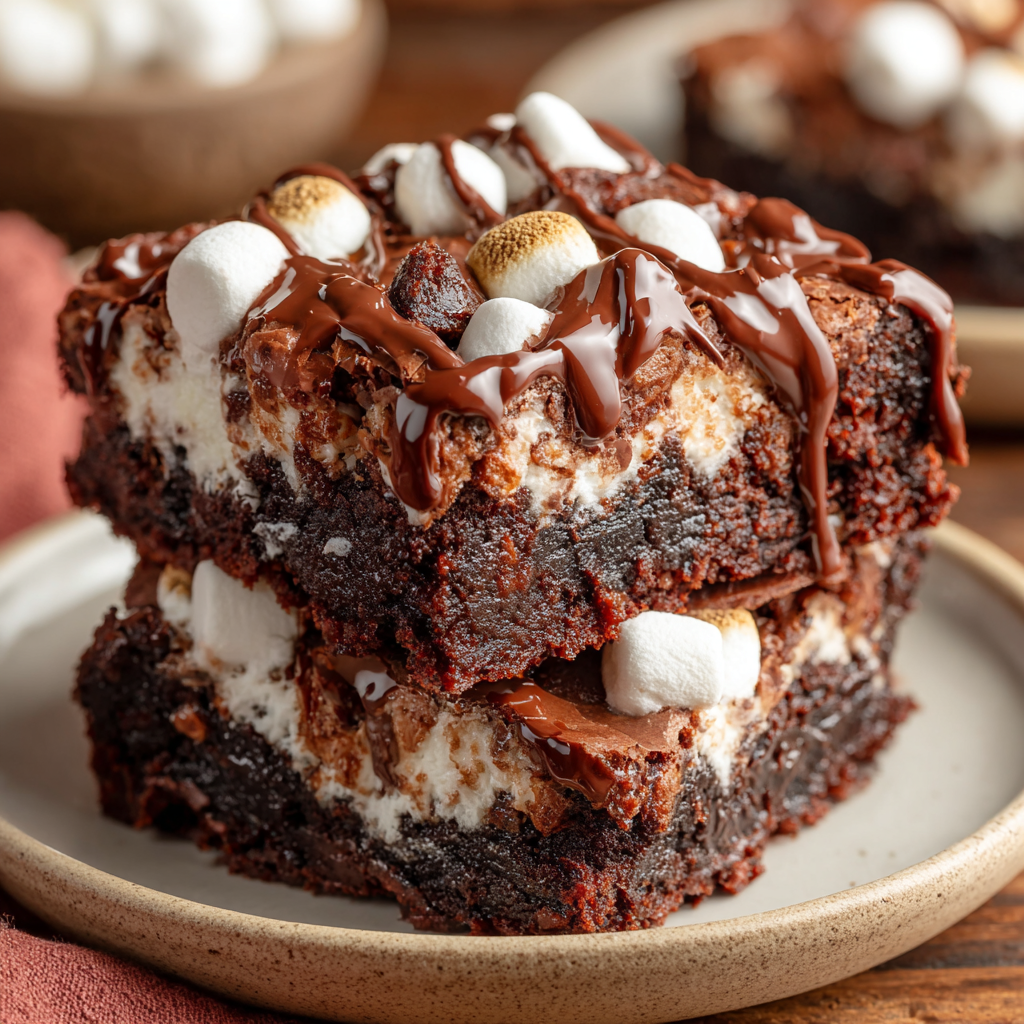
Fudgy Marshmallow Mud Brownies
Ultra-fudgy brownies crowned with gooey mini marshmallows and a quick-set chocolate icing. Crowd-pleasing, nostalgic, and irresistibly rich in every bite.
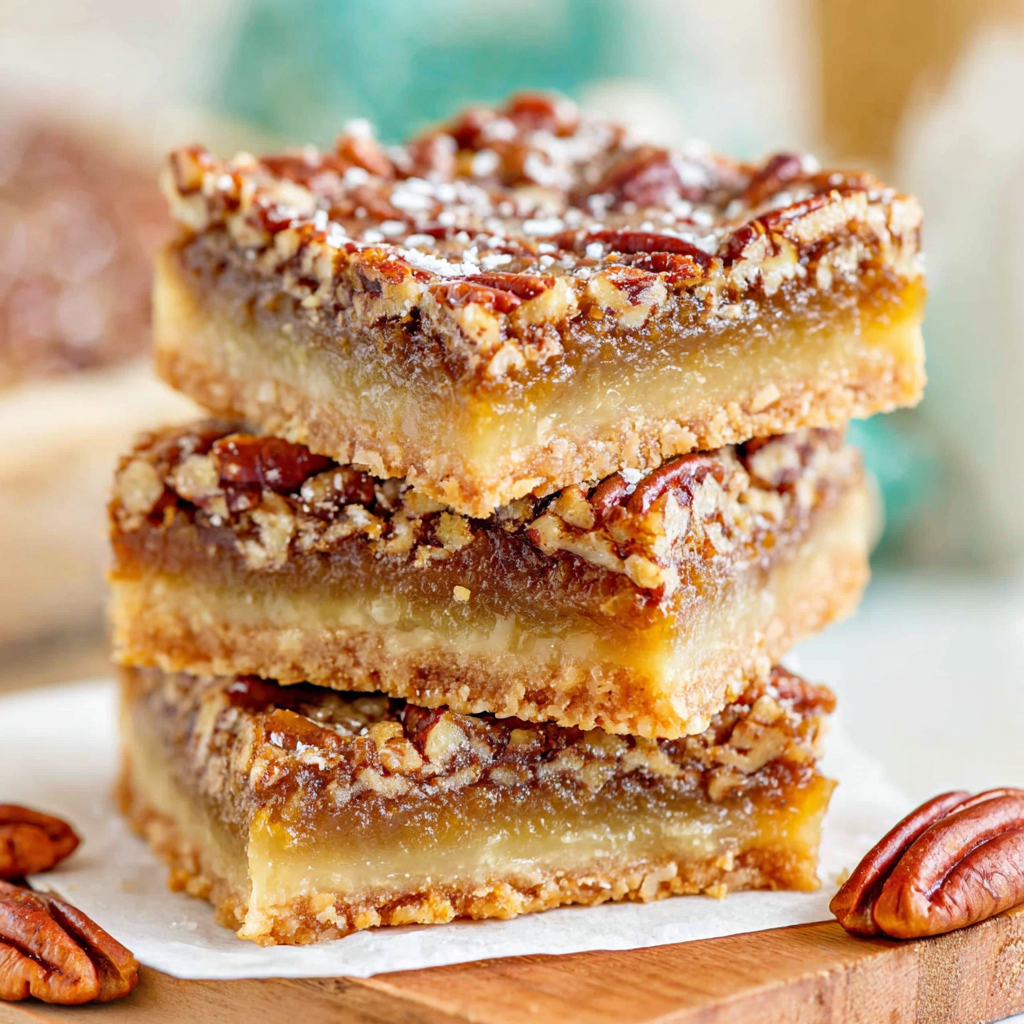
Buttery Pecan Pie Bars
Buttery shortbread crust meets a silky brown sugar pecan topping in these easy pecan pie bars. Just 10 minutes of prep for bakery-level bliss.
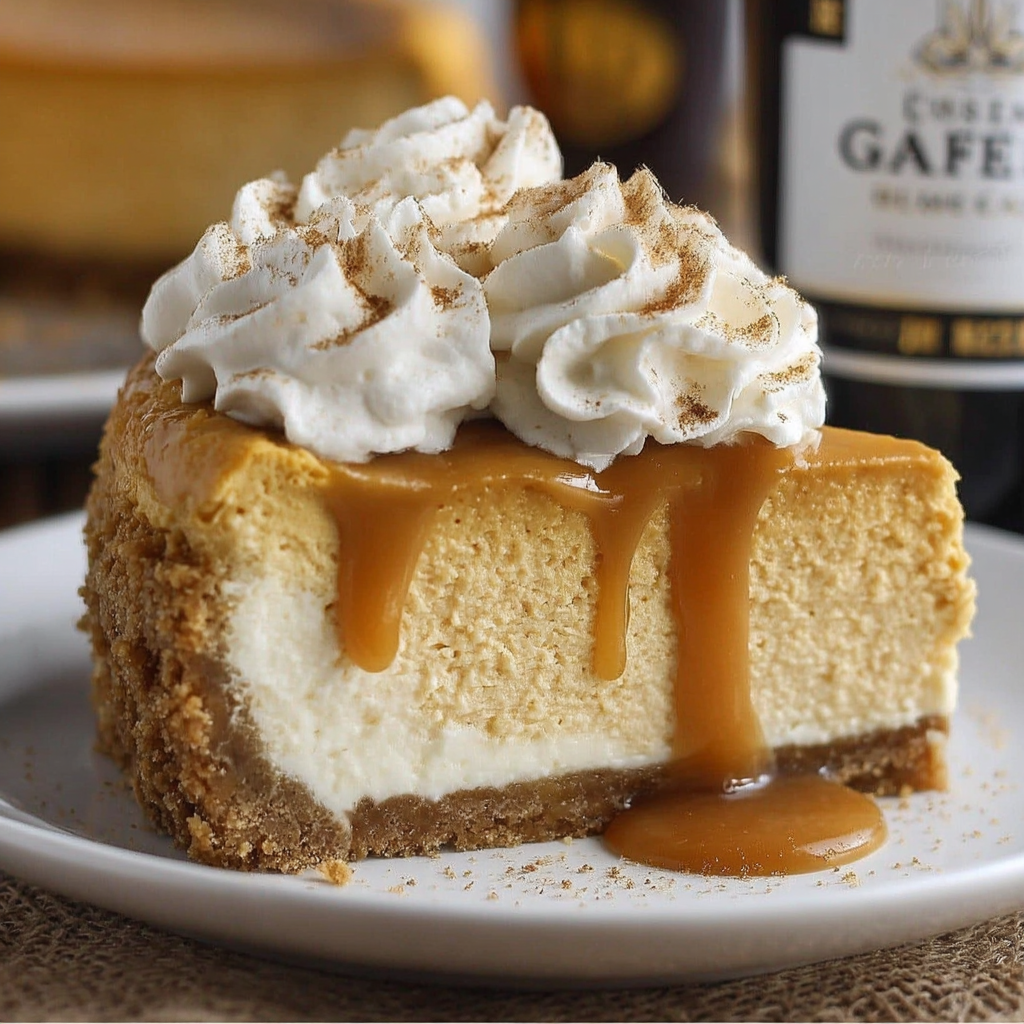
Silky No-Crack Pumpkin Cheesecake
A flawlessly smooth pumpkin cheesecake with warm spice, buttery graham crust, and no cracks. Finish with caramel and rum-kissed whipped cream.
Did You Make This?
Leave a comment & rating below or tag @culinya on social media!
Rate This Recipe
Share This Recipe
Enjoyed this recipe? Share it with friends and family, and don't forget to leave a review!
Comments (1)
This recipe looks amazing! Can't wait to try it.
Comments are stored locally in your browser. Server comments are displayed alongside your local comments.

Hi, I'm Sophia!
What's Popular
30-Minute Meals!
Join to receive our email series which contains a round-up of some of our quick and easy family favorite recipes.