
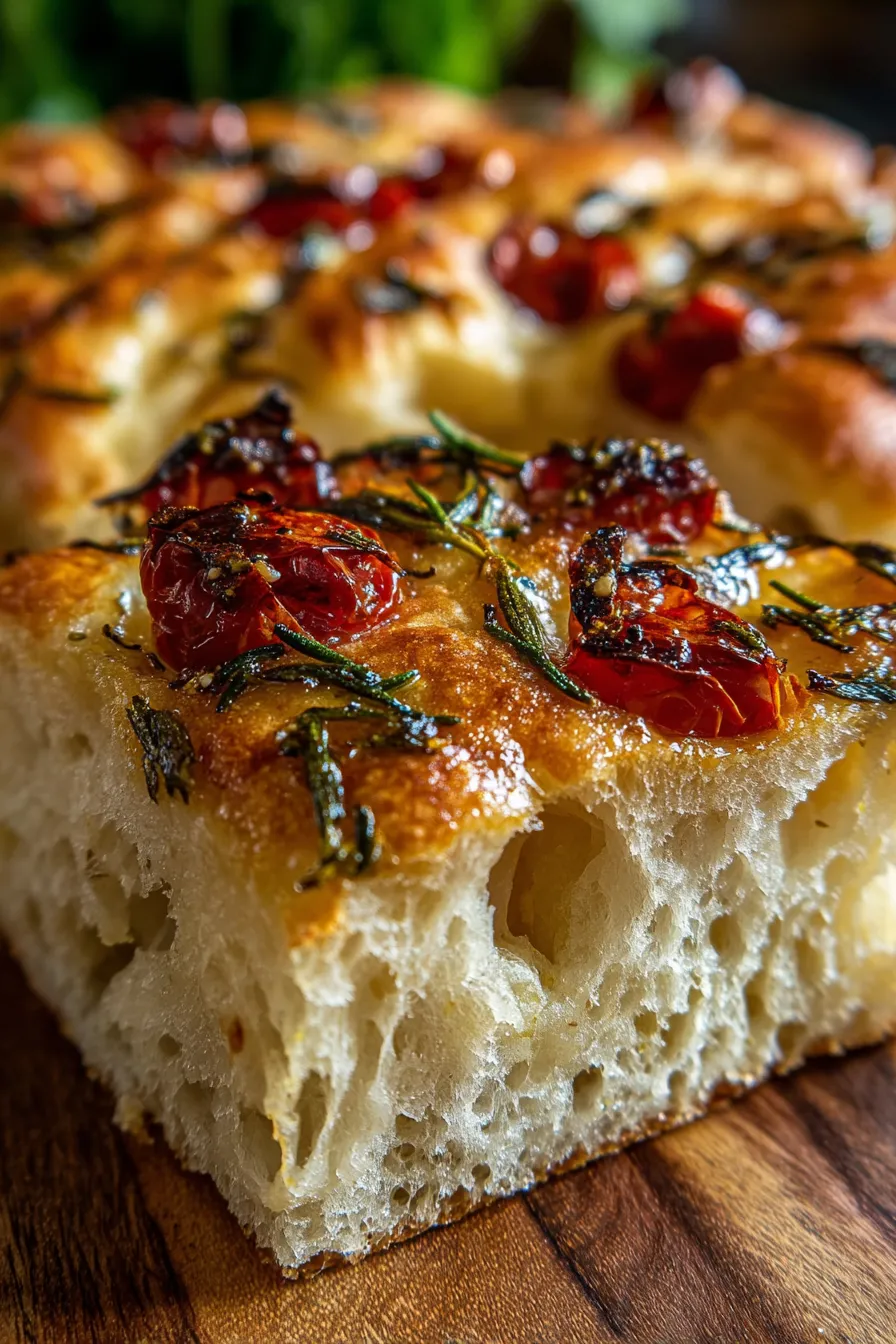
Same Day Focaccia Bread

A quick, no-fuss focaccia you can bake from start to finish in a few hours—crispy edges, pillowy interior, and endlessly customizable toppings.
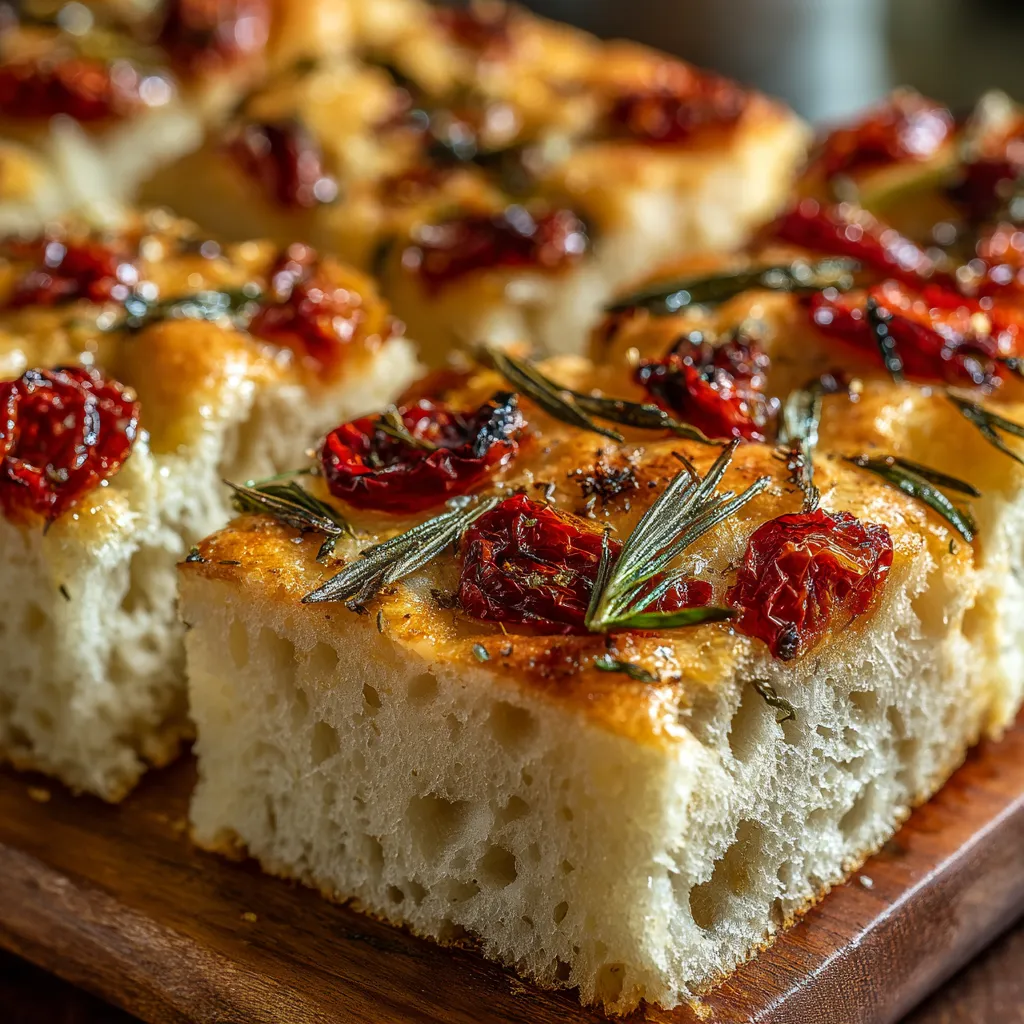
This Same Day Focaccia Bread has been my go-to when I want the comfort of freshly baked bread without committing to an overnight schedule. I discovered this simple method on a rainy Saturday afternoon when guests were arriving and my pantry was modestly stocked: flour, yeast, olive oil, and a handful of herbs. The first loaf that came out of the oven had a bronzed crust, soft, olive-scented crumb and a network of delightful dimples that soaked up the oil and tiny tomatoes I pressed into the surface. That evening felt like a small festival—neighbors lingered over slices still warm from the pan, and my son declared it "the best bread I've ever eaten."
What makes this version special is the balance between speed and texture. You’ll get a satisfying chewy interior because we keep the dough hydrated and handle it gently, and you’ll get a golden, crisp exterior from a hot oven and a generous drizzle of extra-virgin olive oil. The aromas of garlic and rosemary in the kitchen are reason enough to bake this, but it’s the way the crust shatters just enough when you tear a piece that keeps me coming back. This recipe is approachable for bakers of any level and adapts beautifully to toppings from simple sea salt to an extravagant medley of olives, cheeses, and vegetables.
Why You'll Love This Recipe
- Ready from bowl to table in roughly 2 hours—perfect for weeknights or last-minute entertaining without an overnight rise.
- Uses pantry staples (all-purpose flour, yeast, water, olive oil, salt) so you rarely need a special trip to the store.
- Highly adaptable: makes a reliable base for herbs, garlic, cherry tomatoes, olives, cheeses, or grilled vegetables.
- Hands-off fermentation: a single one-hour rise keeps the crumb tender while letting gluten develop with minimal kneading.
- Make-ahead friendly: the shaped dough can rest briefly before baking, and leftovers reheat beautifully the next day.
My family loves the ritual of personalizing each strip: my husband insists on olives, my daughter prefers cherry tomatoes and basil, and I can never resist a scatter of shaved Parmesan. Everyone gets a favorite slice, which makes it a crowd-pleaser for casual dinners or impromptu visitors.
Ingredients
- All-purpose flour (3 1/2 cups): Choose a reliable brand like King Arthur or Bob's Red Mill for consistent protein content. The flour gives structure while still allowing a soft interior—sift if your flour is compacted, but it's not required.
- Active dry yeast (1 packet / 2 1/4 teaspoons): Fresh, unopened packets give the most reliable rise. If your yeast is older, proof it in the warm water first to confirm it becomes foamy.
- Warm water (1 1/3 cups, approx. 105°F): Use a thermometer if you have one; 100–110°F is ideal to wake the yeast without killing it. Tap water often works fine left to warm a bit.
- Extra-virgin olive oil (1/4 cup + more for drizzling): A fruity EVOO like Colavita or La Tourangelle will flavor the crust and dimples beautifully. Don’t skimp—the oil creates crispness and flavor.
- Sea salt (1 1/2 teaspoons plus flaky salt to finish): Dissolve the fine sea salt into the dough, and finish with coarse or flaky salt for a bright contrast.
- Sugar (pinch, optional): A tiny pinch helps activate older yeast faster but is optional if your yeast is fresh.
- Optional toppings: Fresh rosemary sprigs, minced garlic or garlic-infused oil, halved cherry tomatoes, pitted olives, fresh thyme or basil, grated Parmesan or crumbled feta, thinly sliced red onion, bell pepper strips, or zucchini ribbons. Choose firm, fresh produce so it holds up in the oven.
Instructions
Activate the yeast: Pour 1 1/3 cups warm water (about 105°F) into a small bowl. Stir in the packet of active dry yeast (2 1/4 teaspoons) and, if desired, a pinch of sugar. Let sit 5–10 minutes until the surface turns foamy—this signals live yeast and predicts a good rise. If nothing happens after 10 minutes, discard and use fresh yeast. Mix the dough: In a large mixing bowl, combine 3 1/2 cups all-purpose flour and 1 1/2 teaspoons sea salt. Make a well, pour in the activated yeast mixture and 1/4 cup extra-virgin olive oil. Stir with a wooden spoon or dough hook on low until a wet, sticky dough forms. The dough should be tacky; resist adding extra flour—hydration gives a tender crumb. First rise: Cover the bowl with a clean kitchen towel or plastic wrap and place it in a warm, draft-free spot for 1 hour, until nearly doubled. One hour gives the dough sufficient time to develop flavor and structure without an overnight ferment. You’ll see visible bubbles and a slight doming. Shape and dimple: Oil a large rimmed baking sheet or 9x13-inch pan liberally. Transfer the risen dough to the oiled sheet and, using oiled fingertips, gently stretch and press it into a rectangle about 1 inch thick. Avoid overworking—if the dough resists, let it rest 5 minutes then continue. Use fingertips to create deep dimples across the surface; these pockets hold oil and toppings. Dress and rest: Drizzle more olive oil generously over the top and sprinkle coarse sea salt. Arrange chosen toppings—sprigs of rosemary, halved cherry tomatoes, olives, thin onion slices, or crumbled cheese. Let the prepared tray rest 20 minutes while you preheat the oven to 450°F so the dough relaxes and gains a final puff. Bake: Place the pan in the preheated oven and bake 15–20 minutes until the crust turns golden brown and the edges are crisp. Baking time depends on pan thickness and oven variation; watch the color and test the bottom with a spatula for a toasty hue. Remove and cool slightly before cutting into squares or strips.
You Must Know
- This loaf freezes well for up to 1 month; slice first and wrap tightly in plastic, then foil.
- Calorie-wise, a moderate piece has roughly 250–320 calories depending on oil and cheese toppings; it’s a carbohydrate-forward accompaniment.
- Store at room temperature for 1–2 days in a paper bag to preserve crust. Refrigeration will dry it out faster.
- The dough is forgiving—if it feels over-hydrated, rest 10 minutes and use oiled hands to shape; surface tension will develop with gentle handling.
My favorite aspect is the versatility: one weekend I topped a tray with rosemary and sea salt for an afternoon picnic and the next day used leftover dough topped with cherry tomatoes, basil, and a little feta for a brunch board. Guests often ask for the recipe because the texture is consistently appealing—chewy center, crisp edges, and an olive oil richness that carries whatever toppings you choose.
Storage Tips
To keep leftovers appealing, cool the focaccia completely before storing. For short-term storage (1–2 days), fold into a paper bag or wrap loosely in a tea towel to maintain the crust’s texture. For longer storage, slice into portions, wrap tightly in plastic wrap, then foil, and freeze. Reheat frozen slices in a 375°F oven for 8–12 minutes, uncovered, to revive crispness—microwaving will make it gummy. Use airtight containers only when the focaccia is already cooled to avoid condensation and a soggy crust.
Ingredient Substitutions
If you prefer whole-grain flavor, replace up to 1 cup of all-purpose flour with whole wheat flour, but increase hydration by 1–2 tablespoons to compensate for bran absorption. Substitute instant yeast in equal measure but mix it directly with dry ingredients instead of proofing. For dairy-free versions simply omit cheese or use a plant-based grateable alternative. To reduce oil, you can brush rather than drizzle—note that less oil gives a less pronounced crispness and a drier crumb.
Serving Suggestions
Serve warm with a bowl of extra-virgin olive oil and balsamic for dipping, alongside a green salad, or as a base for open-faced sandwiches. For a Mediterranean board, pair strips with hummus, marinated olives, and roasted red peppers. For a cozy meal, top slices with warm tomato ragù and a scattering of fresh basil for a rustic bruschetta-style plate. Garnish with flaky sea salt and a light grind of black pepper for finishing visual and taste contrast.
Cultural Background
Focaccia originates from the Ligurian coast of Italy, where flatbreads were baked under embers and flavored with olive oil and herbs. The word traces to the Latin "focus," meaning hearth or fireplace. Regional variations include Ligurian focaccia with a high olive oil content and Tuscan versions that lean simpler or incorporate potatoes into the dough. The method shared here is a modern, same-day adaptation that keeps the spirit of the original while fitting contemporary schedules.
Seasonal Adaptations
In summer, press halved cherry tomatoes and basil into the dough for a bright, fresh loaf; in autumn use caramelized onions and sage. Holiday variations include a crown-shaped focaccia adorned with roasted garlic and rosemary for festive gatherings. For winter warmth, fold in cooked, diced potatoes for a more tender crumb and top with rosemary and coarse salt for a comfort-forward loaf.
Meal Prep Tips
For busy weeks, prepare the dough through the initial rise, then place it in the refrigerator for up to 12 hours to develop deeper flavor; bring to room temperature before shaping and baking. Par-baked focaccia (bake 8–10 minutes, cool, then freeze) can be finished in 6–8 minutes in a hot oven to serve. Store individual portions in reusable sandwich containers for grab-and-go breakfasts reheated briefly in a toaster oven.
There’s a simple joy in slicing a warm piece, sprinkling a pinch of flaky salt, and sharing it with friends or family. This loaf invites experimentation and conviviality—make it yours, and don’t be surprised if it becomes a staple in your kitchen rotation.
Pro Tips
Use oiled hands when shaping to prevent sticking and preserve dough hydration.
Create deep dimples with your fingertips so oil pools and toppings adhere during baking.
Preheat the oven fully at 450°F to ensure a crisp, golden crust in 15–20 minutes.
Allow the dough to rest 20 minutes after shaping so it relaxes and puffs slightly before baking.
This nourishing same day focaccia bread recipe is sure to be a staple in your kitchen. Enjoy every moist, high protein slice — it is perfect for breakfast or as a wholesome snack any time.
FAQs about Recipes
How do I know if the yeast is active?
Proof the yeast in warm water (100–110°F) with a pinch of sugar; it should become foamy in 5–10 minutes.
Can I freeze the focaccia?
Wrap cooled slices tightly and freeze up to 1 month; reheat from frozen in a 375°F oven for best texture.
Tags
Same Day Focaccia Bread
This Same Day Focaccia Bread recipe makes perfectly juicy, tender, and flavorful steak every time! Serve with potatoes and a side salad for an unforgettable dinner in under 30 minutes.
Ingredients
Basic Dough
Optional Toppings
Instructions
Activate the yeast
Combine 1 1/3 cups warm water (approx. 105°F) with the packet of active dry yeast and a pinch of sugar. Let sit 5–10 minutes until foamy to confirm activation.
Mix the dough
In a large bowl, stir together 3 1/2 cups flour and 1 1/2 teaspoons sea salt. Add the yeast mixture and 1/4 cup olive oil, mixing until a wet, sticky dough forms.
First rise
Cover the bowl and set in a warm place for 1 hour until nearly doubled in volume and bubbly.
Shape and dimple
Transfer to an oiled baking sheet and gently stretch to about 1 inch thick. Use oiled fingertips to create dimples across the surface.
Dress and rest
Drizzle olive oil and sprinkle sea salt. Arrange toppings as desired and let rest 20 minutes while preheating the oven to 450°F.
Bake
Bake in a preheated 450°F oven for 15–20 minutes until golden brown and crisp at the edges. Cool slightly before slicing.
Last Step: Please leave a rating and comment letting us know how you liked this recipe! This helps our business to thrive and continue providing free, high-quality recipes for you.
Nutrition
Did You Make This?
Leave a comment & rating below or tag
@culinya on social media!
Categories:
You might also like...

Fudgy Marshmallow Mud Brownies
Ultra-fudgy brownies crowned with gooey mini marshmallows and a quick-set chocolate icing. Crowd-pleasing, nostalgic, and irresistibly rich in every bite.

Buttery Pecan Pie Bars
Buttery shortbread crust meets a silky brown sugar pecan topping in these easy pecan pie bars. Just 10 minutes of prep for bakery-level bliss.

Silky No-Crack Pumpkin Cheesecake
A flawlessly smooth pumpkin cheesecake with warm spice, buttery graham crust, and no cracks. Finish with caramel and rum-kissed whipped cream.
Did You Make This?
Leave a comment & rating below or tag @culinya on social media!
Rate This Recipe
Share This Recipe
Enjoyed this recipe? Share it with friends and family, and don't forget to leave a review!
Comments (1)
This recipe looks amazing! Can't wait to try it.
Comments are stored locally in your browser. Server comments are displayed alongside your local comments.

Hi, I'm Sophia!
What's Popular

30-Minute Meals!
Join to receive our email series which contains a round-up of some of our quick and easy family favorite recipes.